Weatherproof IKEA daybed hack for your outdoor space
Author: Marcie K
© Marcie K
Marcie K shows how to create a thrifty cover for your garden seating
Outdoor rooms are growing in popularity and, as someone who’s ridden this trend with fairy lights on her heels, I can let you in on the downside of it – the rain! This year, though, I’m on it. I’m going to be weather-ready.
Firstly, no outdoor oasis is complete without a daybed and I know from experience that I’m useless at treating wood every year, so it needs to be metal. Secondly, the mattress must be waterproof. This led me down an Amazon and Facebook Marketplace rabbit hole and by the end I had purchased a preloved IKEA metal daybed for £30, found a free single mattress, bought a rubber covering to encase the mattress (£8 from Amazon) and purchased a bottle of Polyvine Heavy Duty Extreme Varnish which is waterproof and has UV protection. This will be used to waterproof my cover and stop it fading.
Not a bad hour’s work. Now just to create that fitted cover…

Step 1
Take the measurements of your mattress, including the depth of the sides, and add about 4cm to each side for seam allowance, then cut your fabric to size.
Step 2
On each of the four corners, measure and mark out a square to the depth of your mattress, plus the 4cm seam allowance – in my case this was 19cm (Image A). This is to create your fitted corners. With right sides facing, bring the two marked lines of the square together to create a diagonal crease. Stitch down from the top corner of the square, following your marked lines, then trim the excess fabric (Images B and C). Repeat for all corners.
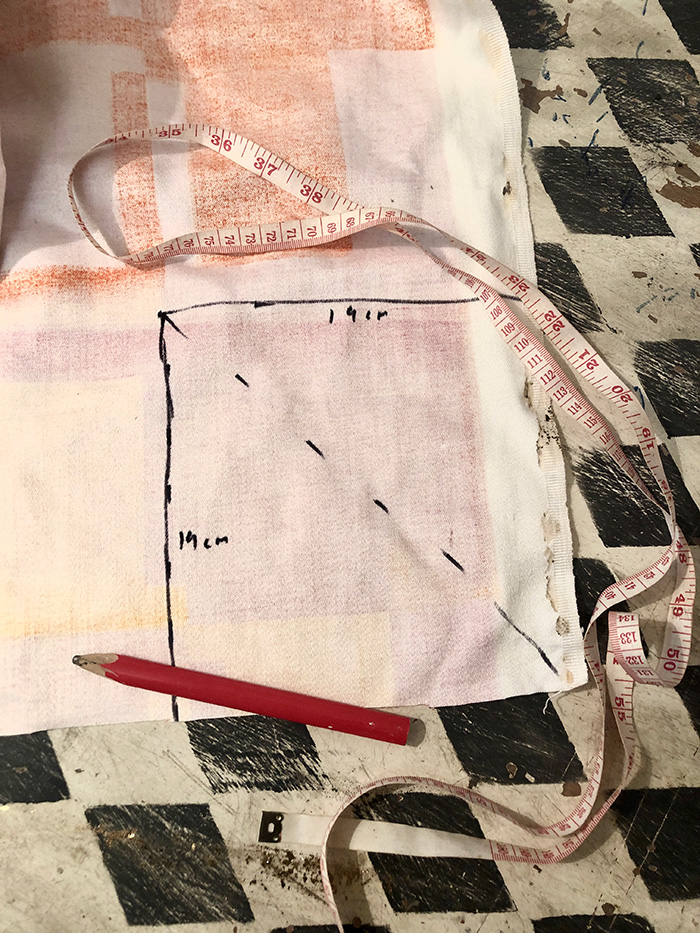
Image A
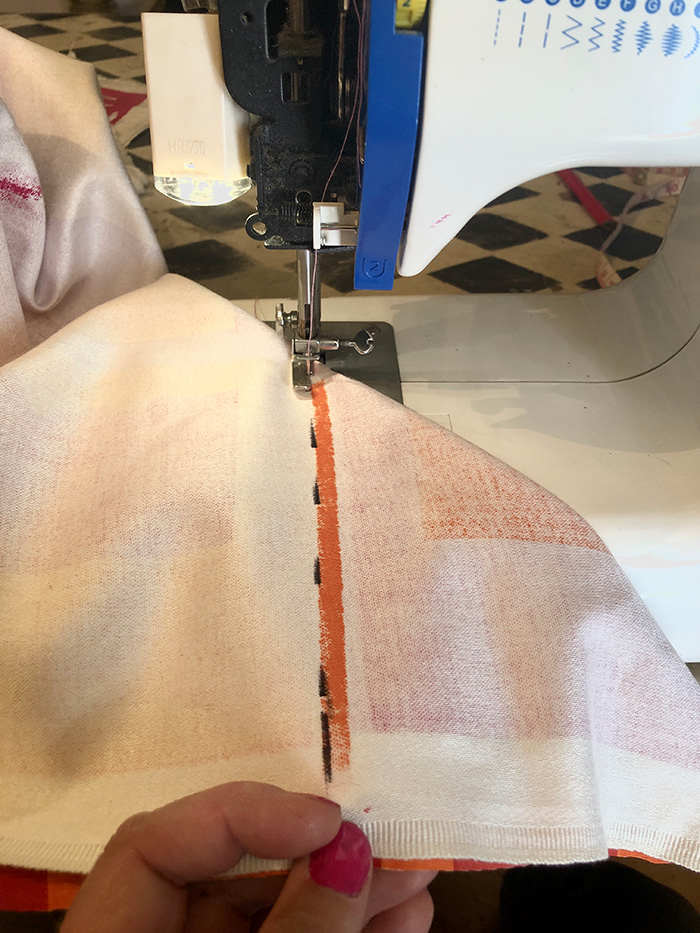
Image B
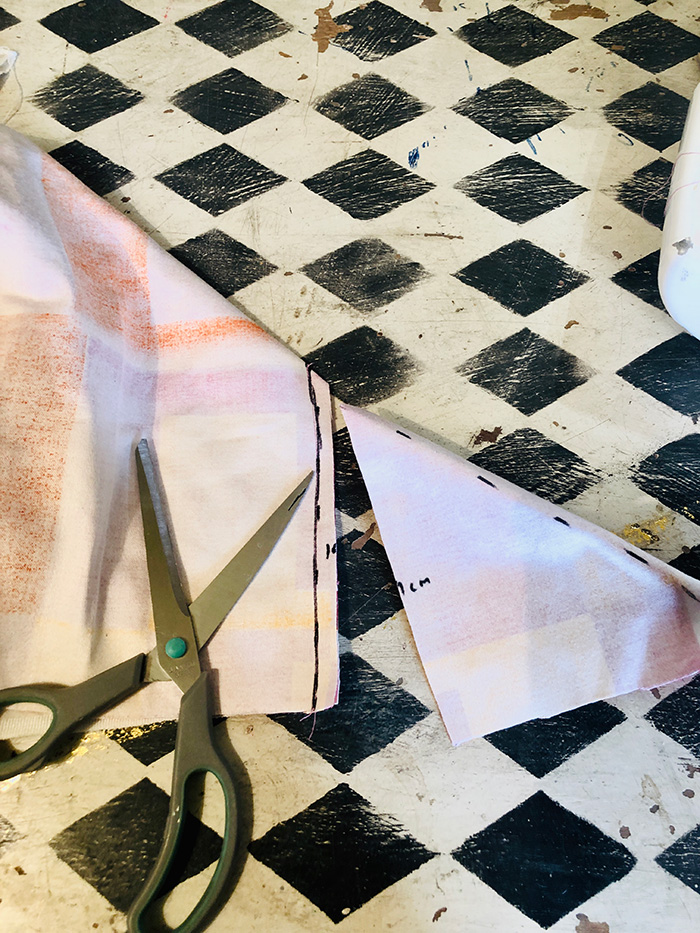
Image C

Image A

Image B

Image C
Step 3
To create the casing for the elastic, just fold over enough of an allowance that you could fit a pen easily through. Stitch all the way around the sides, but leave an opening to slide the elastic in (Image D).
Step 4
Using about 3 metres of elastic (I ended up having to join some), attach the end to something that can be threaded through the casing. For instance, a knitting needle, large safety pin or a small screwdriver (Image E).
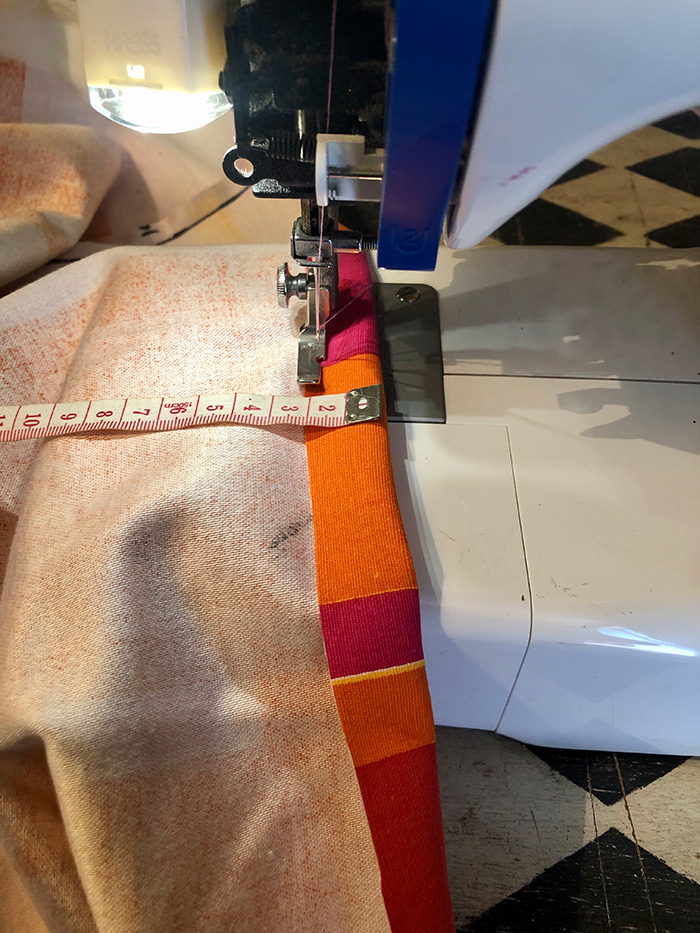
Image D
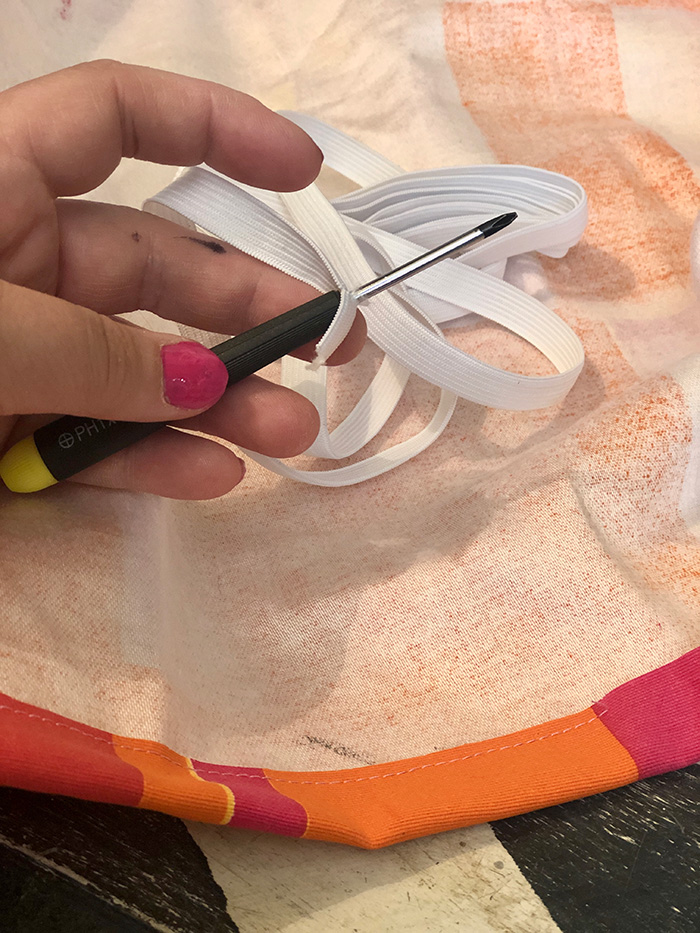
Image E
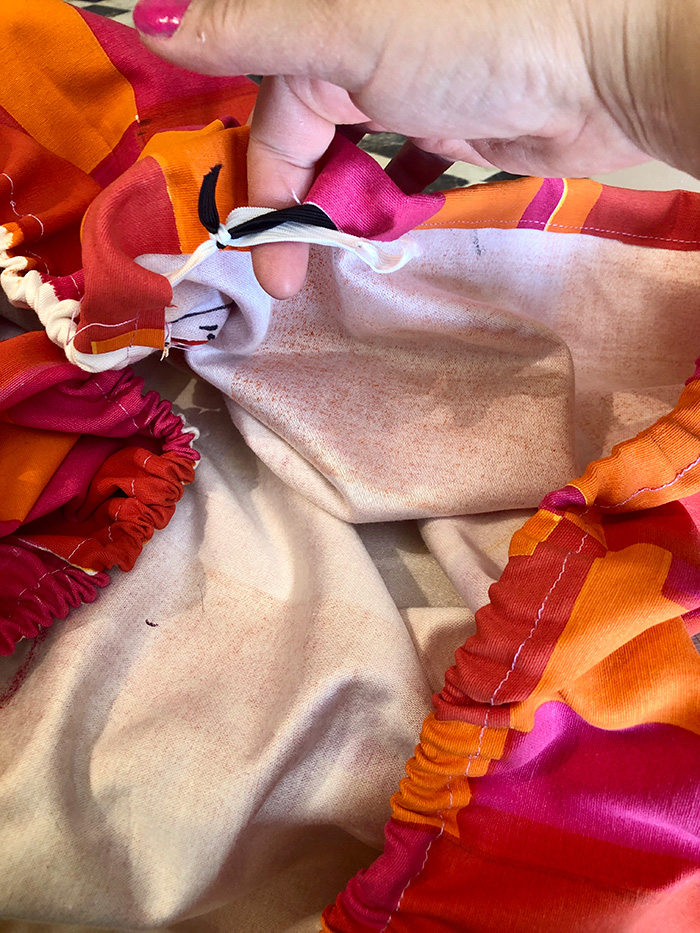
Image F

Image D

Image E

Image F
Step 5
Start threading your elastic through the casing, pushing the gathers back as you go. Make sure the end of the elastic is secure and doesn’t disappear, as it will mean starting all over again. Either pin it or use a safety pin. Once it’s threaded all the way around, knot the ends (Image F) and stitch the opening closed. For added protection, stitch a line either side of the knotted elastic, just in case it breaks (Image G).
Step 6
Slip the cover on to the mattress and lie it on something you can get good access to all the way around. Pour some of the varnish into a spray bottle and add some water to make it easier to use (Image H). Spray all over the cover, using a brush to work it in (Image I). Give the seams on the corners extra attention. Repeat two or three times, letting each coat dry in between.
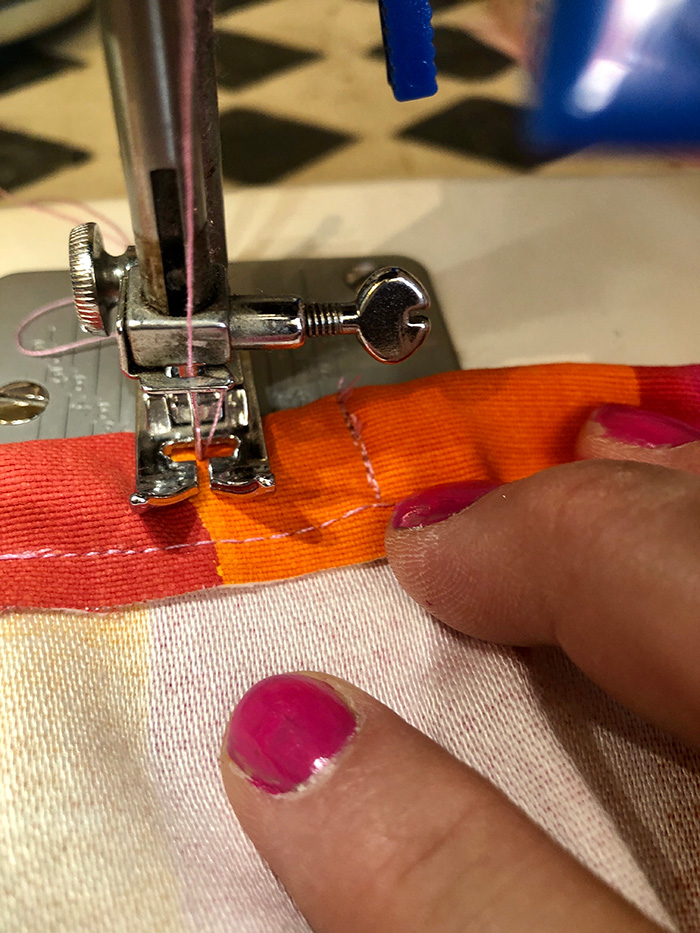
Image G
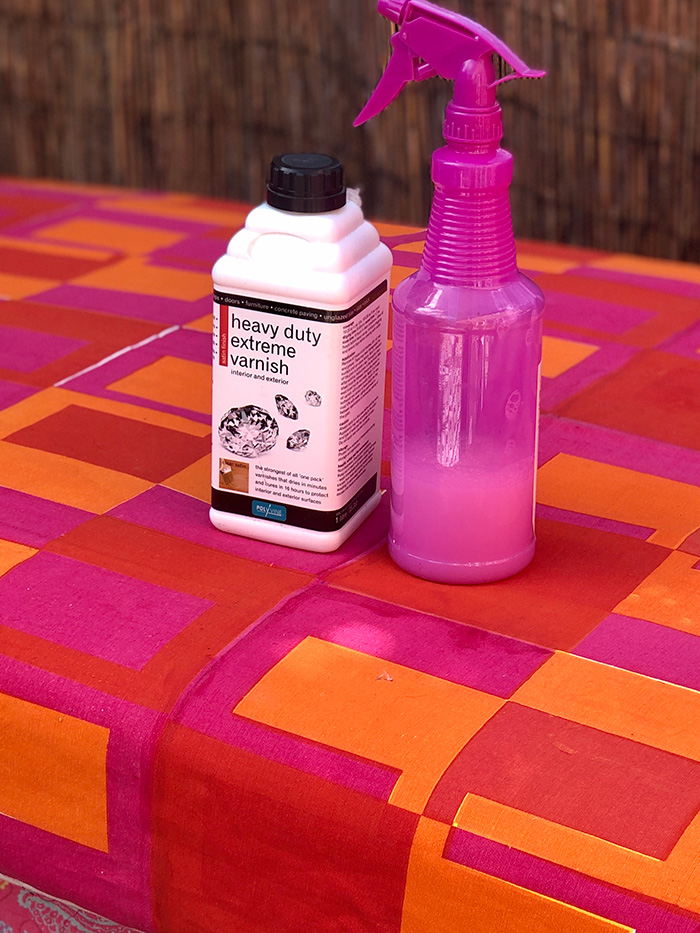
Image H
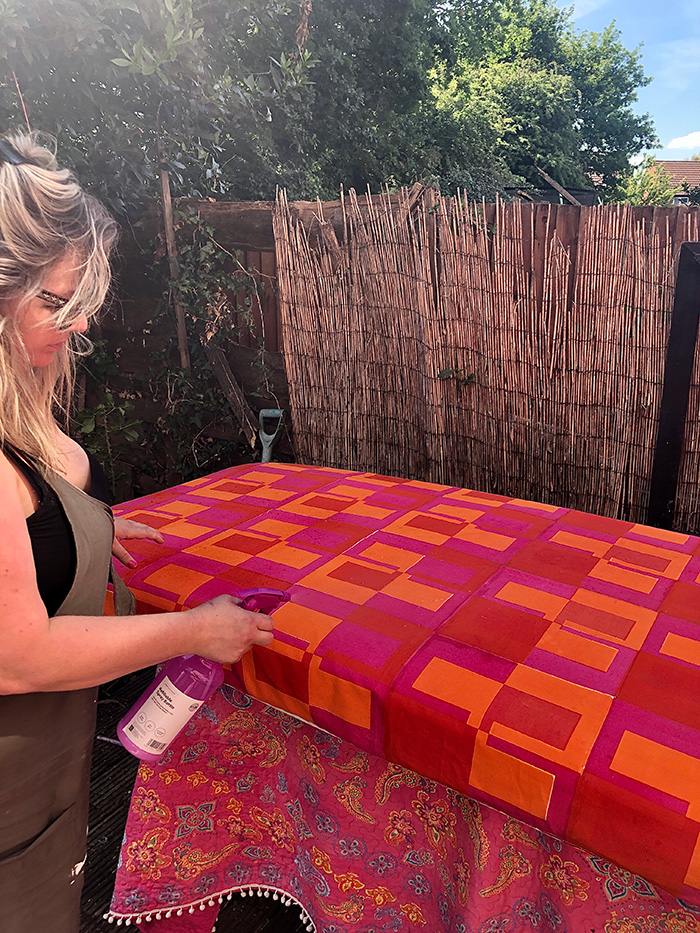
Image I

Image G

Image H

Image I
Marcie’s top tips
- Varnishing works best on a fabric with a flat pile and will leave it feeling like canvas
- If you can’t sew, use hemming bond to create your cover
- Use this varnishing technique on any chairs where you have children eating. Trust me, it will save a lot of mess!
Before you go...
...fancy automatic entry to all future competitions?
Simply register online today for FREE and you will get:
Automatic entry to all current and future competitions.
Access to Reclaim Inspiration - an online visual pinboard for saving all your home and style inspiration.
A regular newsletter of inspiration, ideas and advice.

Save all your articles in one place
Become a Reclaim Member to save all your home and style inspiration. Simply login or register online today for FREE and you will get:
Automatic entry to all current and future competitions.
Access to Reclaim Inspiration - an online visual pinboard for saving all your home and style inspiration.
A regular newsletter of inspiration, ideas and advice.


