How to: toile de Jouy
Author: Marcie K
Before & After © Marcie K
Marcie K on how to transform a cabinet with toile de Jouy fabric
I’ve had this gorgeous little cabinet hanging around for a while now. It has a great shape but has had a lot of repairs, woodworm and more – basically, like me, it’s been around the block but still has plenty of life left in it! I thought I would go for a classic look with it and add toile de Jouy, which in English means ‘cloth from Jouy’, a town in France.
I went with a fabric sample from Sheila Coombes Secret Garden collection that has a painterly feel, which made it easy for me to match and blend the waterslide transfers that I use on the lower panel of the cabinet. If you’ve never tried sticking fabric to furniture and sliding on transfers, now’s your time for a bit of fun!

Before and after © Marcie K
Step 1
Remove any handles, then clean and prep all areas with a light sand. I removed the moulding on the front of my cabinet as some of it had already fallen off. Normally I would suggest taking the doors off to make life easier, but these were beyond that and would need a lot of fixing, so they stayed on.
Step 2
Turn the piece over and start working from underneath. Using a synthetic brush, dip lightly in the paint and smoothly apply (Image A). Guild Lane’s Jubilee paint has good coverage and will only need two coats, so work quickly. I also painted over the glass.
Step 3
Choose your fabric. Take a photo of a small sample of the toile and send to your computer. This is what you will use to make the waterslide transfers in Step 5. I used Procreate on my laptop to play around with and match up the colours. Spray the fabric with varnish and let it dry. Measure the panel you want to cover, and cut the fabric to fit using a cutting wheel and a ruler (Image B and C).
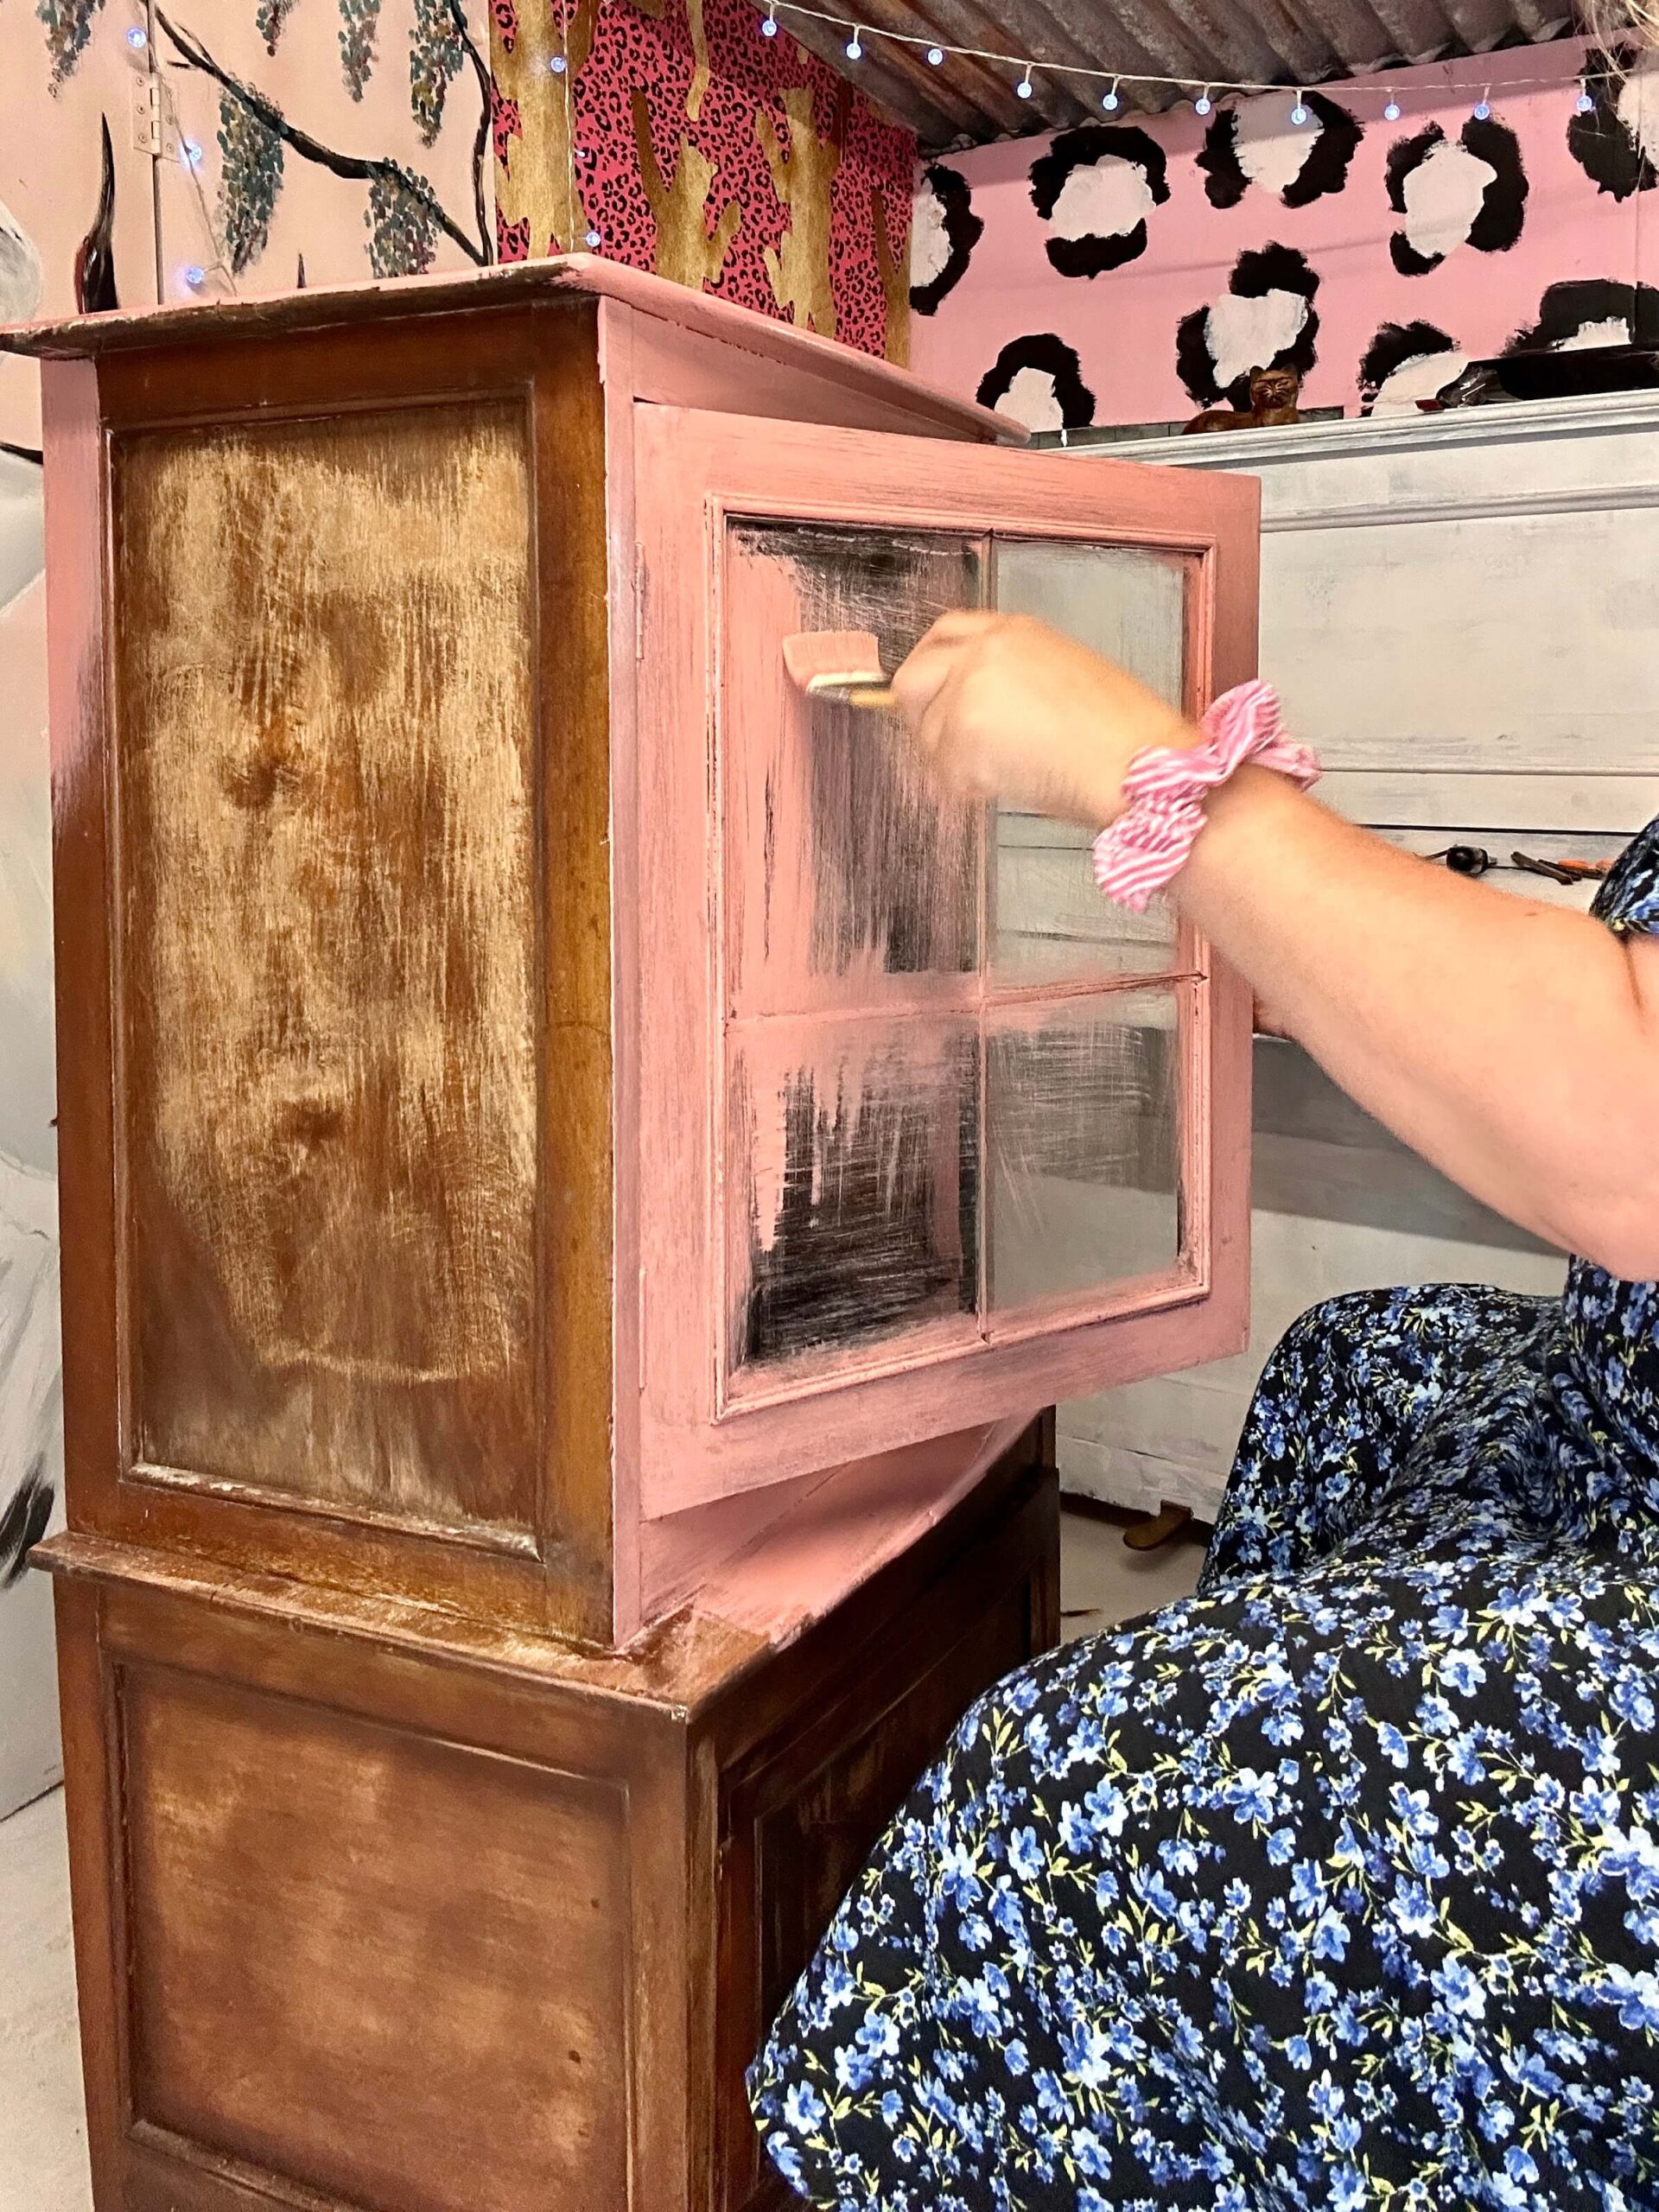
Image A © Marcie K
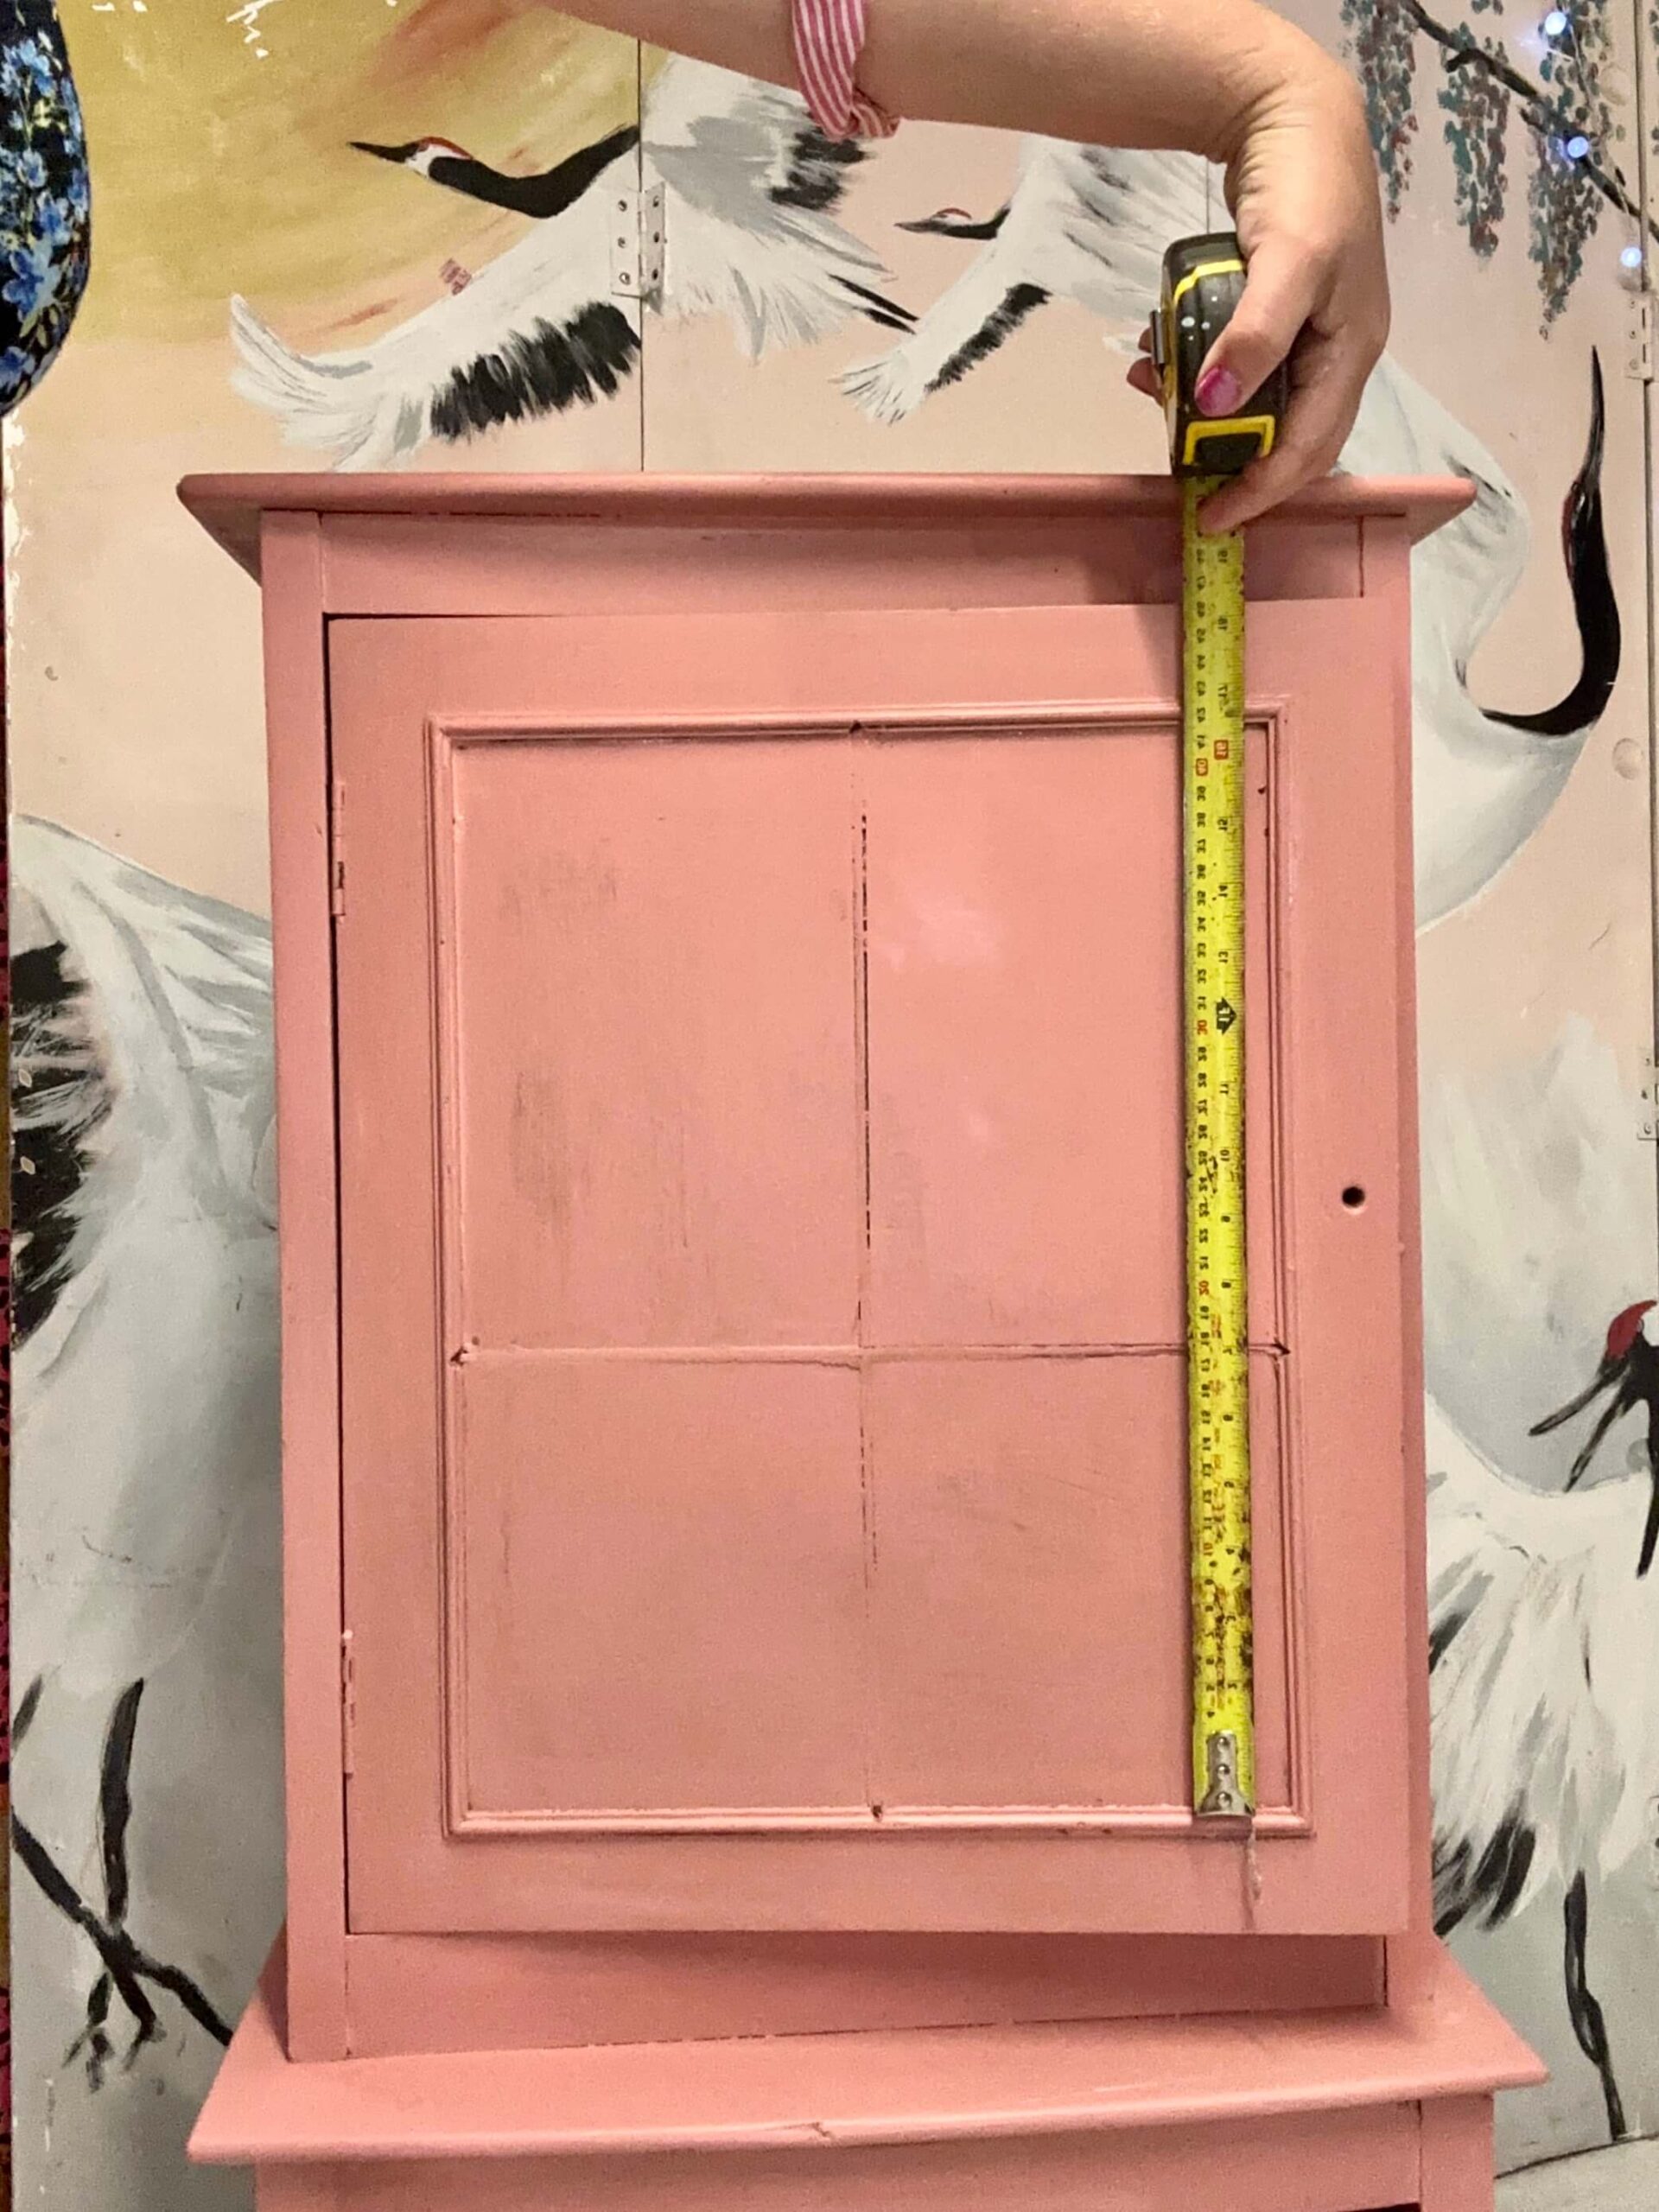
Image B © Marcie K
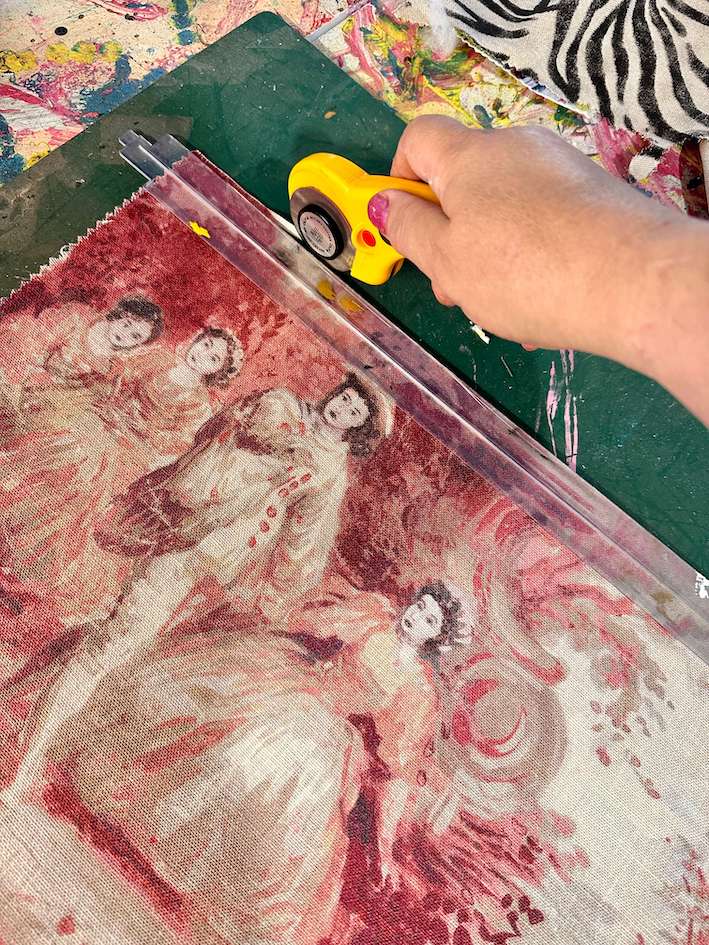
Image C © Marcie K

Image A © Marcie K

Image B © Marcie K

Image C © Marcie K
Step 4
Check the fit of the fabric by sticking it to the glass or panel using double-sided sticky tape. The fabric can stretch out of shape, so the tape holds it temporarily in place. Once you are happy that it fits, spray adhesive on to the back of the fabric, apply it to the panel and trim off any excess (Image D). I added some paint to the fabric to blend in the edges (Image E).
Step 5
Print your toile de Jouy design onto the waterslide transfer paper, and seal it with two coats of spray varnish to protect the ink against the water (Image F).
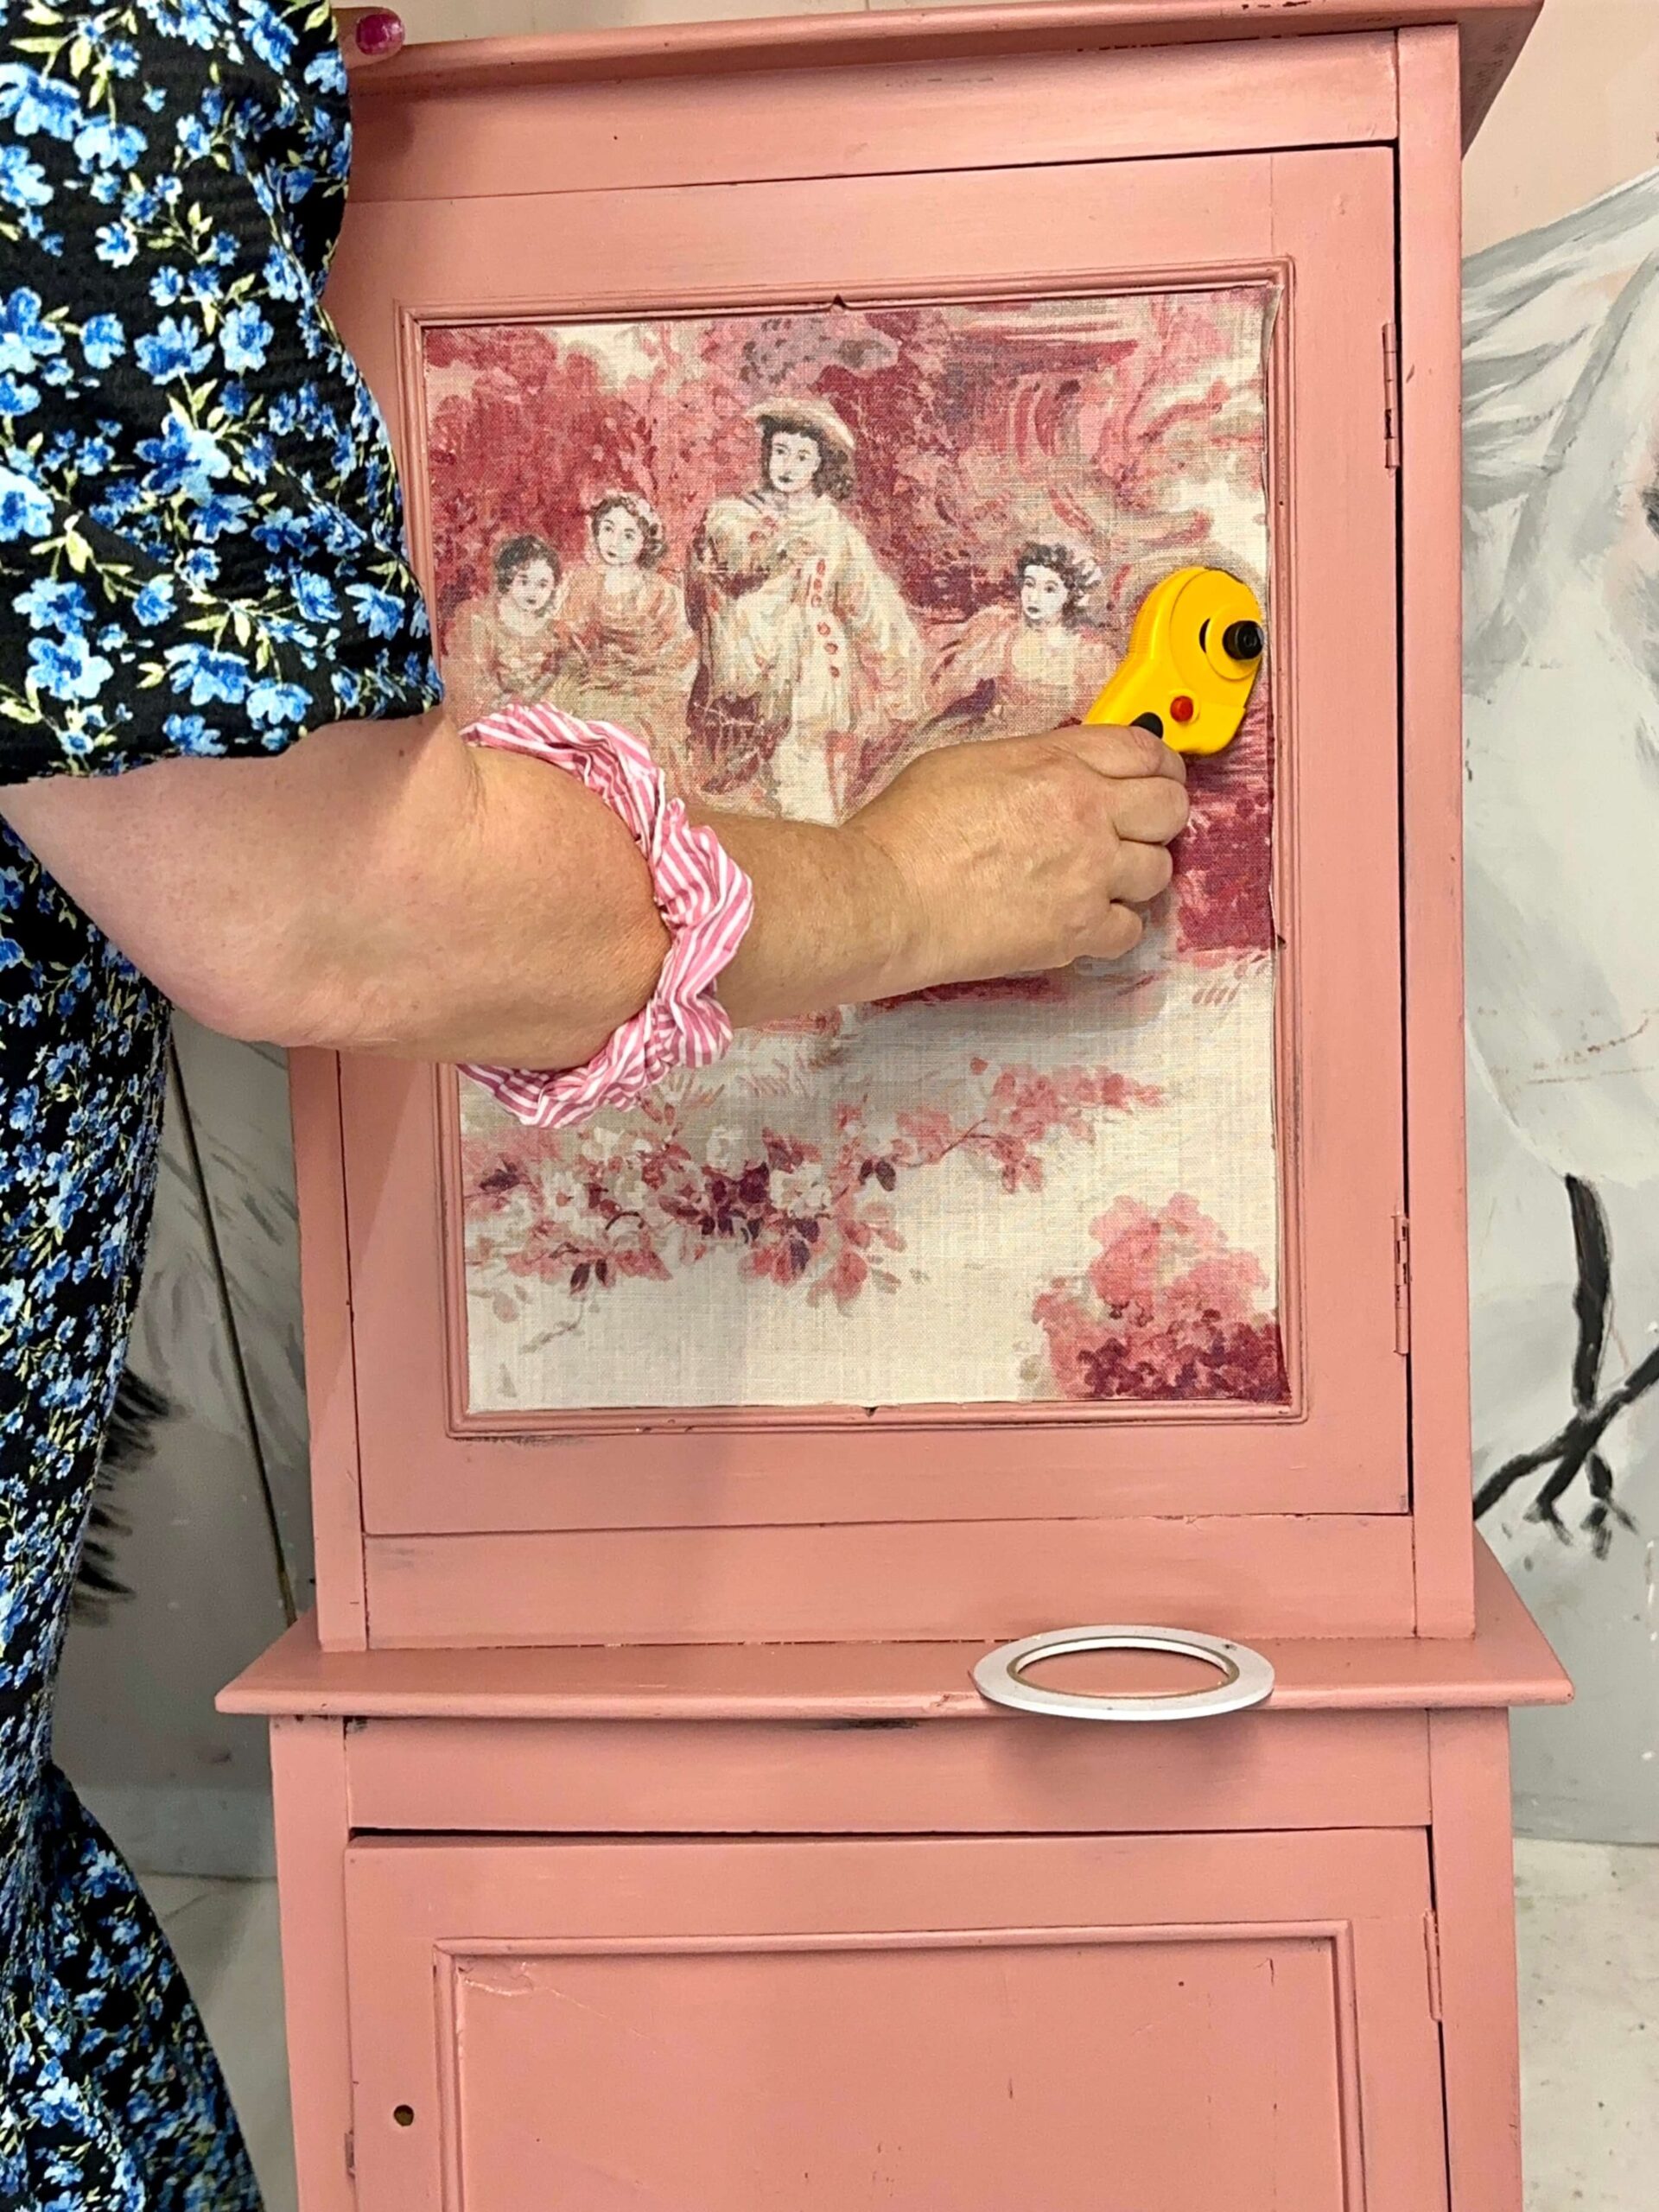
Image D © Marcie K
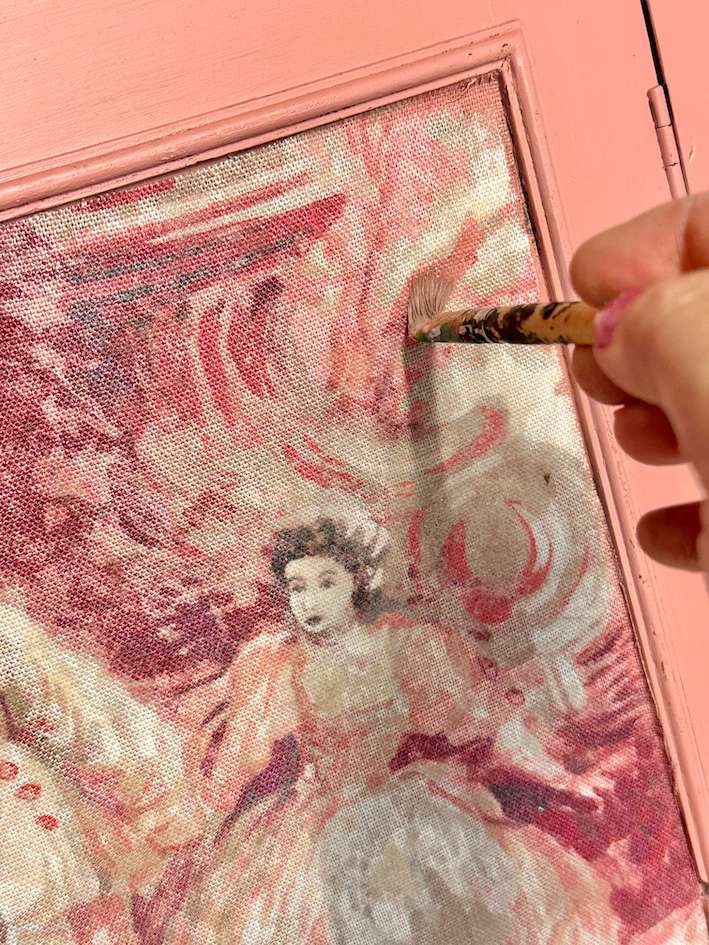
Image E © Marcie K
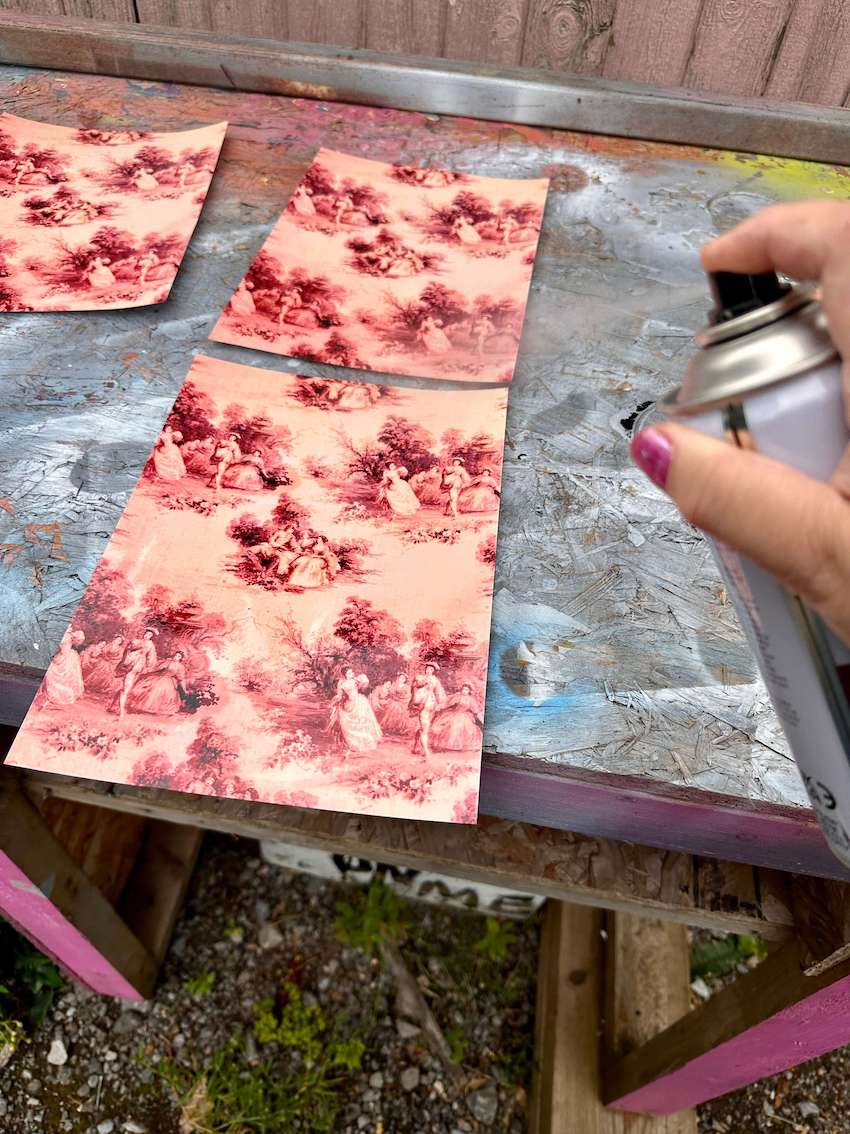
Image F © Marcie K

Image D © Marcie K

Image E © Marcie K

Image F © Marcie K
Step 6
When the paper is dry, cut around the edges of the scenes. I stippled a cream paint onto my panel for the water slides. The transfers have a clear background so being on cream makes them pop (Image G).
Step 7
Add one of your transfers to a bowl of water and leave for about 60 seconds. You will know when it’s ready as you can feel it slide off the backing if you rub it between your fingers. Place the transfer in position on the cabinet and slide off the backing paper (Image H). Using a cloth, smooth it onto the surface and wipe off any excess water – don’t rub too hard. Keep adding the transfers until you have recreated the scene.
Step 8
Using a mix of cream, grey and ochre paint, I dabbed and blended around the transfers until it looked like the fabric. Don’t be afraid to go over the transfers. Use your base colour to extend the scenes with little wavy lines and create a shadow around each transfer (Image I).
Step 9
Once everything is dry, spray the transfers and fabric with varnish, pop the handles back on and admire all your hard work!
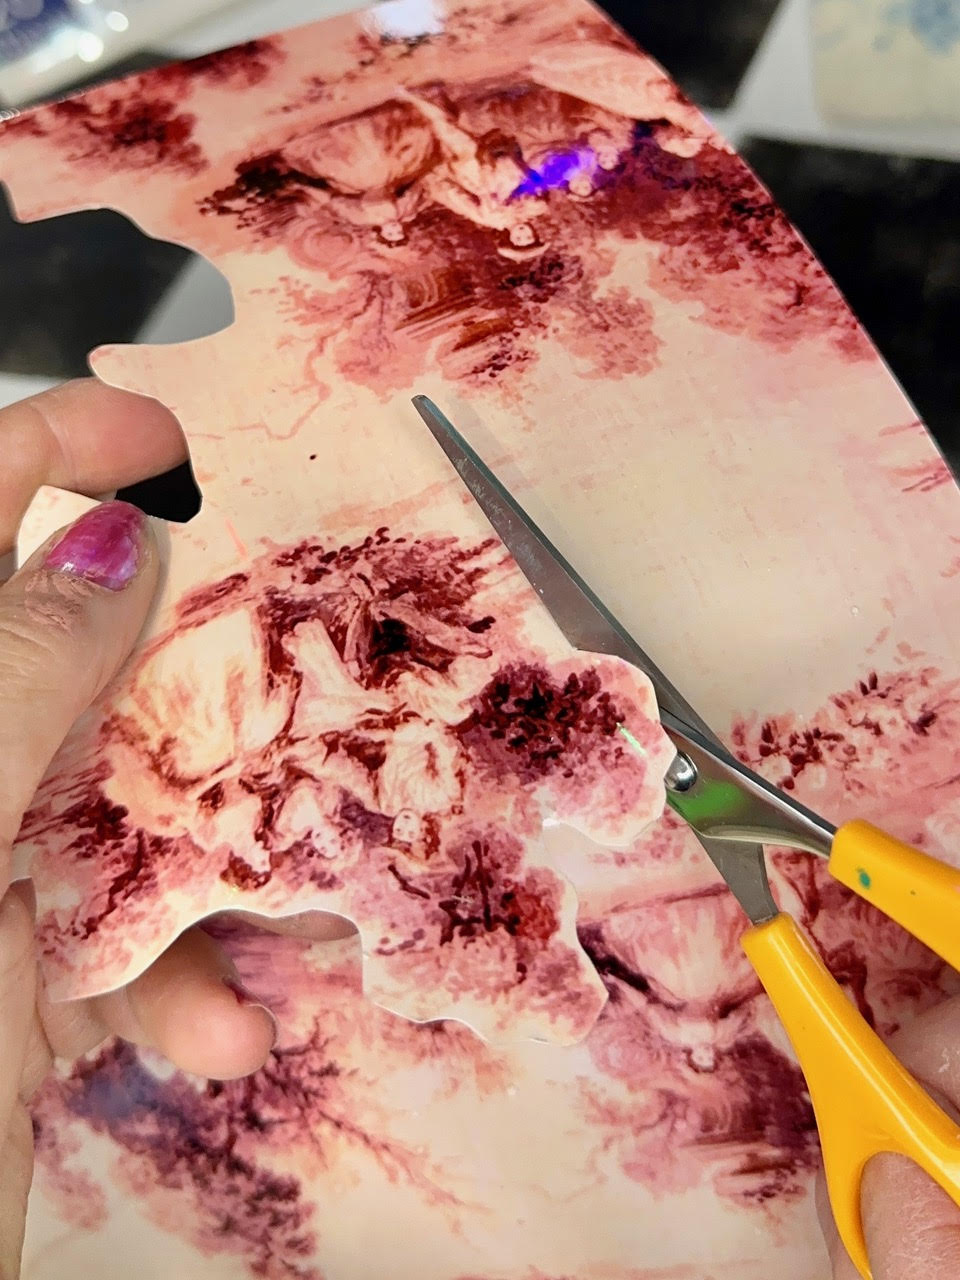
Image G © Marcie K
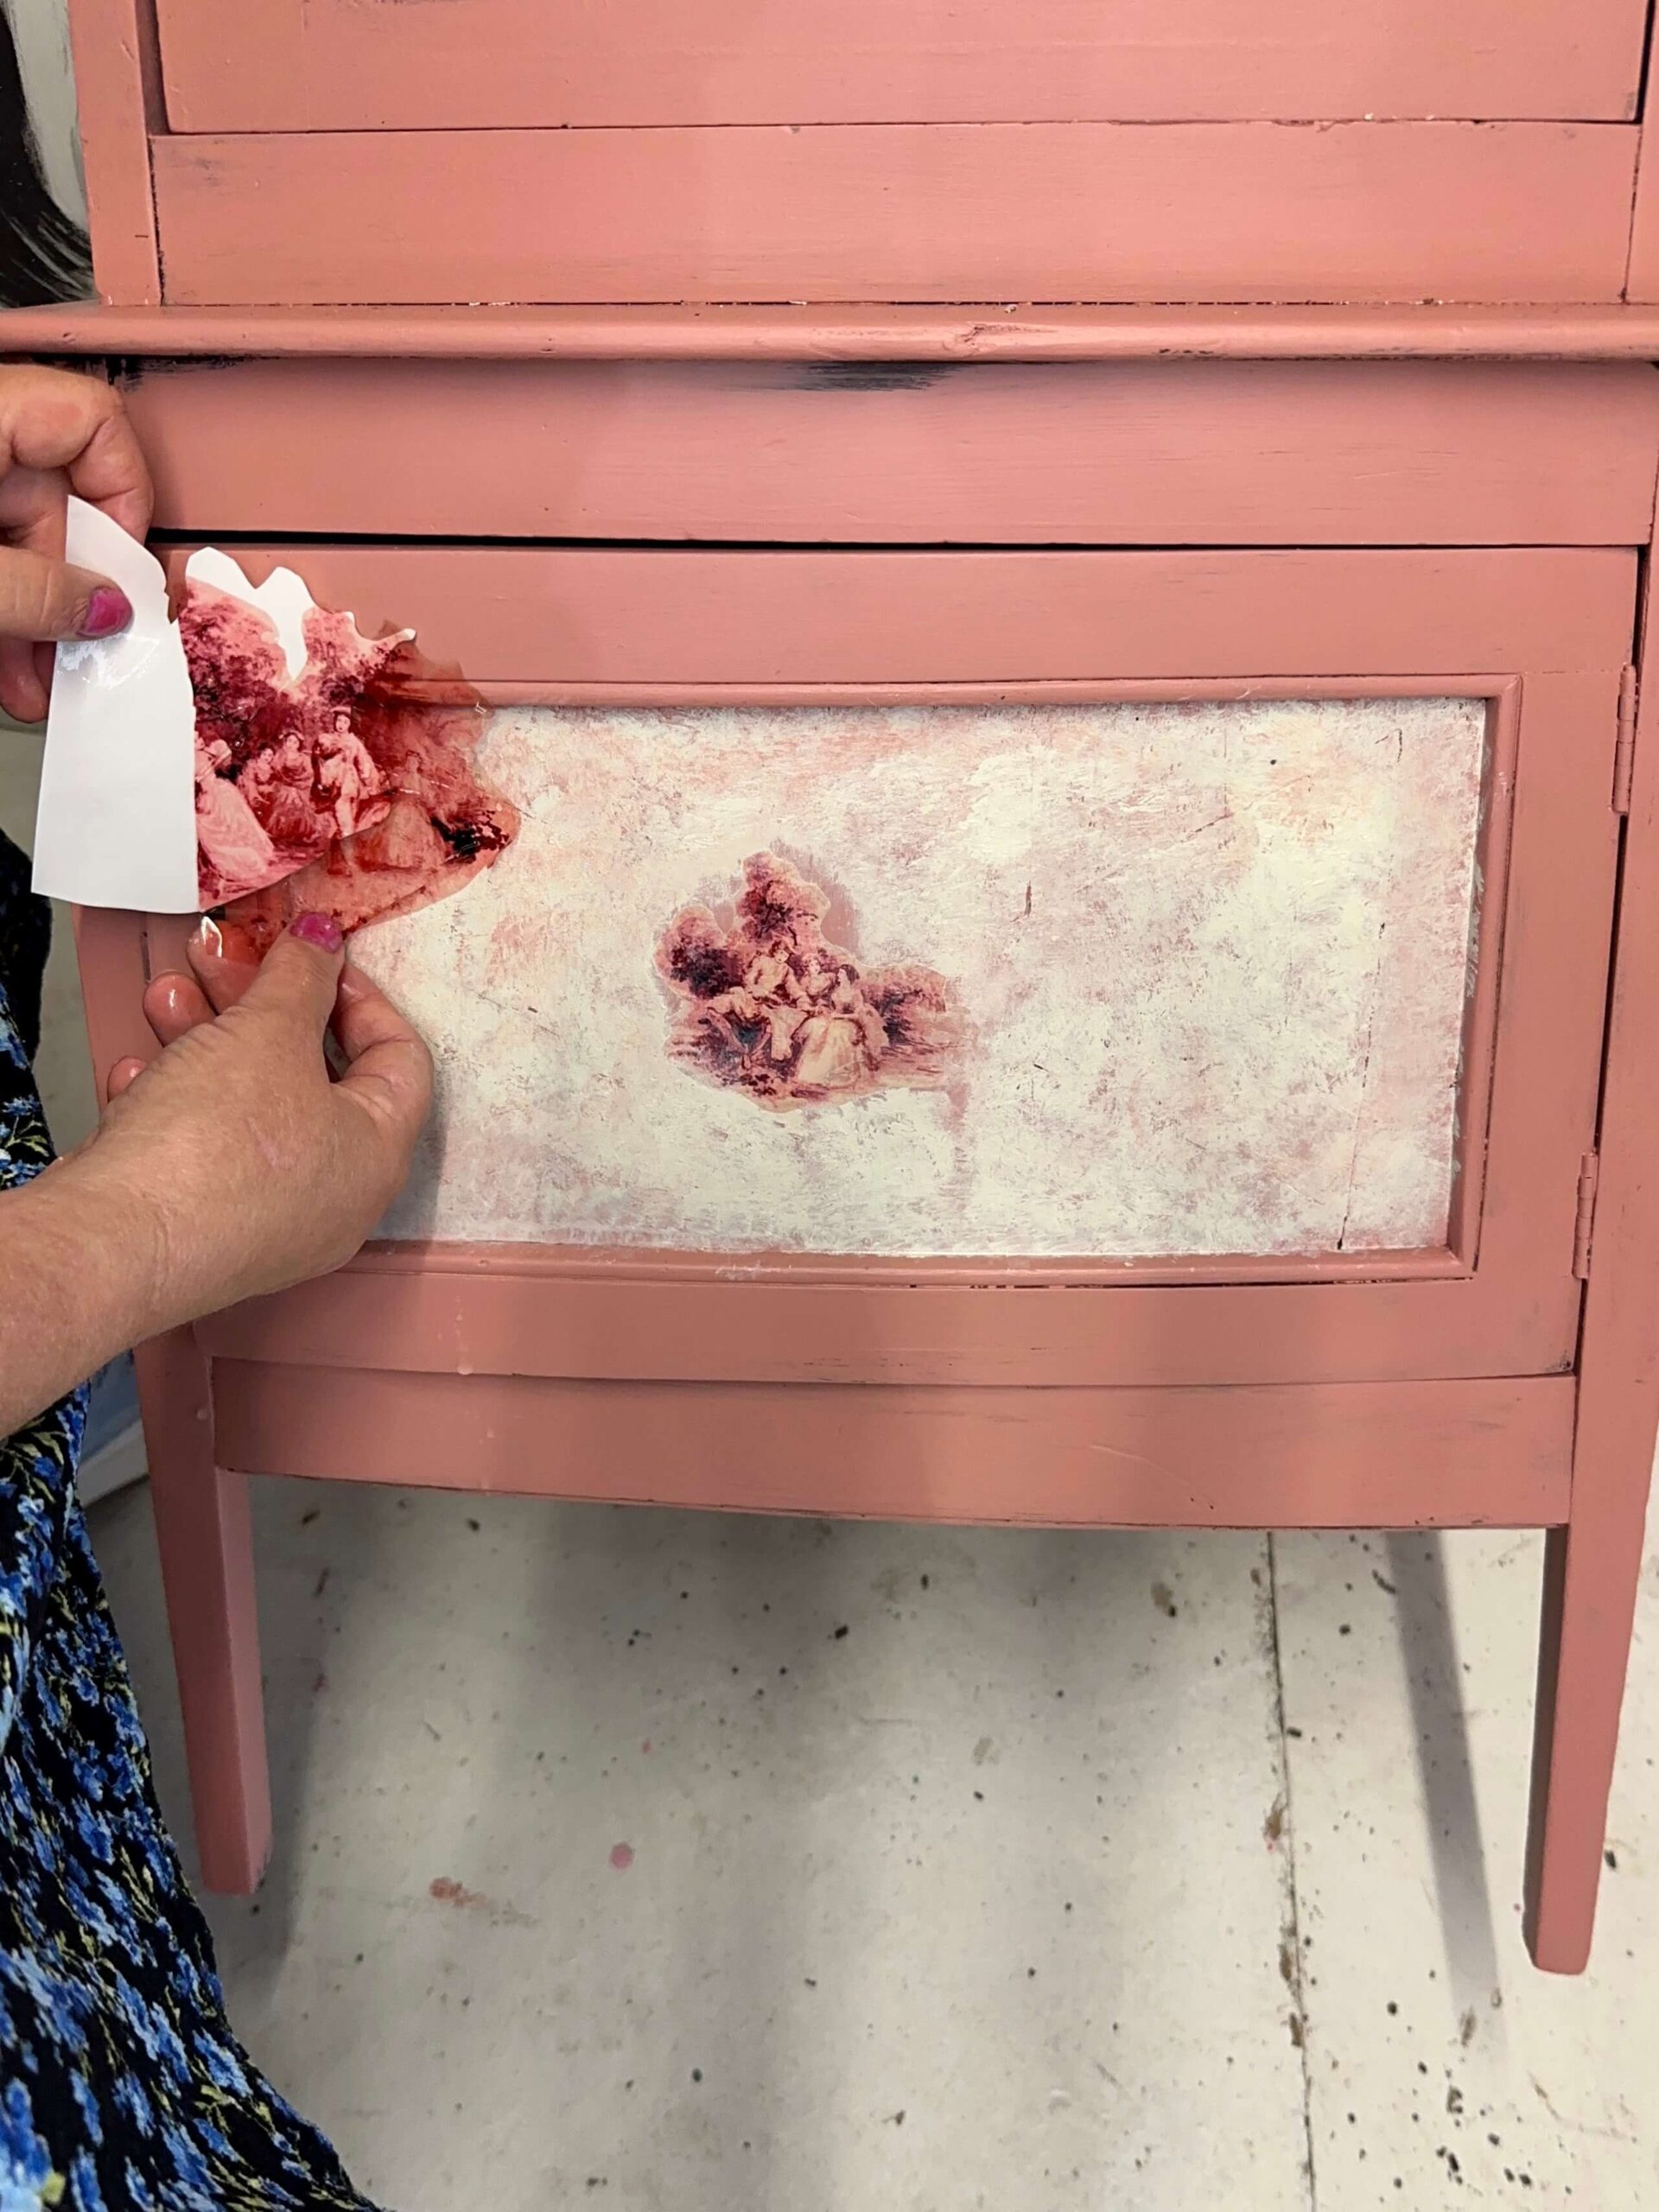
Image H © Marcie K
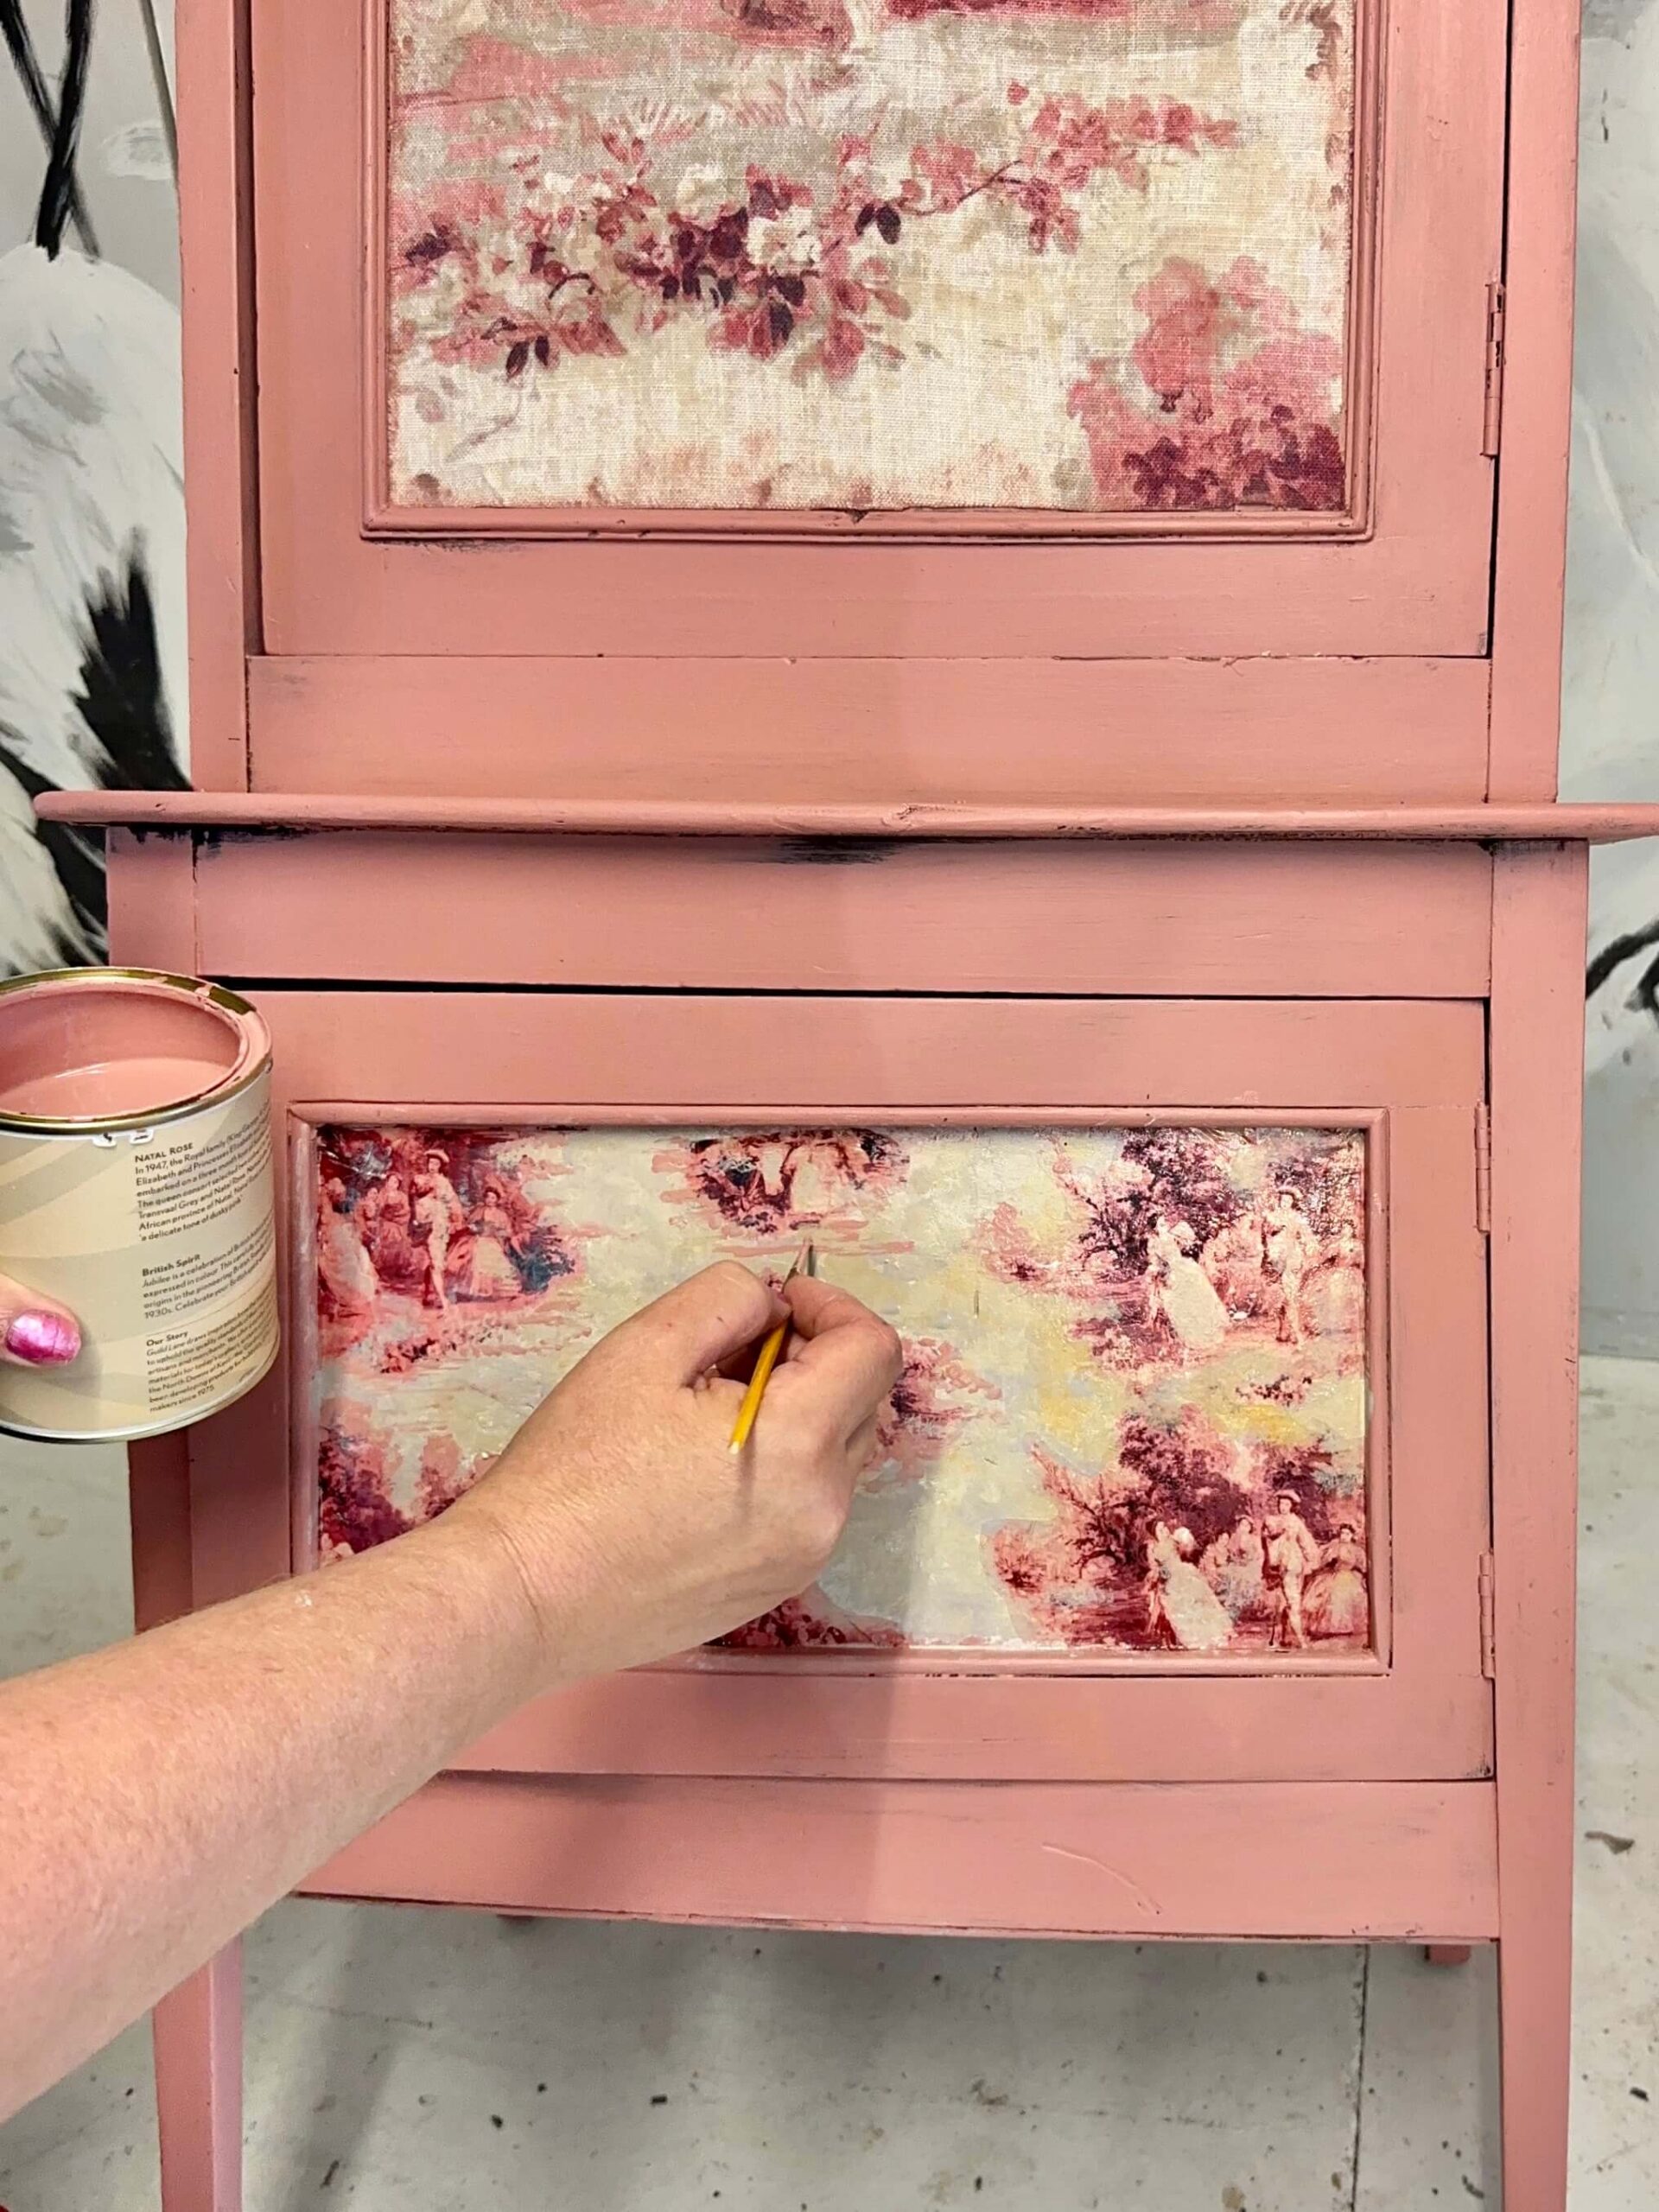
Image I © Marcie K

Image G © Marcie K

Image H © Marcie K

Image I © Marcie K
Before you go...
...fancy automatic entry to all future competitions?
Simply register online today for FREE and you will get:
Automatic entry to all current and future competitions.
Access to Reclaim Inspiration - an online visual pinboard for saving all your home and style inspiration.
A regular newsletter of inspiration, ideas and advice.

Save all your articles in one place
Become a Reclaim Member to save all your home and style inspiration. Simply login or register online today for FREE and you will get:
Automatic entry to all current and future competitions.
Access to Reclaim Inspiration - an online visual pinboard for saving all your home and style inspiration.
A regular newsletter of inspiration, ideas and advice.


