DIY lampshade with maximalist glamour
Author: Marcie K
Maximalist fringed lampshade © Marcie K
Marcie K’s easy upcycled luxe lampshade with fringed trim
Chintz: what a wonderful word. For me it invokes memories of bedrooms from the 1980s that were kitted out from top to toe in Laura Ashley and frills. For others the word implies something that’s a bit cheap or tacky. However, the contemporary version is anything but cheap. Brands such as House of Hackney lead the charge with their strong patterns and sumptuous floral designs. My favourite is their Artemis range, inspired by Diana Vreeland’s ‘garden in hell’ room in her famous New York apartment. This luxury comes at a price though, with lampshades costing anywhere from £375 upwards. Which, if you can afford that, go for it. But if, like me, your purse strings pull tight at the mere thought, read on – and I will show you how to make one at a fraction of the price.
What you’re looking for is a hard shade. It will feel like cardboard, when in fact it’s a sticky-backed PVC fire-retardant lining with fabric stuck to it. It’s great to find one with scalloped edges as this lends itself to the overall look. That said, fringes and trims make everything look amazing, so if a straight edge is all you’ve got, so be it. I find the best places to unearth these shades are charity shops and car-boot sales; eBay tends to be too expensive.
Once your shade has been sourced it’s time to figure out what you’ll cover it with. Think outside the box; this time I’ve used leftover Liberty fabric but in the past wallpaper, old dresses, wrapping paper and scraps of vintage fabric have worked well.
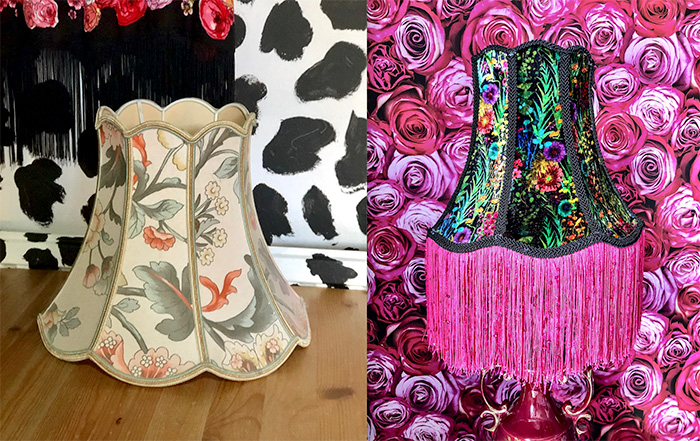
Before and after
Step 1
Start by pulling off the trim (Image A). If by chance it doesn’t want to play, use a hairdryer to warm the glue up slightly. Next, carefully ease off the panels so they remain the same shape, but don’t worry about frayed edges, as these will get covered. You’re now left with a frame and six or eight panels. Now give the frame a scrub.
Step 2
To avoid waste, we’re going to reuse the old panels. The outside of the panels is now going to become the inside, so I decided to zhuzh up the floral design on mine by colouring over the design with a set of Sharpies, reminiscent of the Artemis range I adore (Image B).
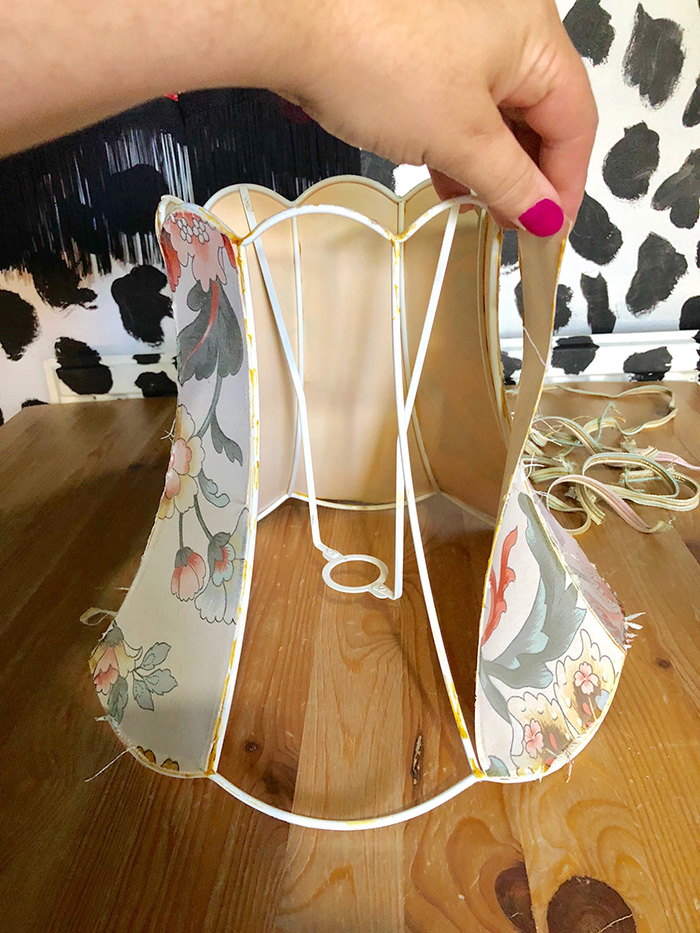
Image A
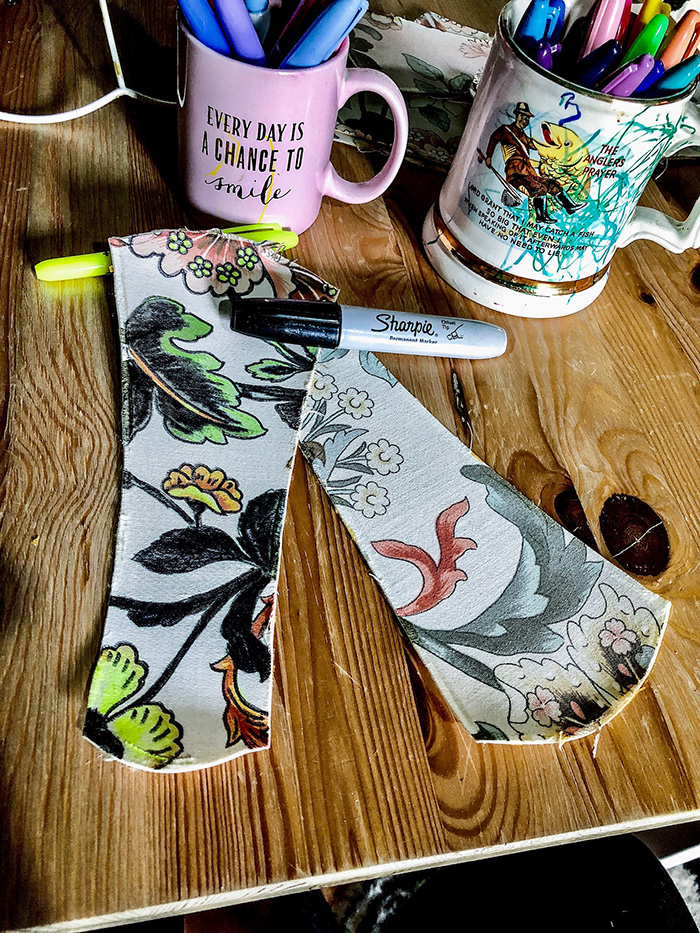
Image B
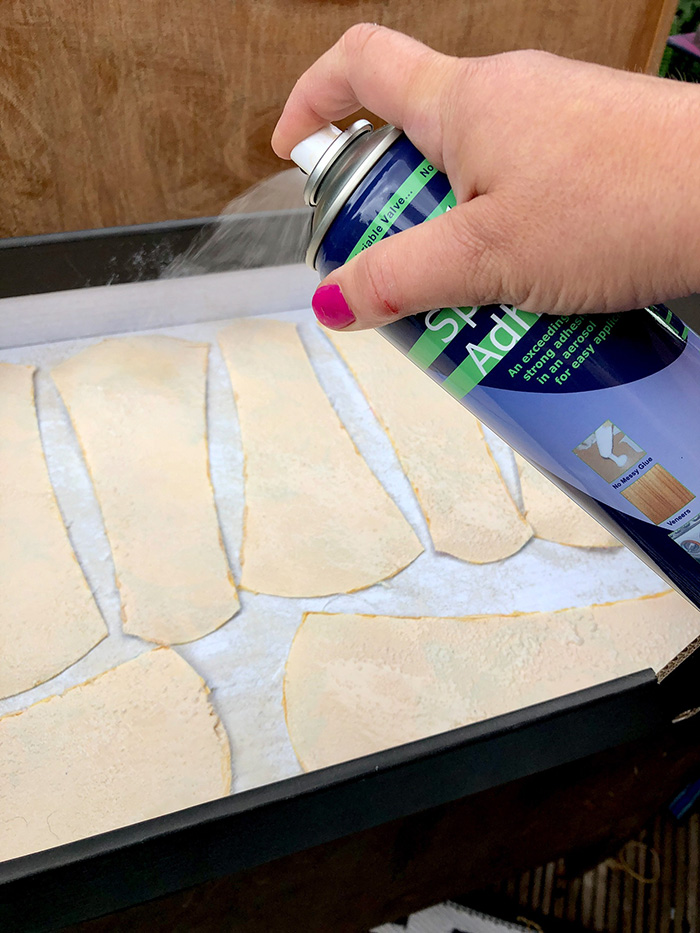
Image C

Image A

Image B

Image C
Step 3
Turn the panels over and spray them with an adhesive (Image C). Arrange the panels sticky-side down on your chosen fabric and cut around each one (Image D).
Step 4
The next stage is to rebuild the shade, with the original outside on the inside. You’ll need some thin double-sided sticky tape and a glue gun. All the outside edges of your frame will need to be taped (Image E).
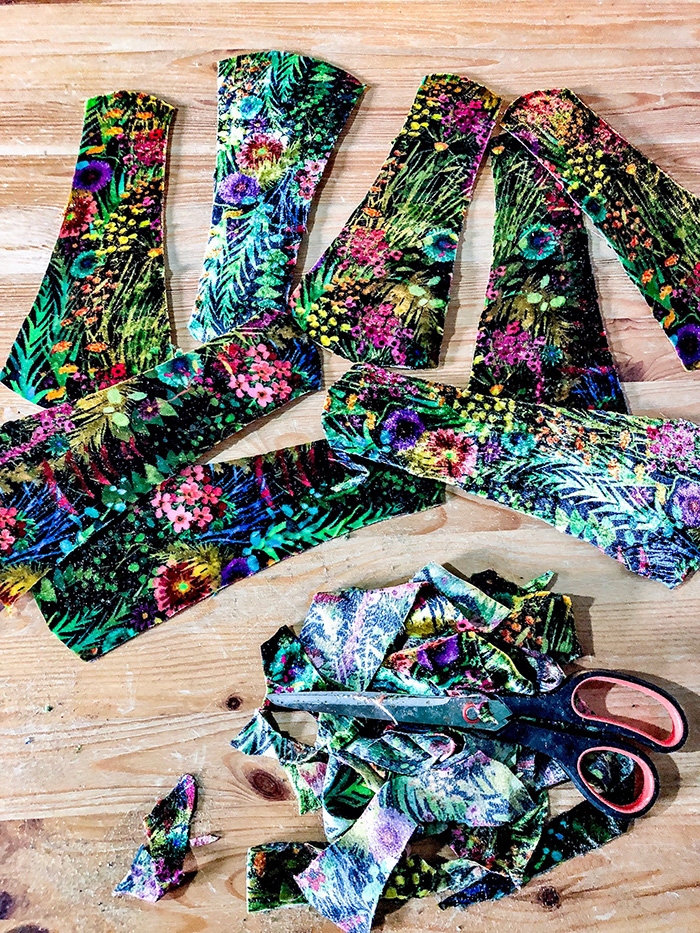
Image D
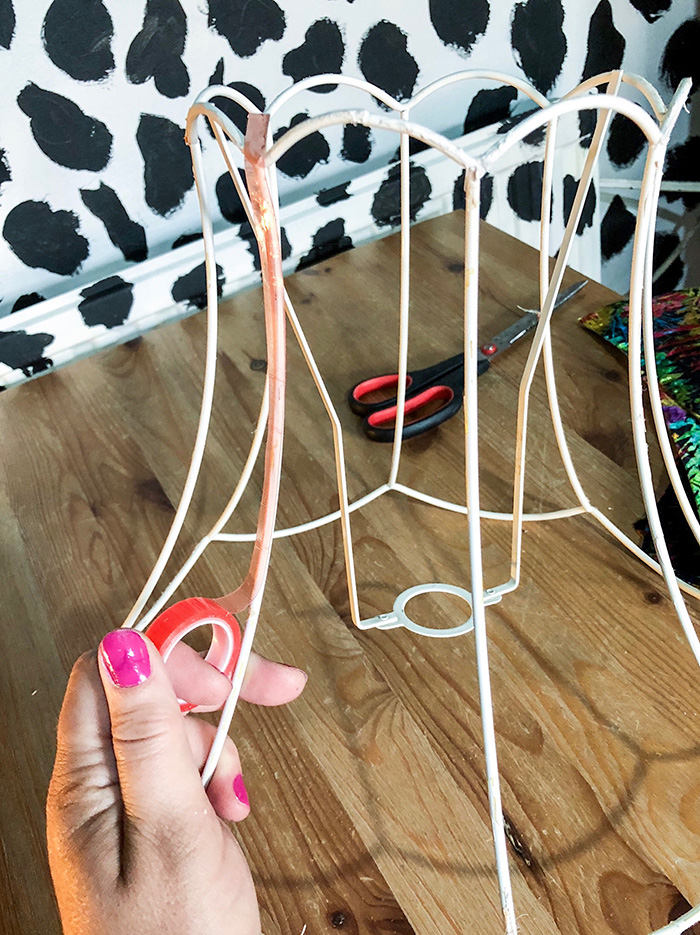
Image E
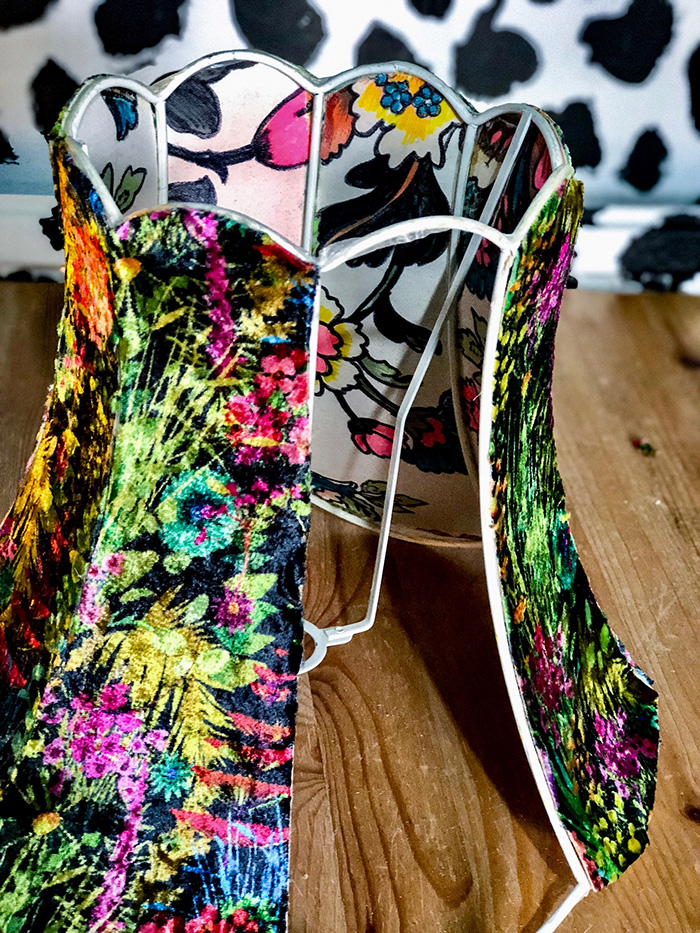
Image F

Image D

Image E

Image F
Step 5
Once completely covered, start positioning the panels around your shade, making sure you press them down firmly (Image F). For any edges not sticking down properly just add more tape, as these seams will be covered in trim.
Step 5
Heat up the glue gun and start gluing trim along the vertical seams (eBay is a good place to buy trims and fringes). Next glue the top edge (Image G), and then your fringe along the bottom. Finally, glue the last bit of trim over your exposed fringe edge, to create a neat and professional finish (Image H).
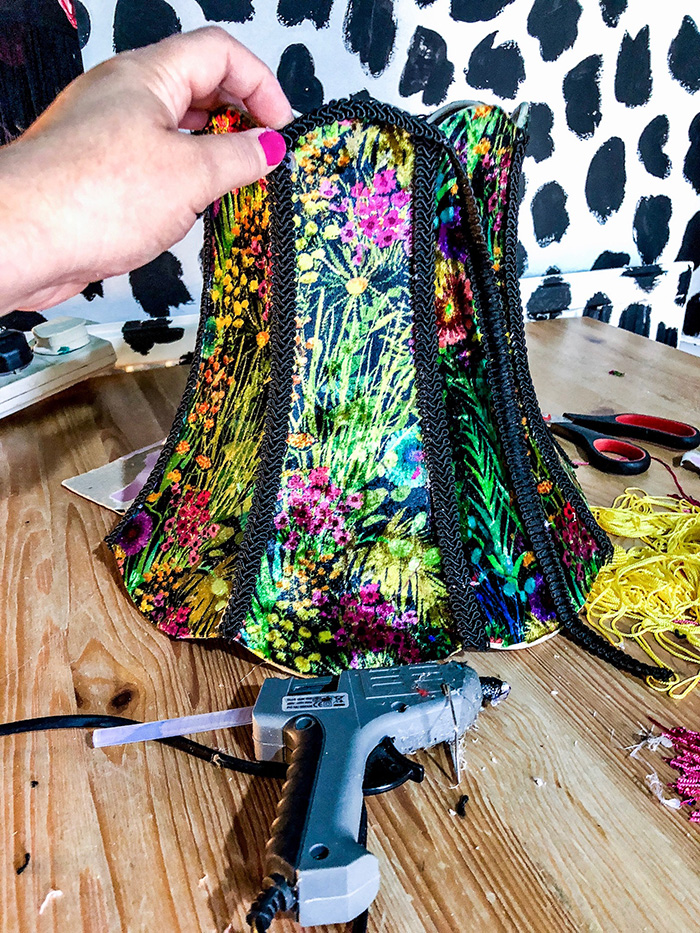
Image G
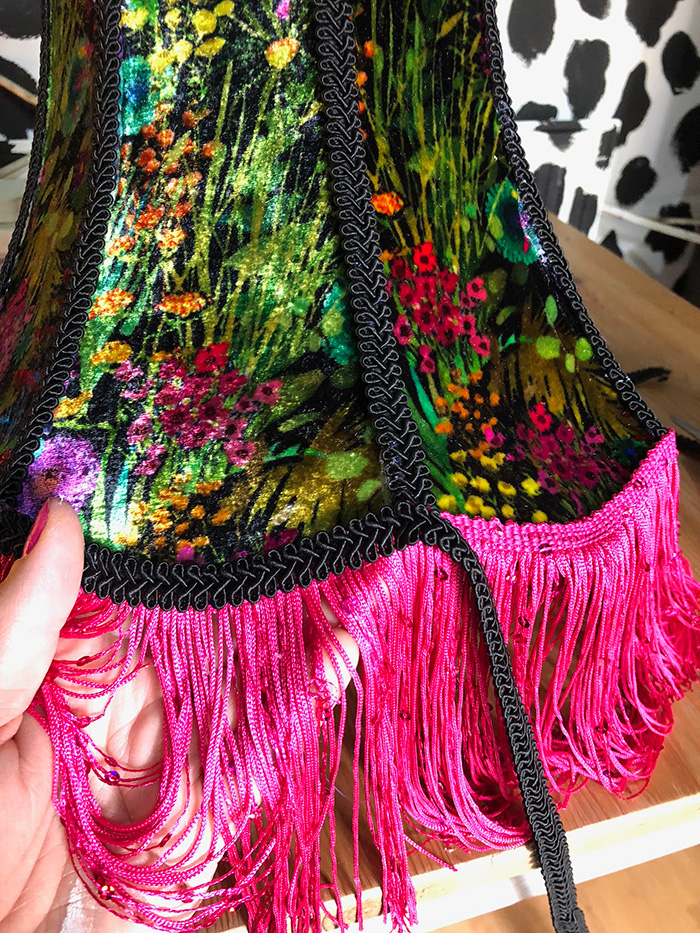
Image H
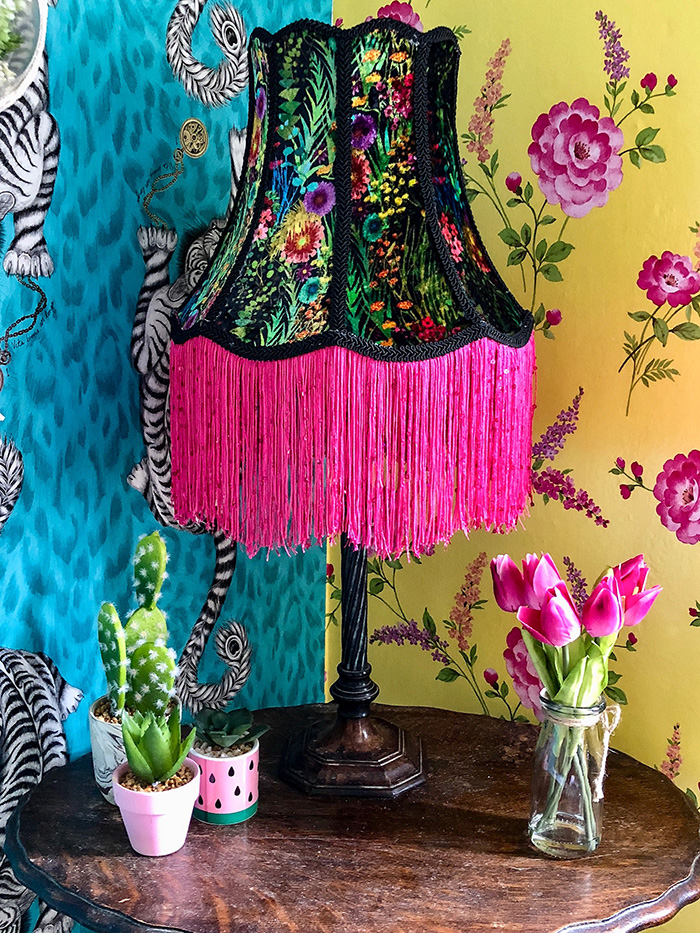

Image G

Image H

Before you go...
...fancy automatic entry to all future competitions?
Simply register online today for FREE and you will get:
Automatic entry to all current and future competitions.
Access to Reclaim Inspiration - an online visual pinboard for saving all your home and style inspiration.
A regular newsletter of inspiration, ideas and advice.

Save all your articles in one place
Become a Reclaim Member to save all your home and style inspiration. Simply login or register online today for FREE and you will get:
Automatic entry to all current and future competitions.
Access to Reclaim Inspiration - an online visual pinboard for saving all your home and style inspiration.
A regular newsletter of inspiration, ideas and advice.


