How to: American Flamingo decoupage
Author: Marcie K
American Flamingo Decoupage © Marcie K
Marcie K experiments with a John Audubon print to decoupage a cupboard
This John Audubon image – American Flamingo – never fails to impress, and all his artwork is available to download free from The National Audubon Society website, which means you can get it enlarged at a print shop.
I’ve had mine printed poster-size on posh wrapping paper. It’s a similar weight to printer paper so less likely to tear, but will still probably bubble on application unless you know a few tricks. And lucky for you I do!
There might be some who say they aren’t artistic enough to do the painterly bit here, but all it takes is some colour blending to fool the eye. Nobody is expected to replicate the Audubon original.

Before and after © Marcie K
Step 1
Take off the hardware and clean the cupboard inside and out, paying particular attention to where the handles were attached. Give it a light sand all over and then clean it again.
Step 2
Once dry, give the cupboard a first coat of paint (A). To match the background of the picture, use Guild Lane’s Old English White or Dover Chalk. Paint the whole cupboard, even where the image will go. This helps keep the decoupage looking fresh. You can take the doors off to paint but they will need to go back on before you decoupage.
Step 3
Mist the back of the poster with water. The paper will start to shrink and roll in on itself, meaning it won’t shrink on your cupboard and stops wrinkles forming. Plus, this helps to give you a window of opportunity to move it around a bit. Slide the poster into position (Image B). I use velvet fabric over a sanding block to smooth out bubbles, but you can use a credit card. Smooth from the middle of the poster outwards, taking care not to be too rough.
Step 4
If your decoupage paper is really thin, leave it to dry before starting this step. Roughly cut in between the door and the drawer, using a razor (Image C).
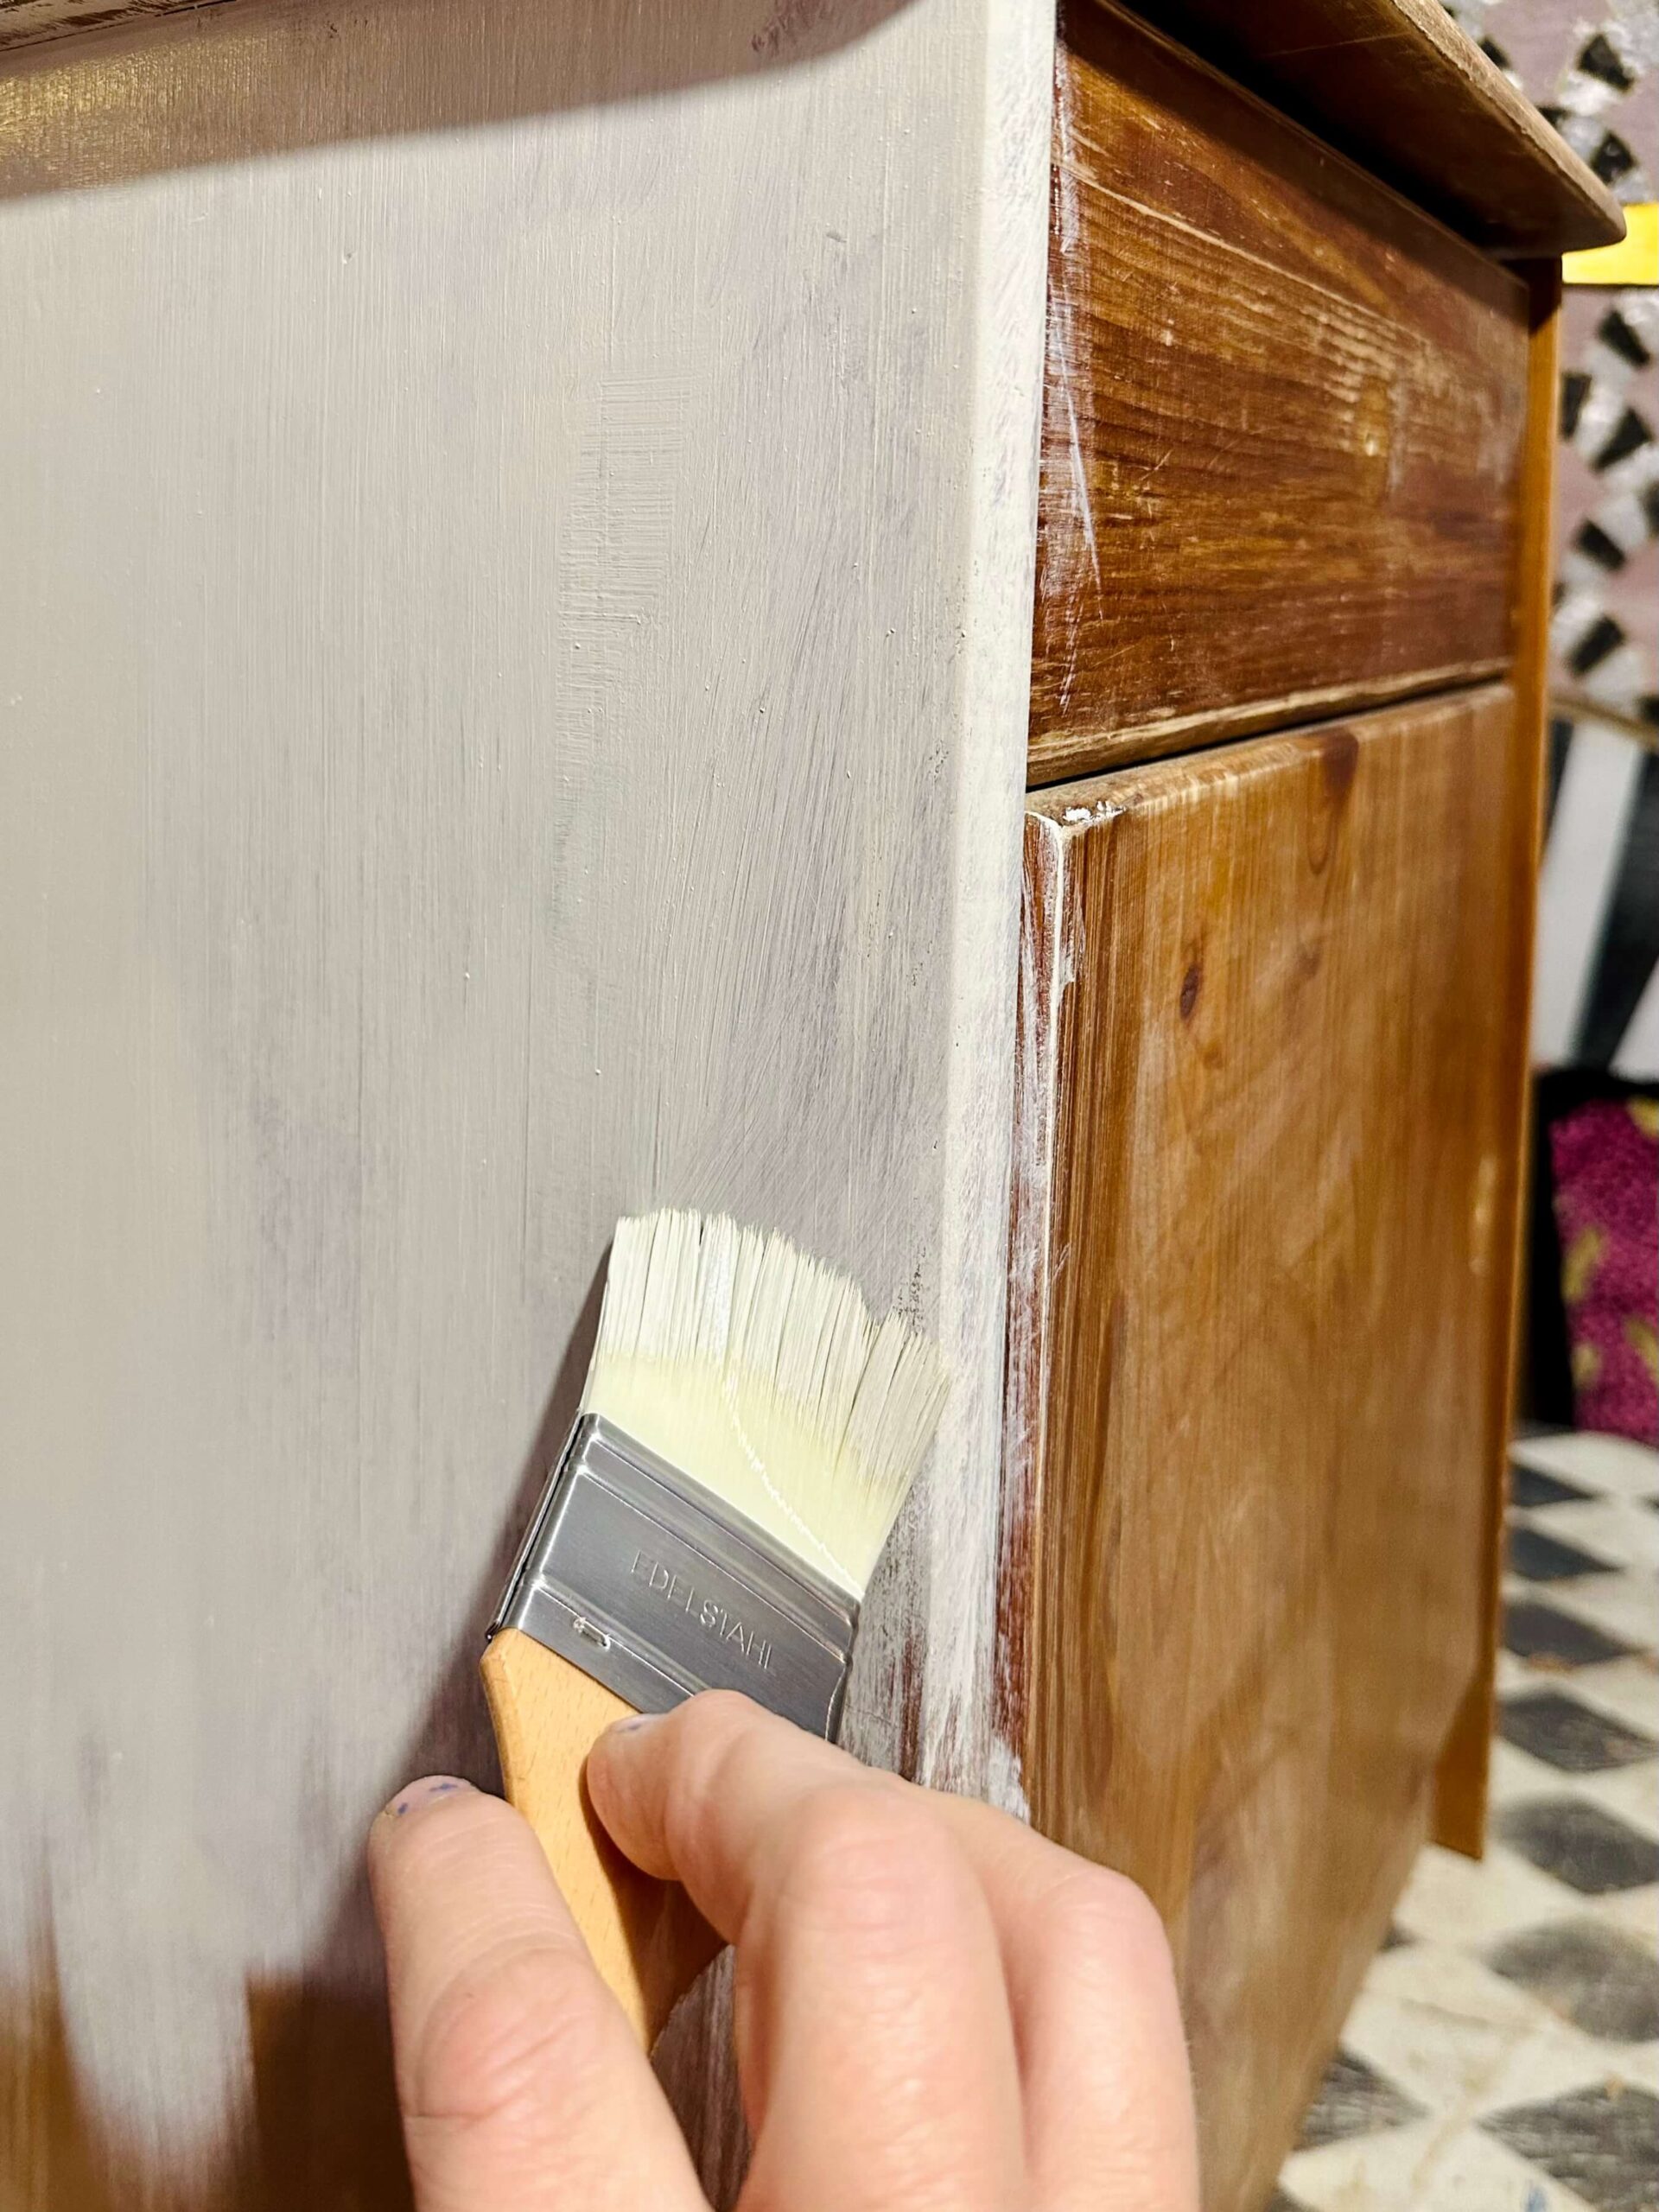
Image A © Marcie K
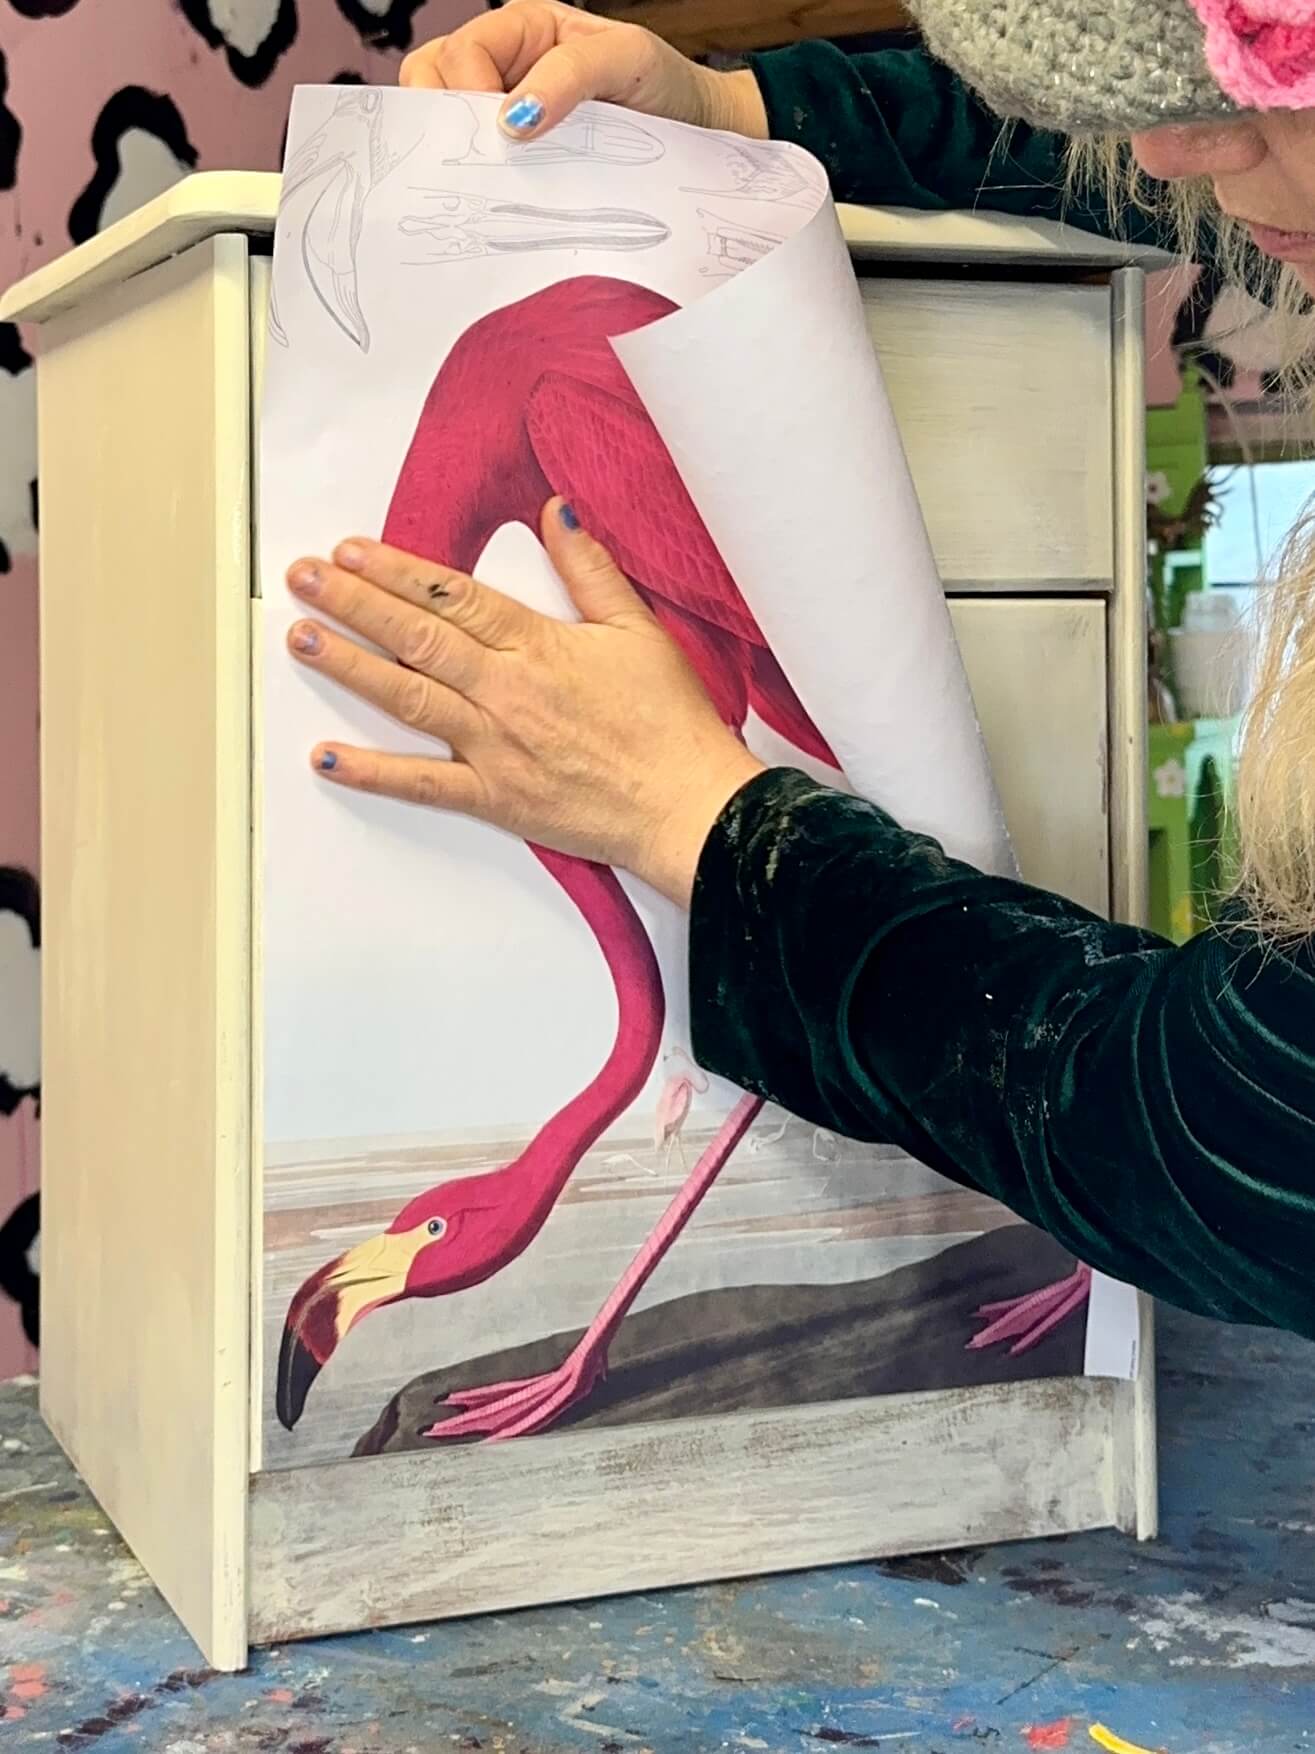
Image B © Marcie K
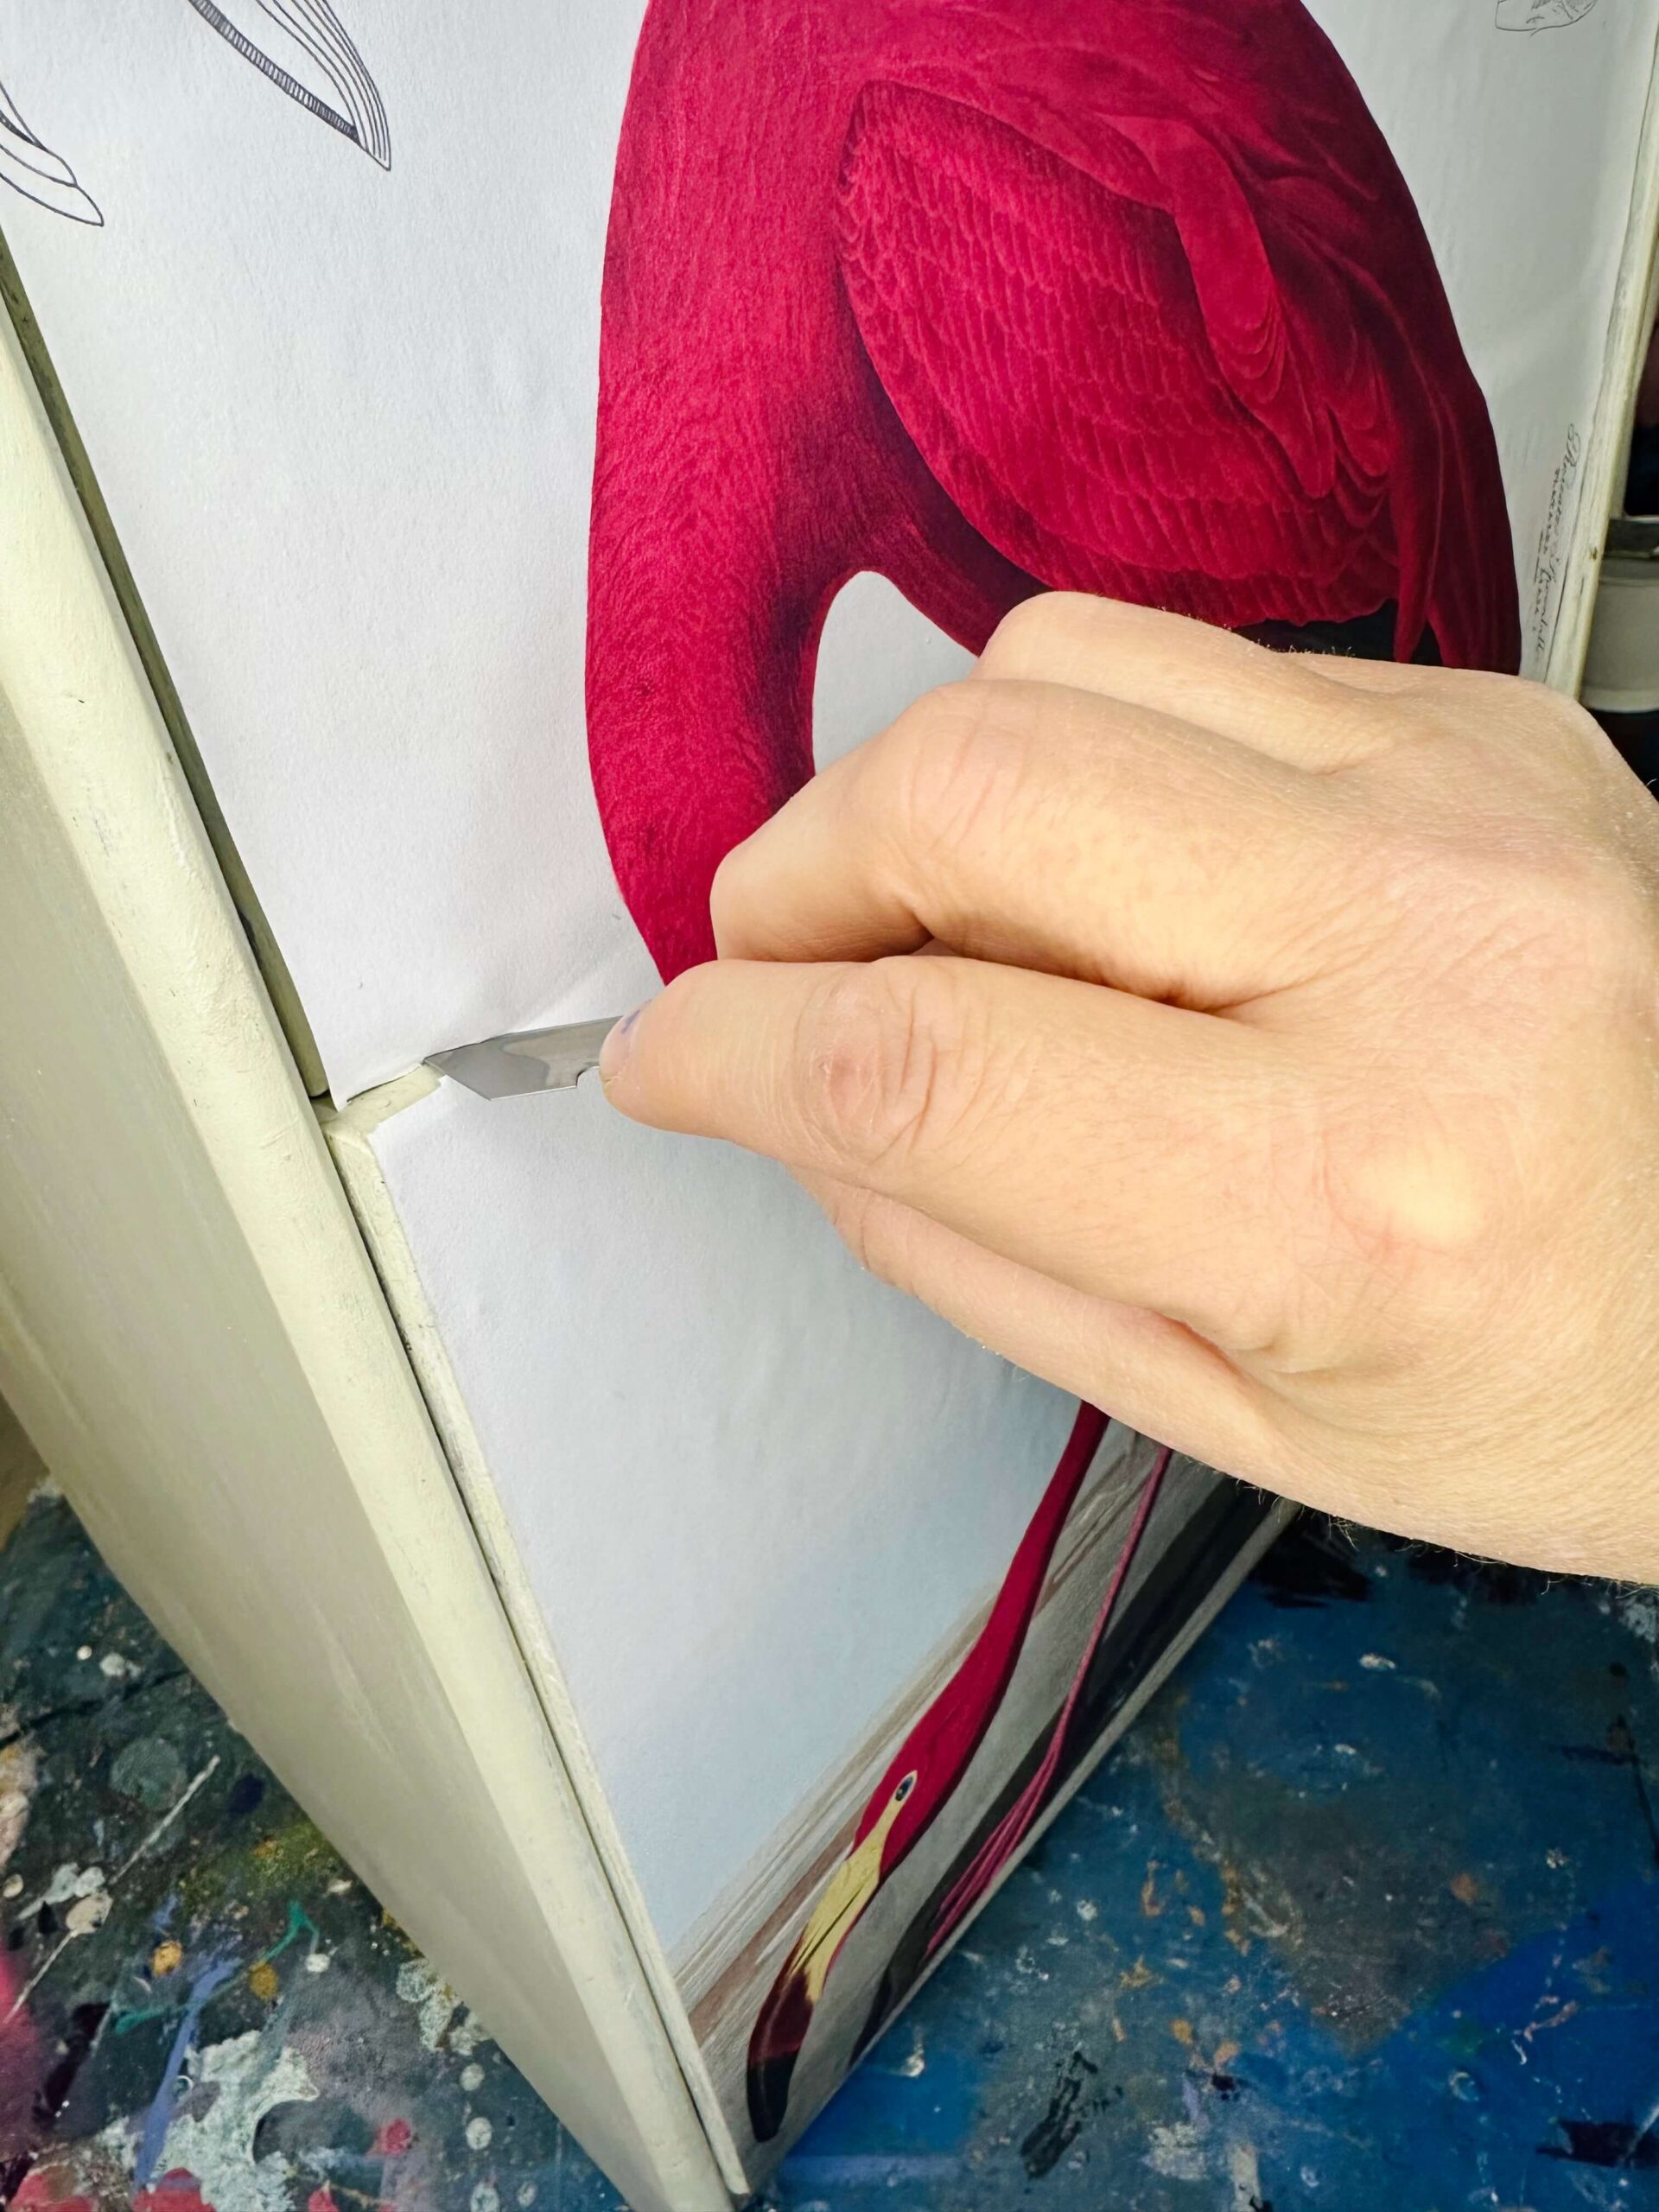
Image C © Marcie K

Image A © Marcie K

Image B © Marcie K

Image C © Marcie K
Step 5
Take the drawer out then sand all the edges, pulling the sandpaper towards you (Image D). Side to side sanding can leave dragging wrinkles on the paper. There may still be small bubbles in your poster, but these will go once dry.
Step 6
Start blending colours to match the poster, and paint beneath the flamingo (if needed) and around the sides (Image E). I used Jet Black to paint the flamingo’s rock and a mix of RAF Blue-Grey and Oxford Ochre to extend the background sea and sky (Image F). Paint on to the actual poster and the edges too. This helps with getting the right colour match, while also making it appear seamless.
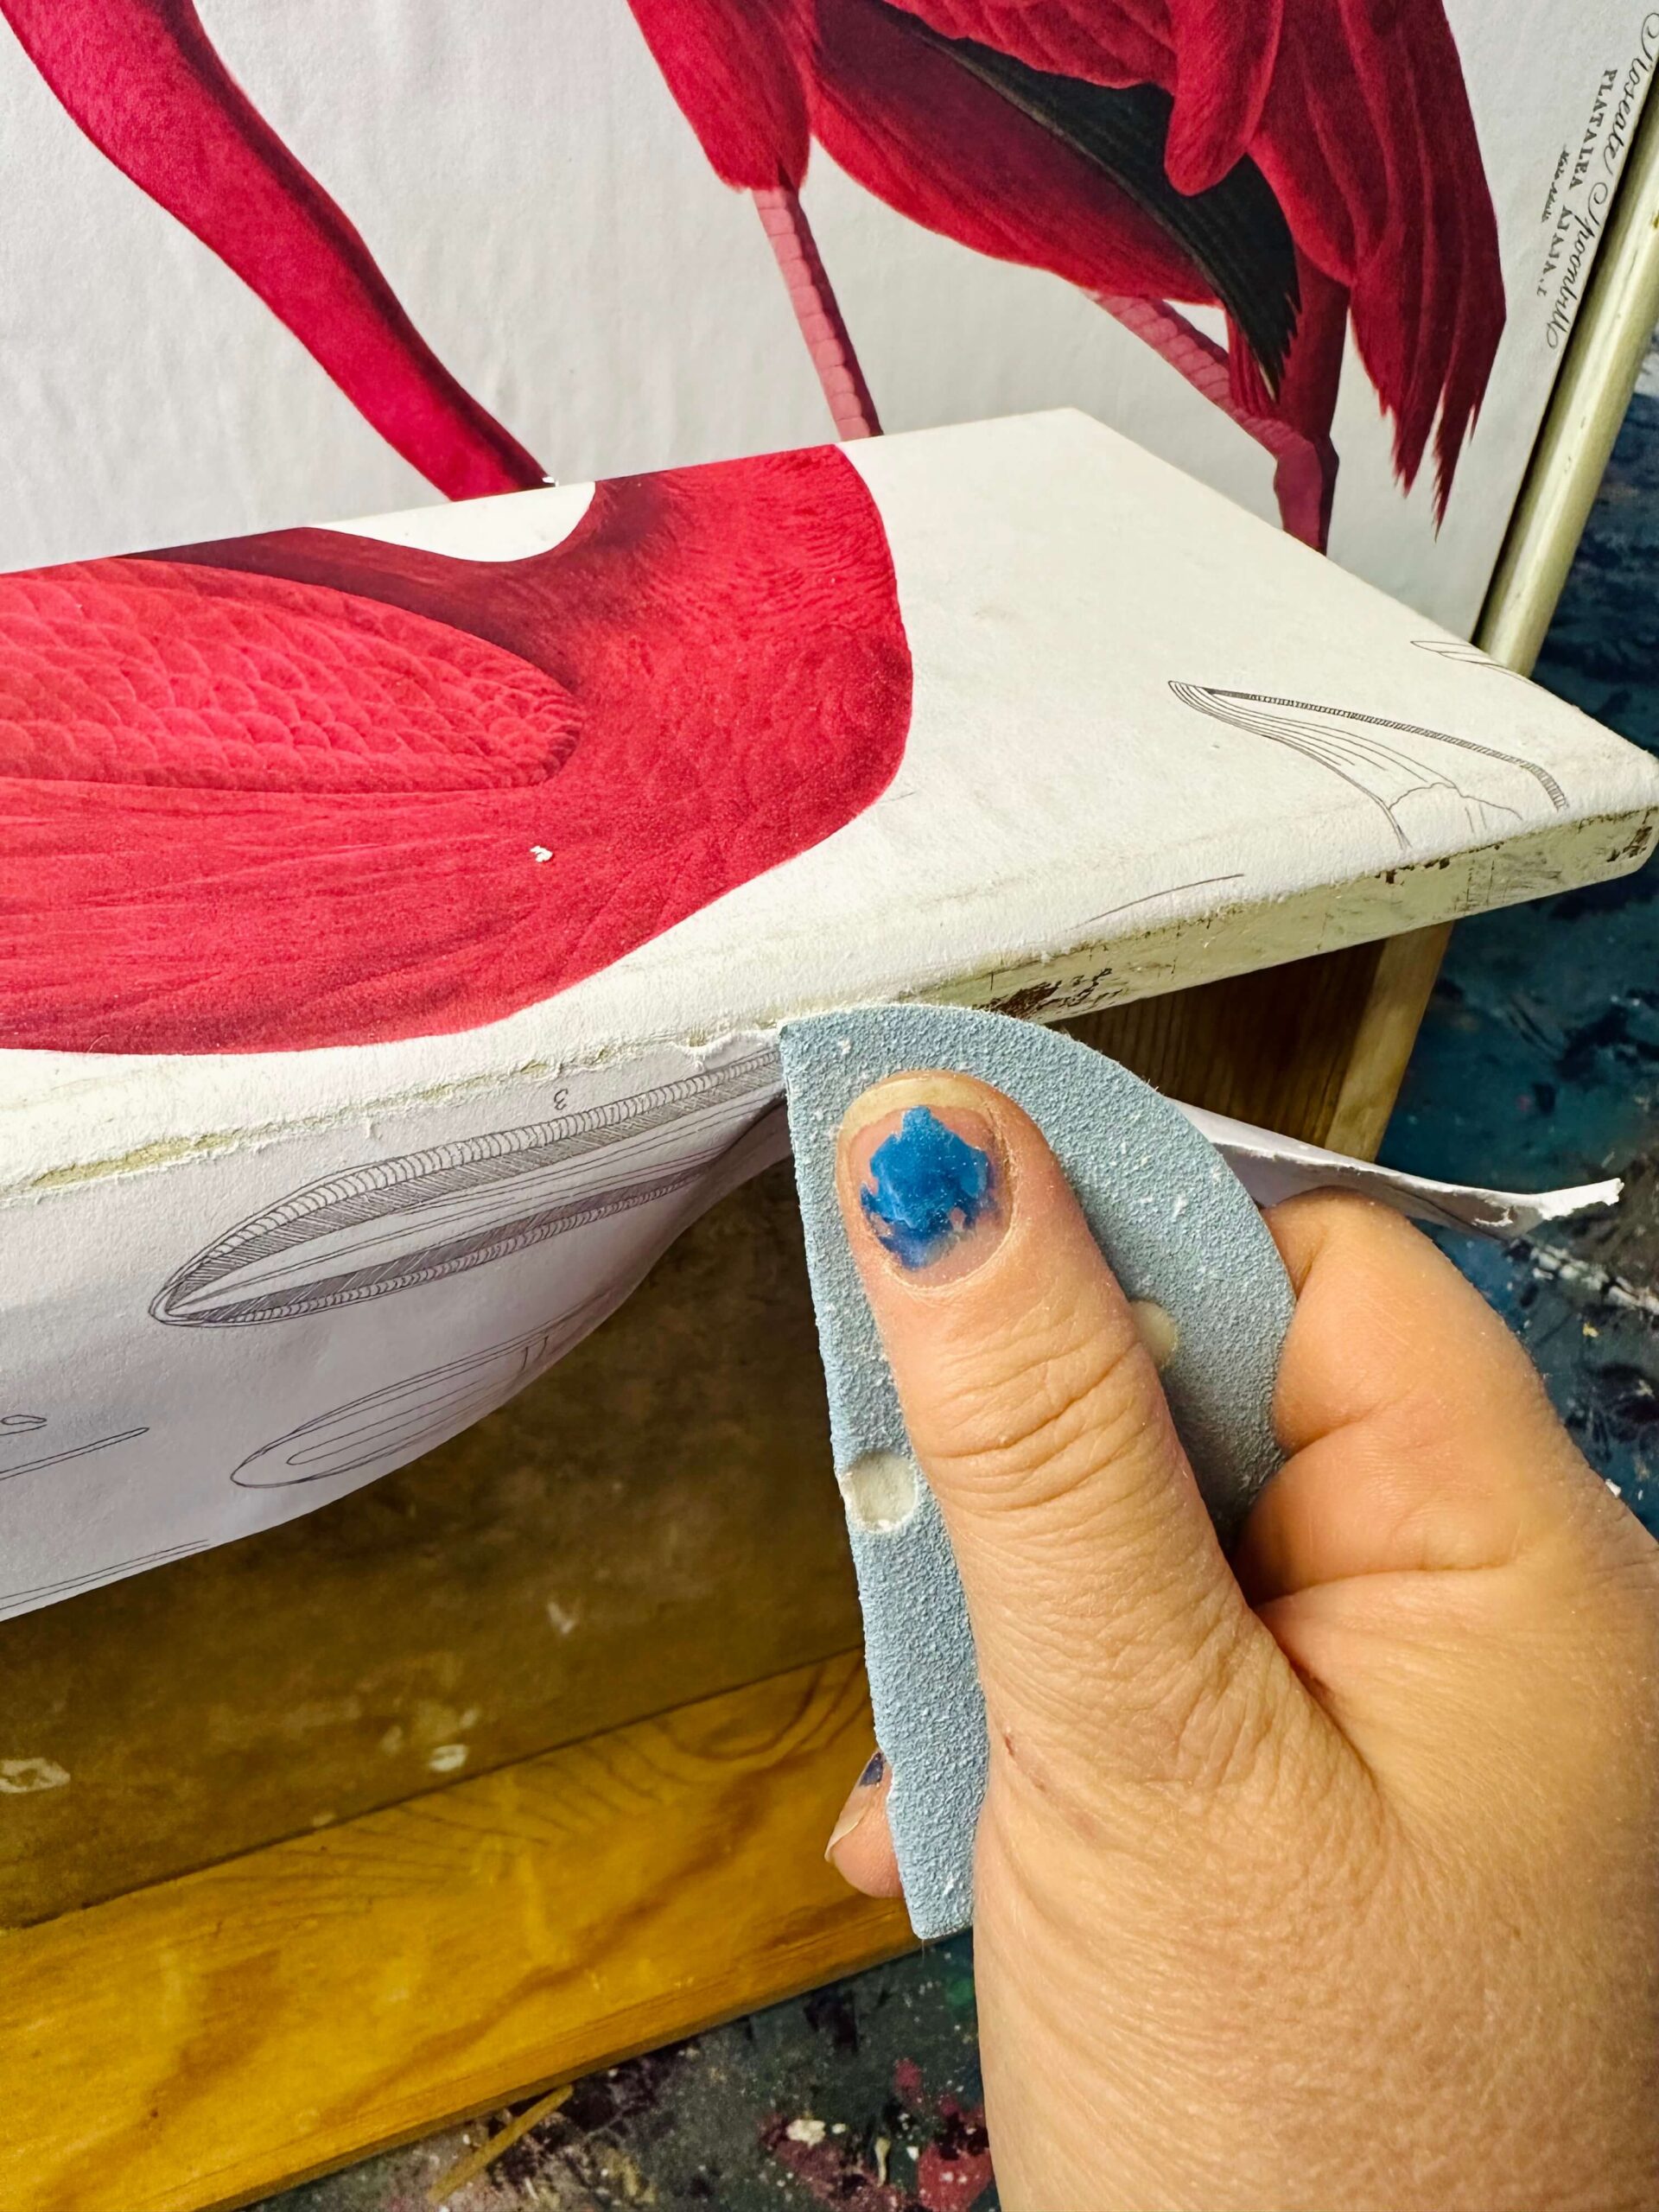
Image D © Marcie K
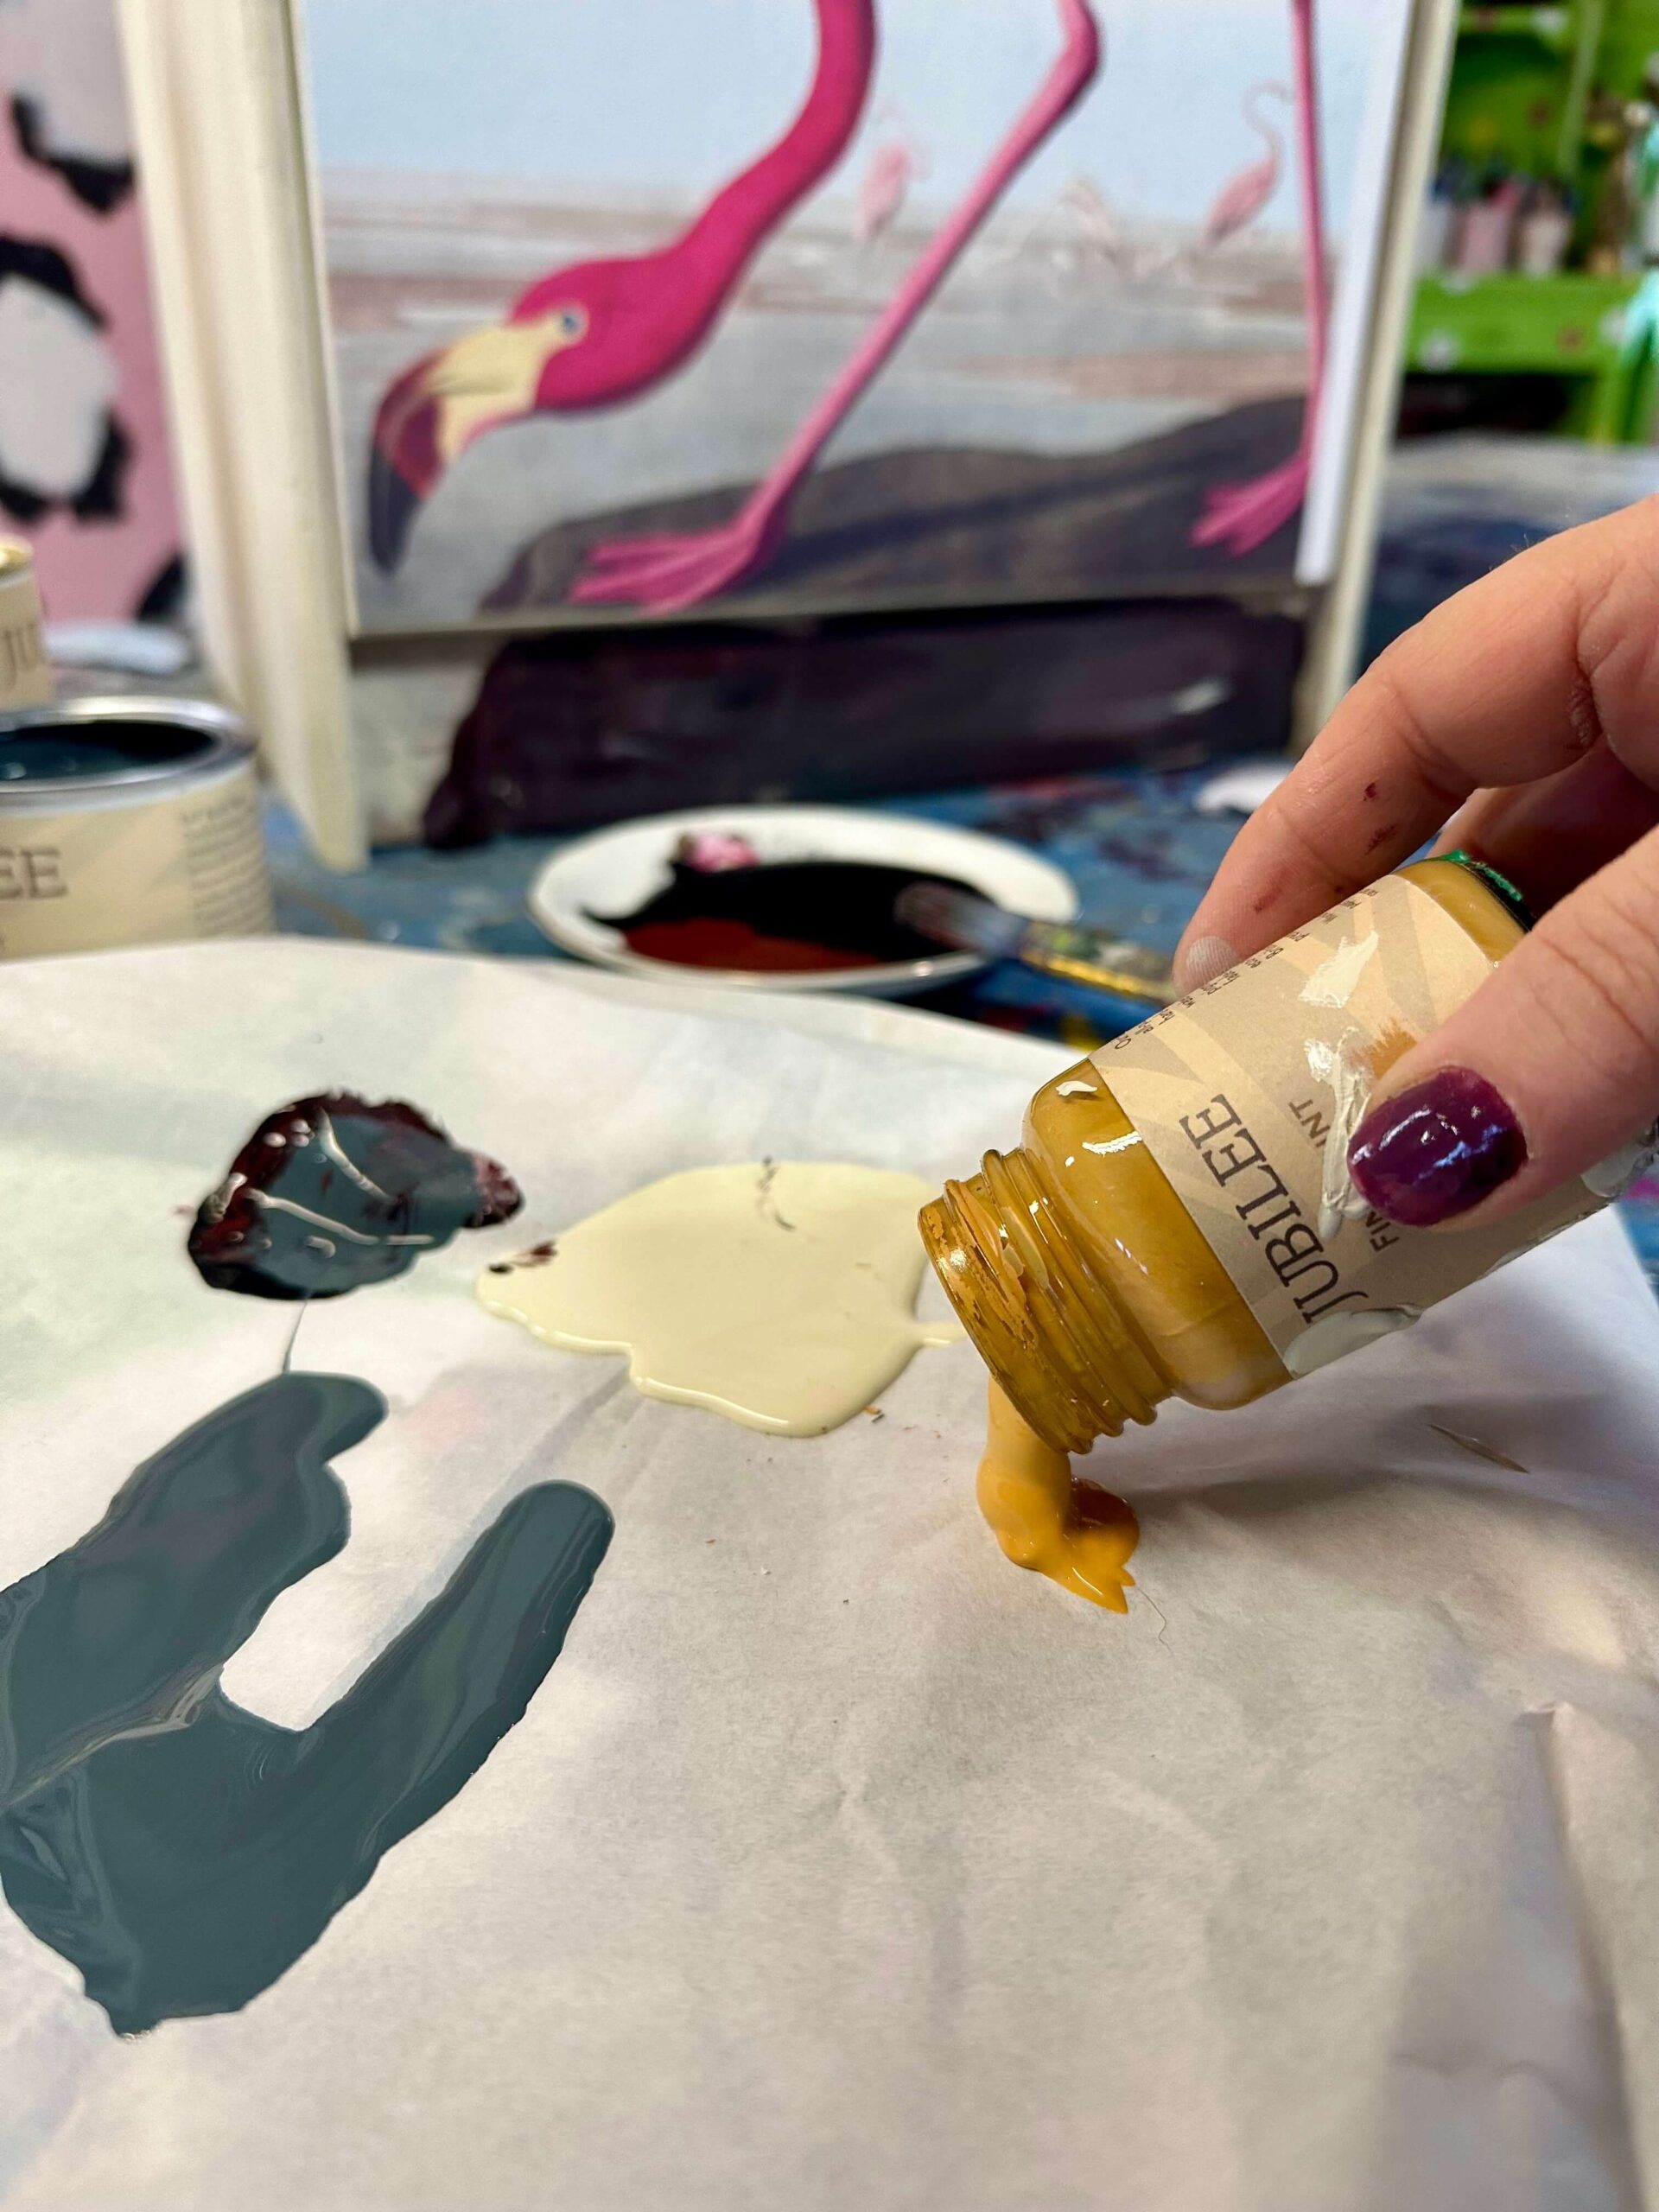
Image E © Marcie K
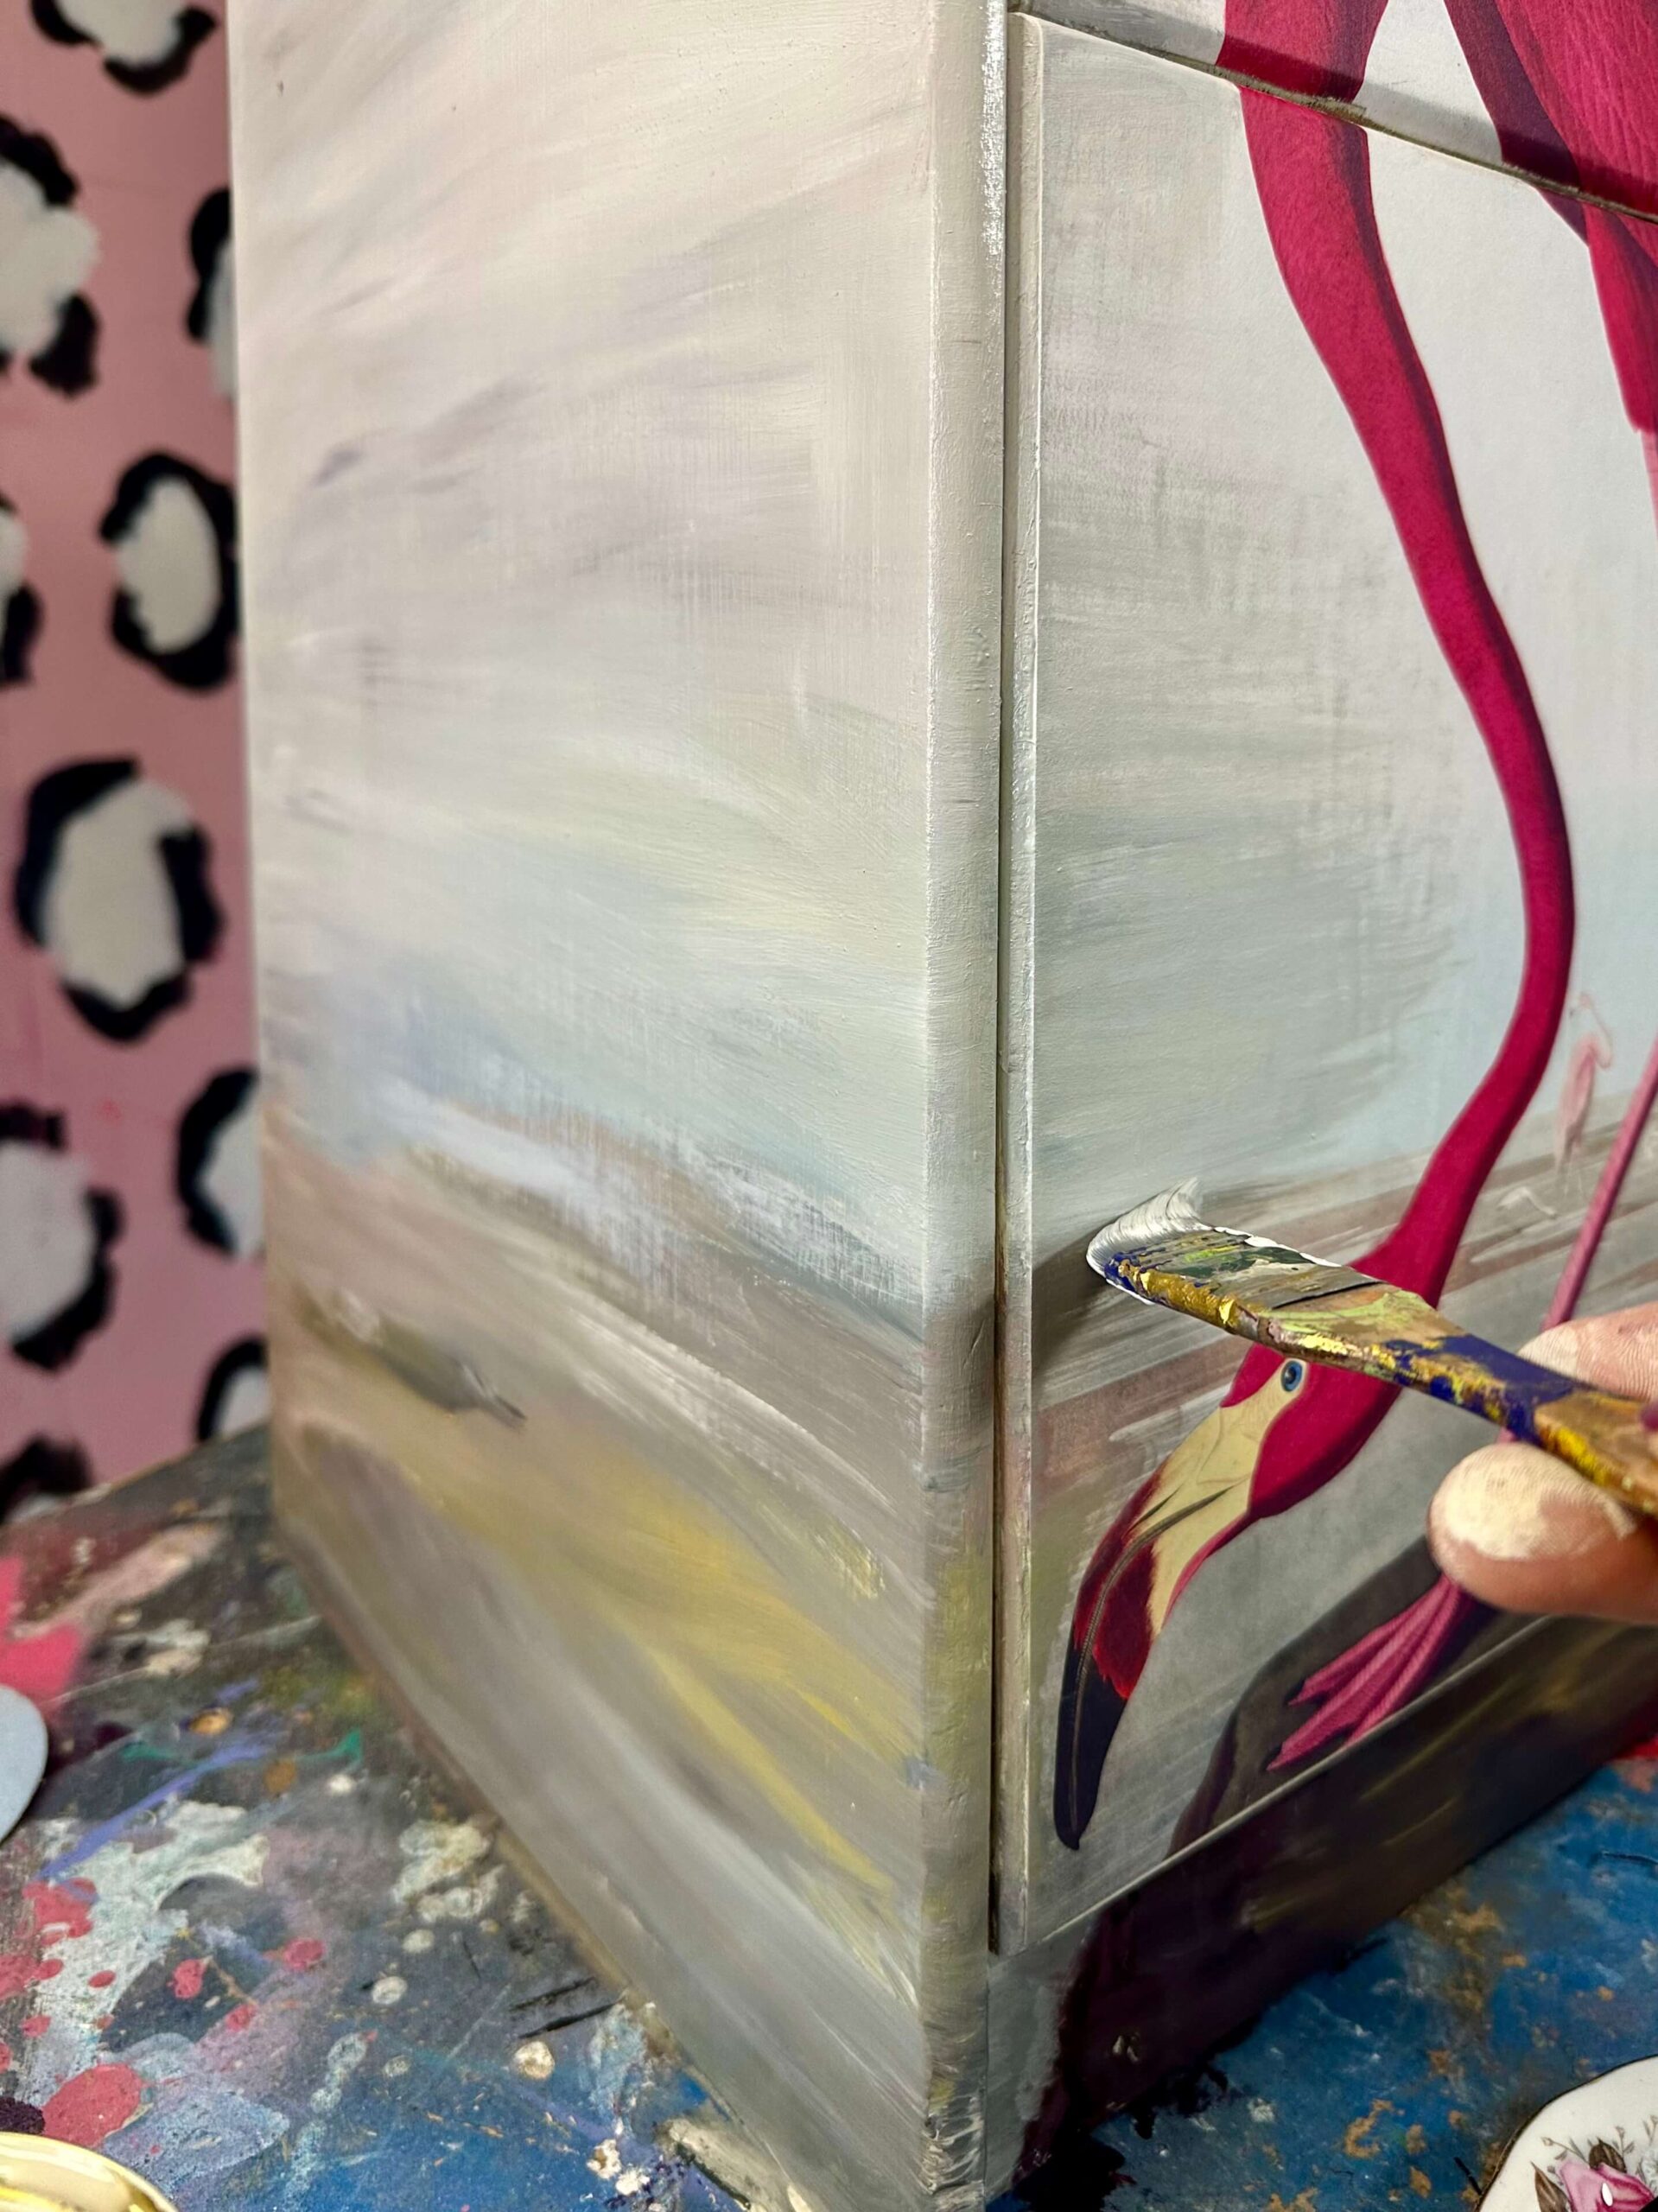
Image F © Marcie K

Image D © Marcie K

Image E © Marcie K

Image F © Marcie K
Step 7
Paint in the edges on the drawers or door (Image G). This gives the look of the whole piece being hand painted. I had to add in the flamingo tail with a small brush too, as the printout had cropped it off (Image H). To finish, varnish the front with a matt wax and add small hardware that doesn’t detract from the image (Image I).
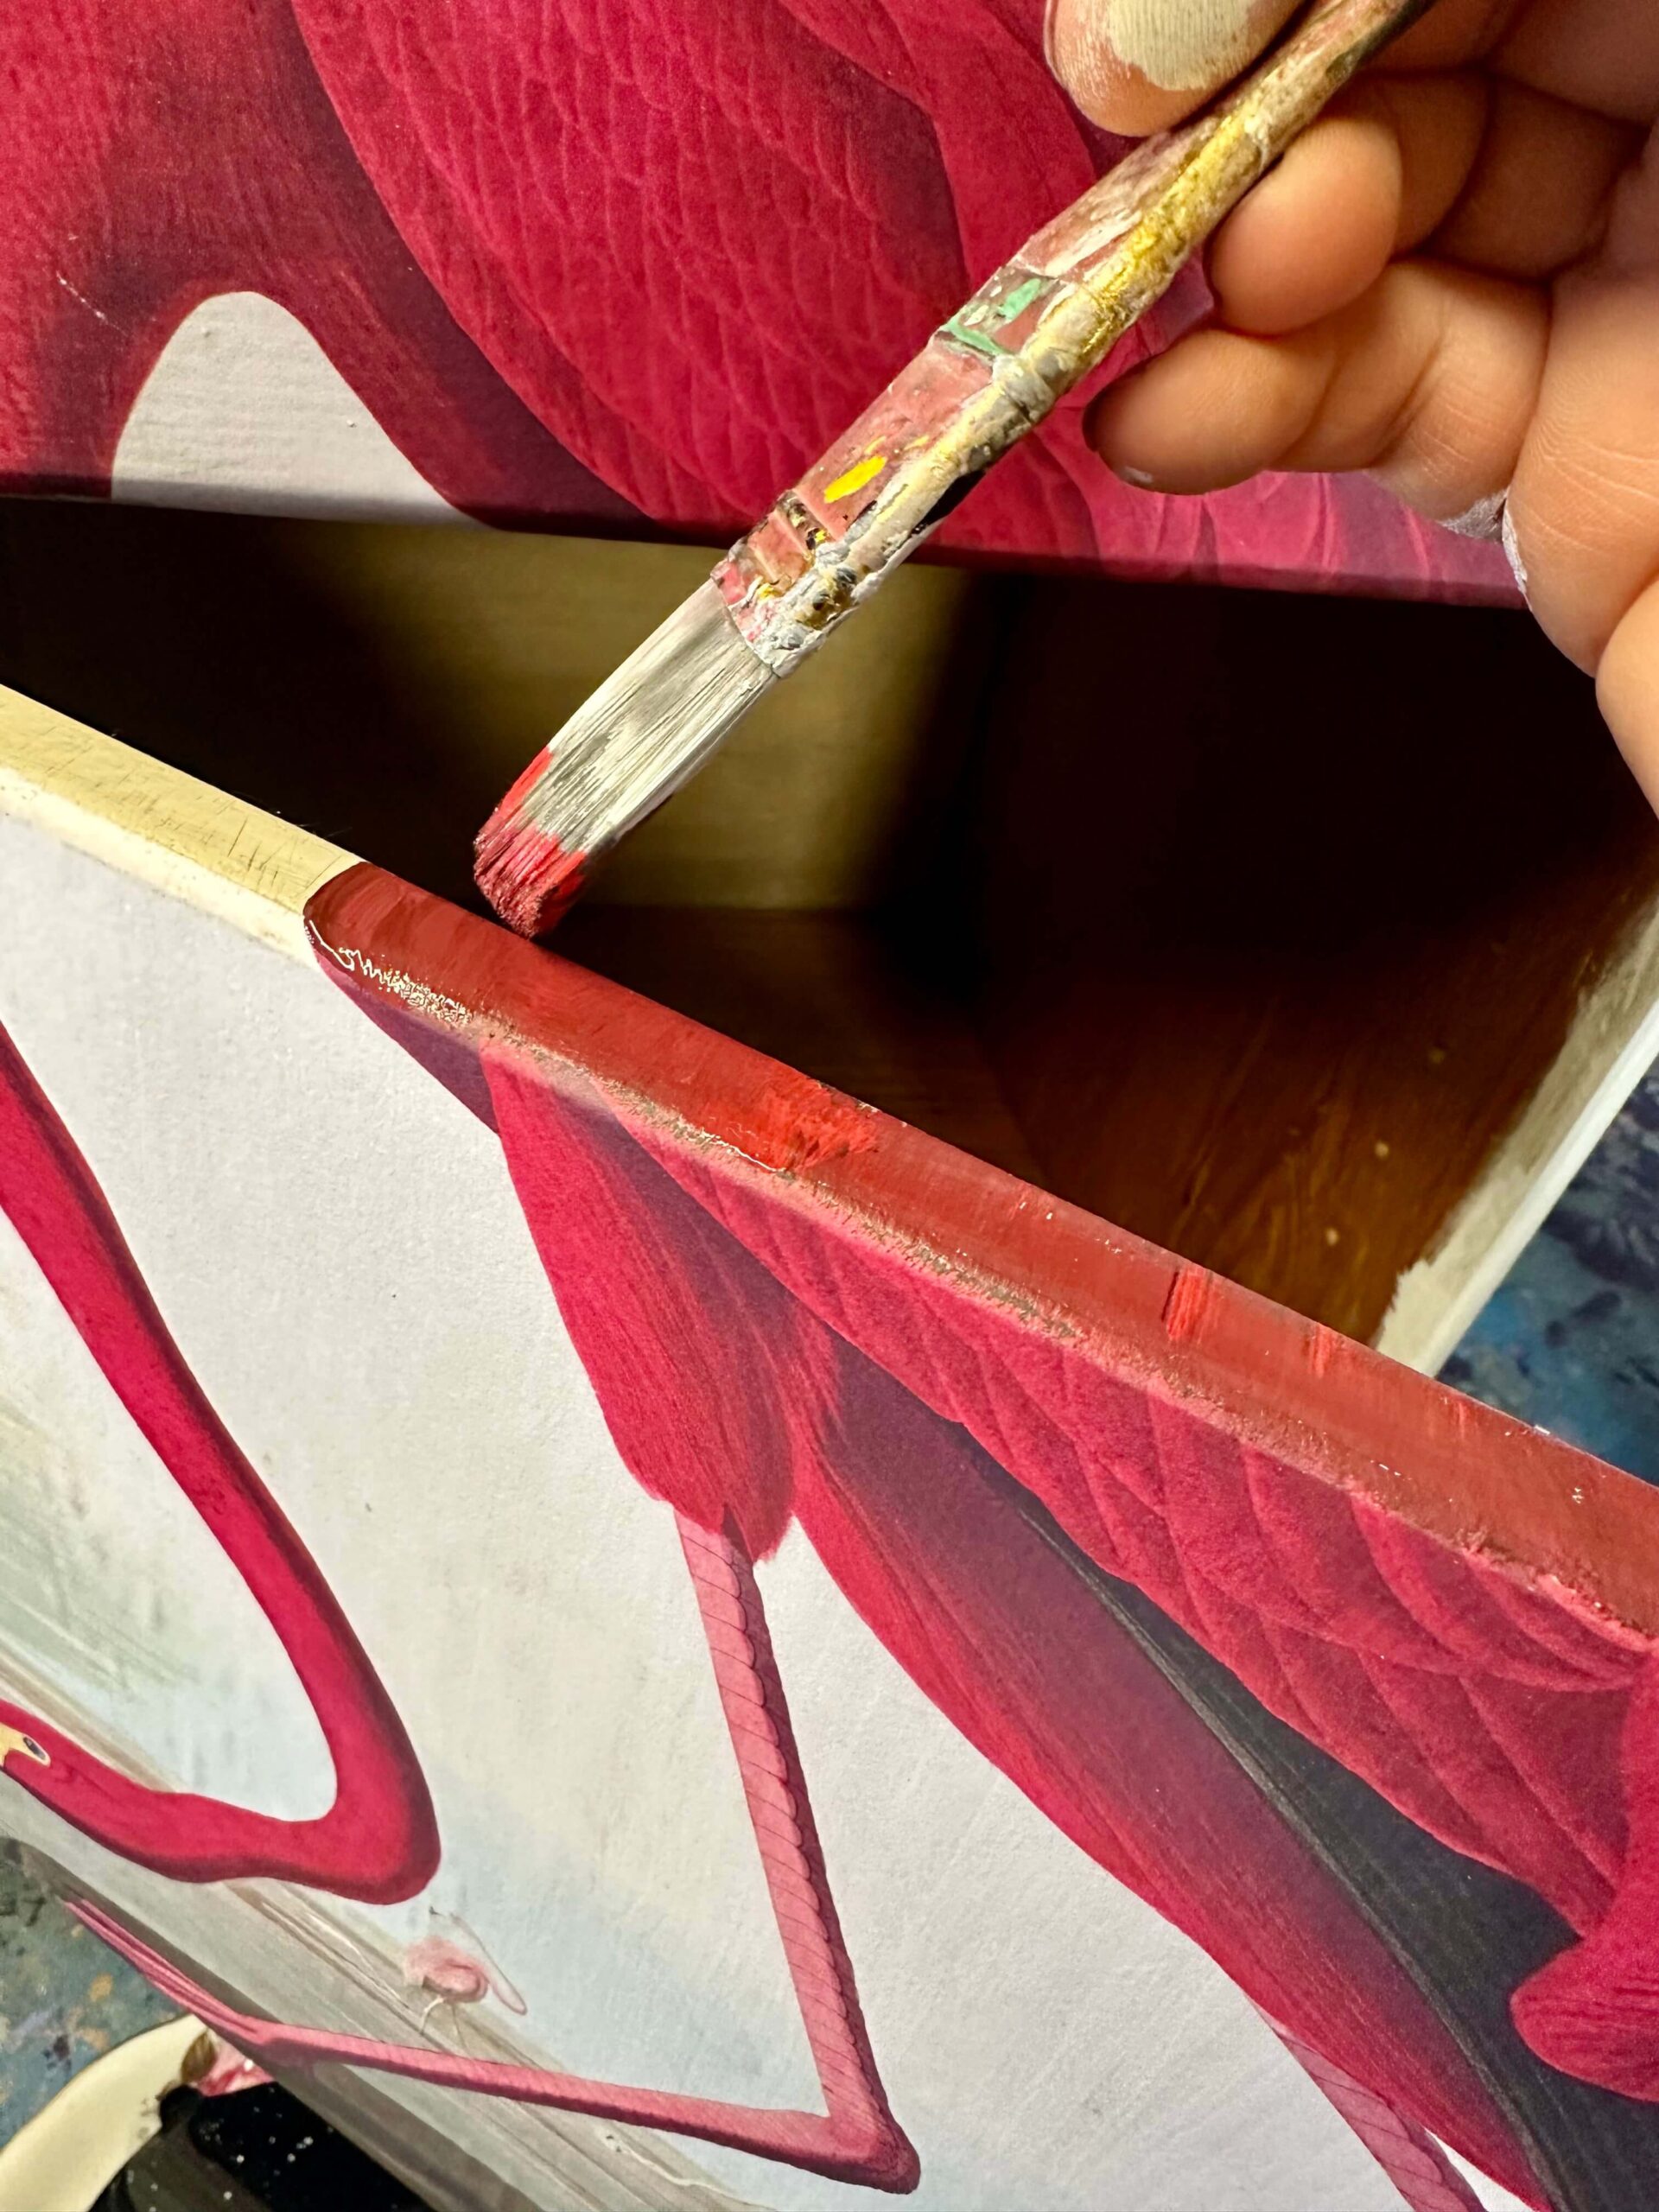
Image G © Marcie K
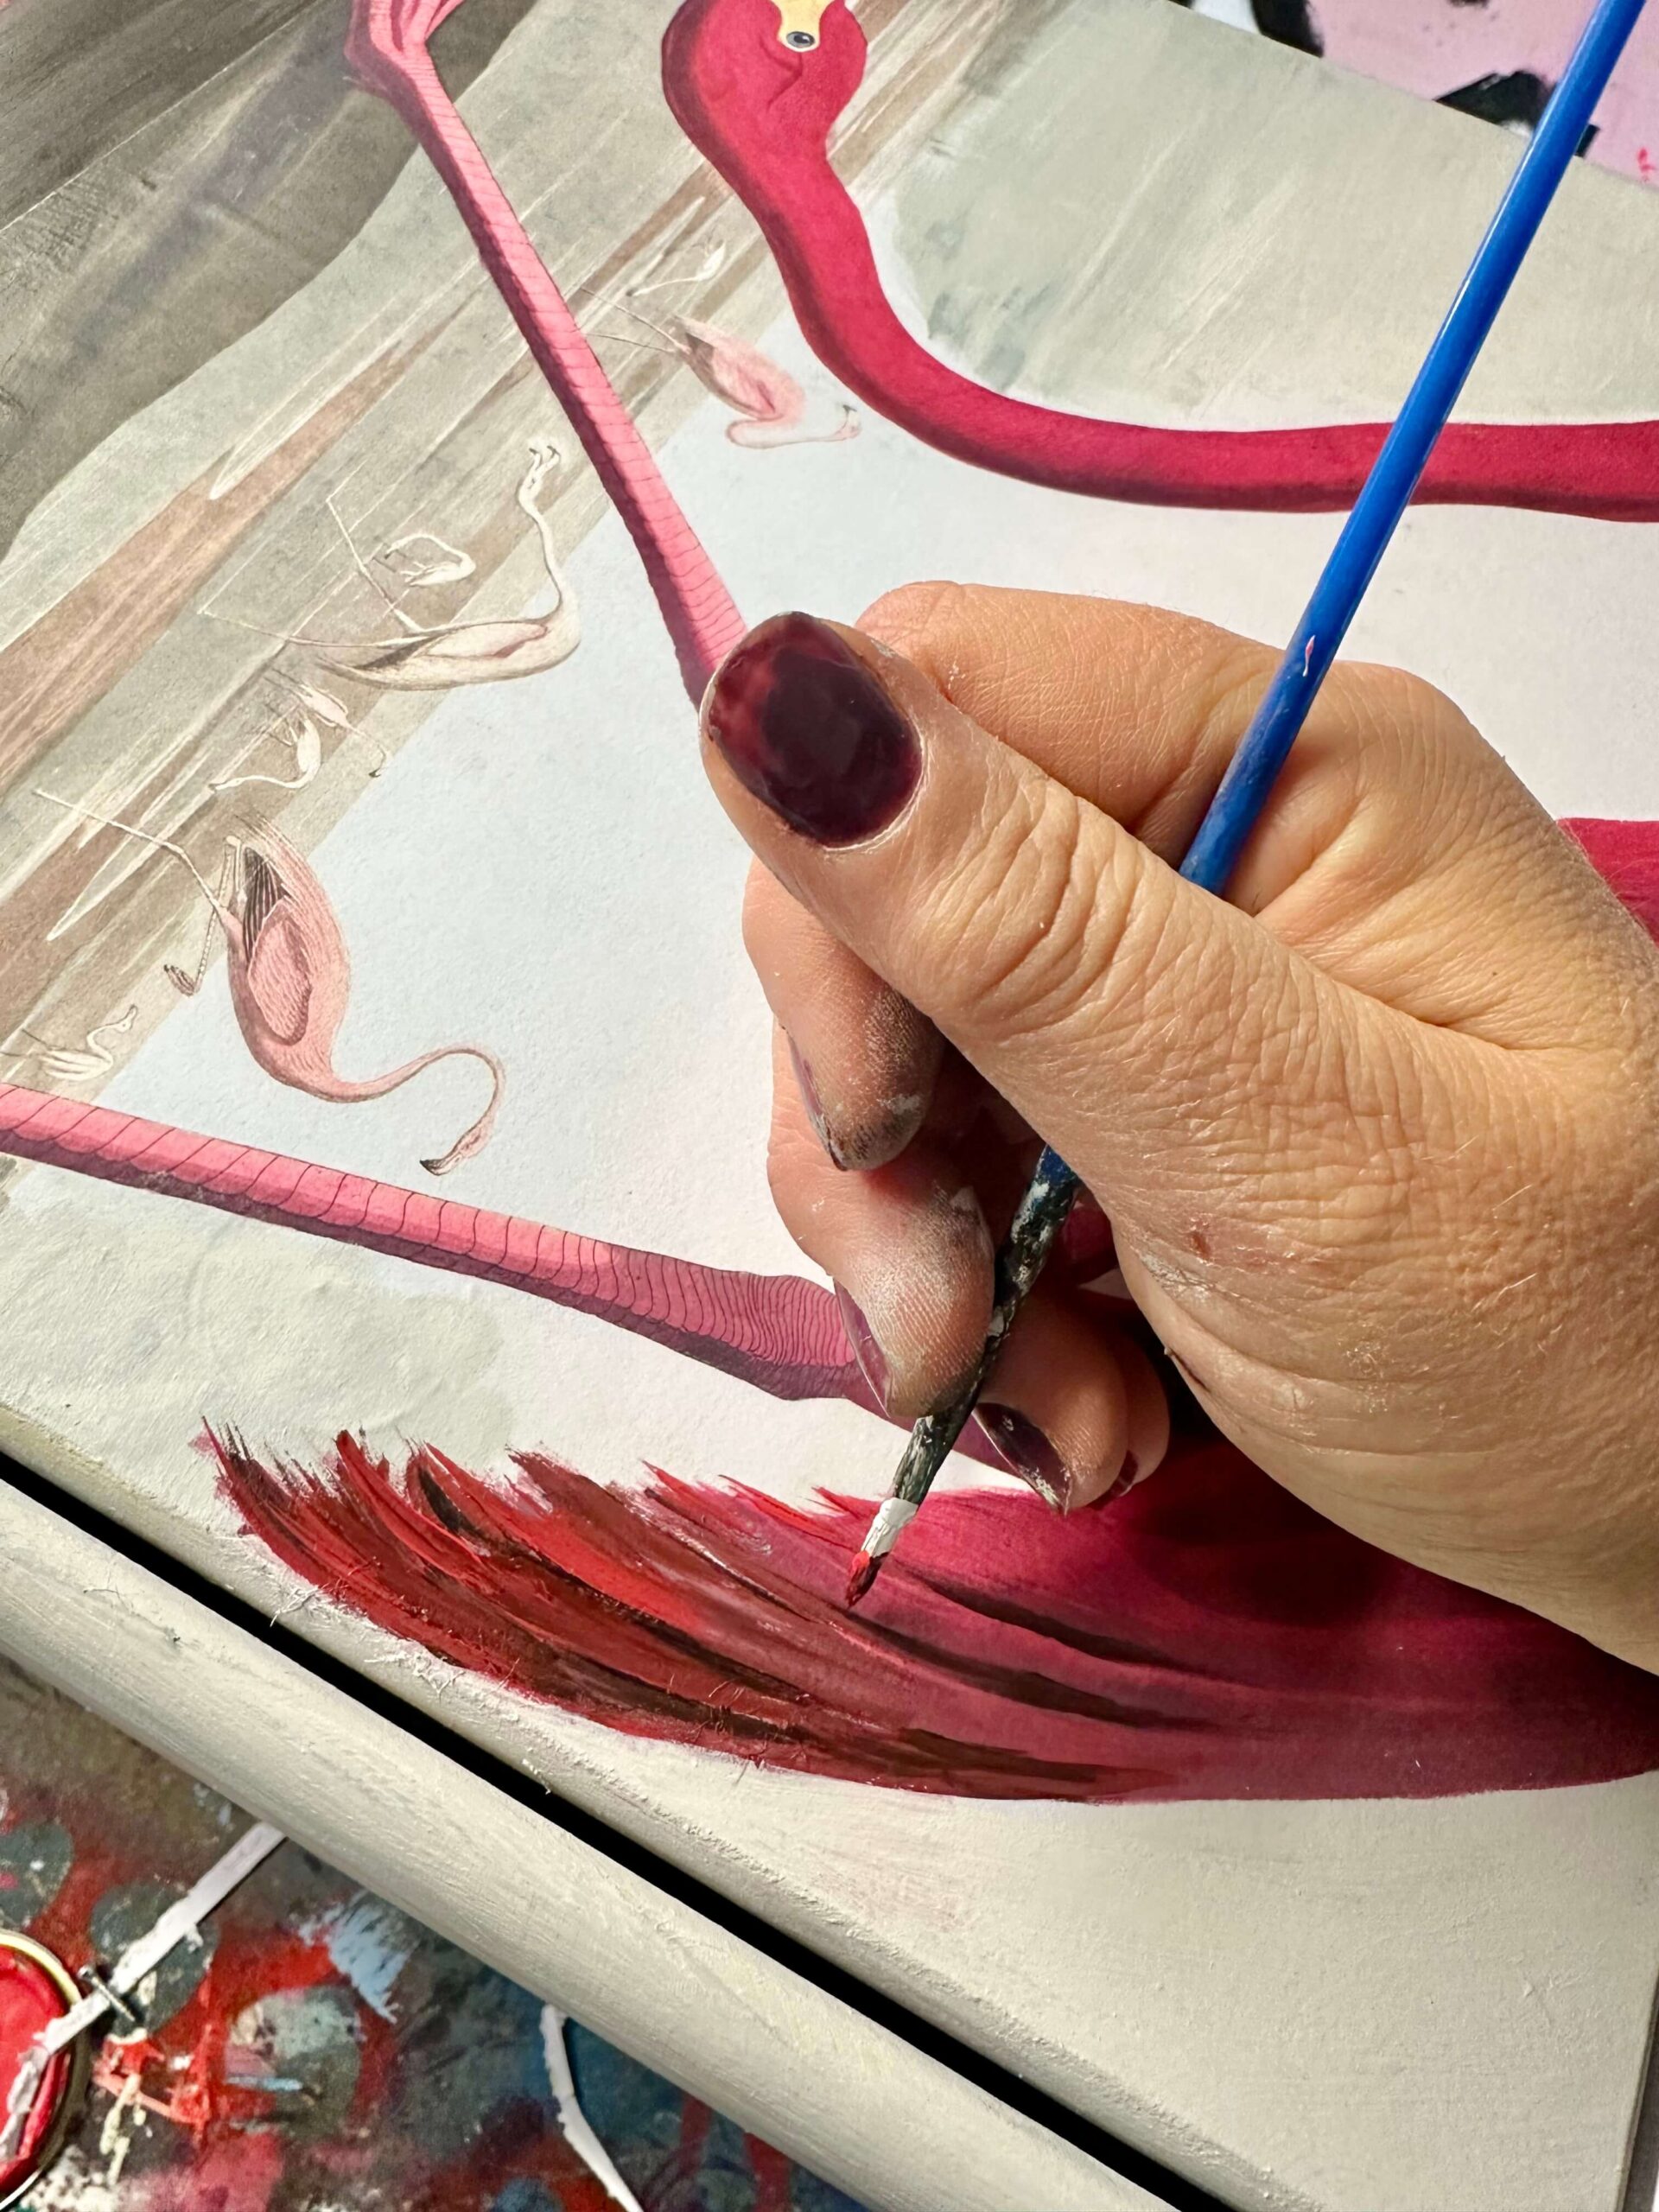
Image H © Marcie K
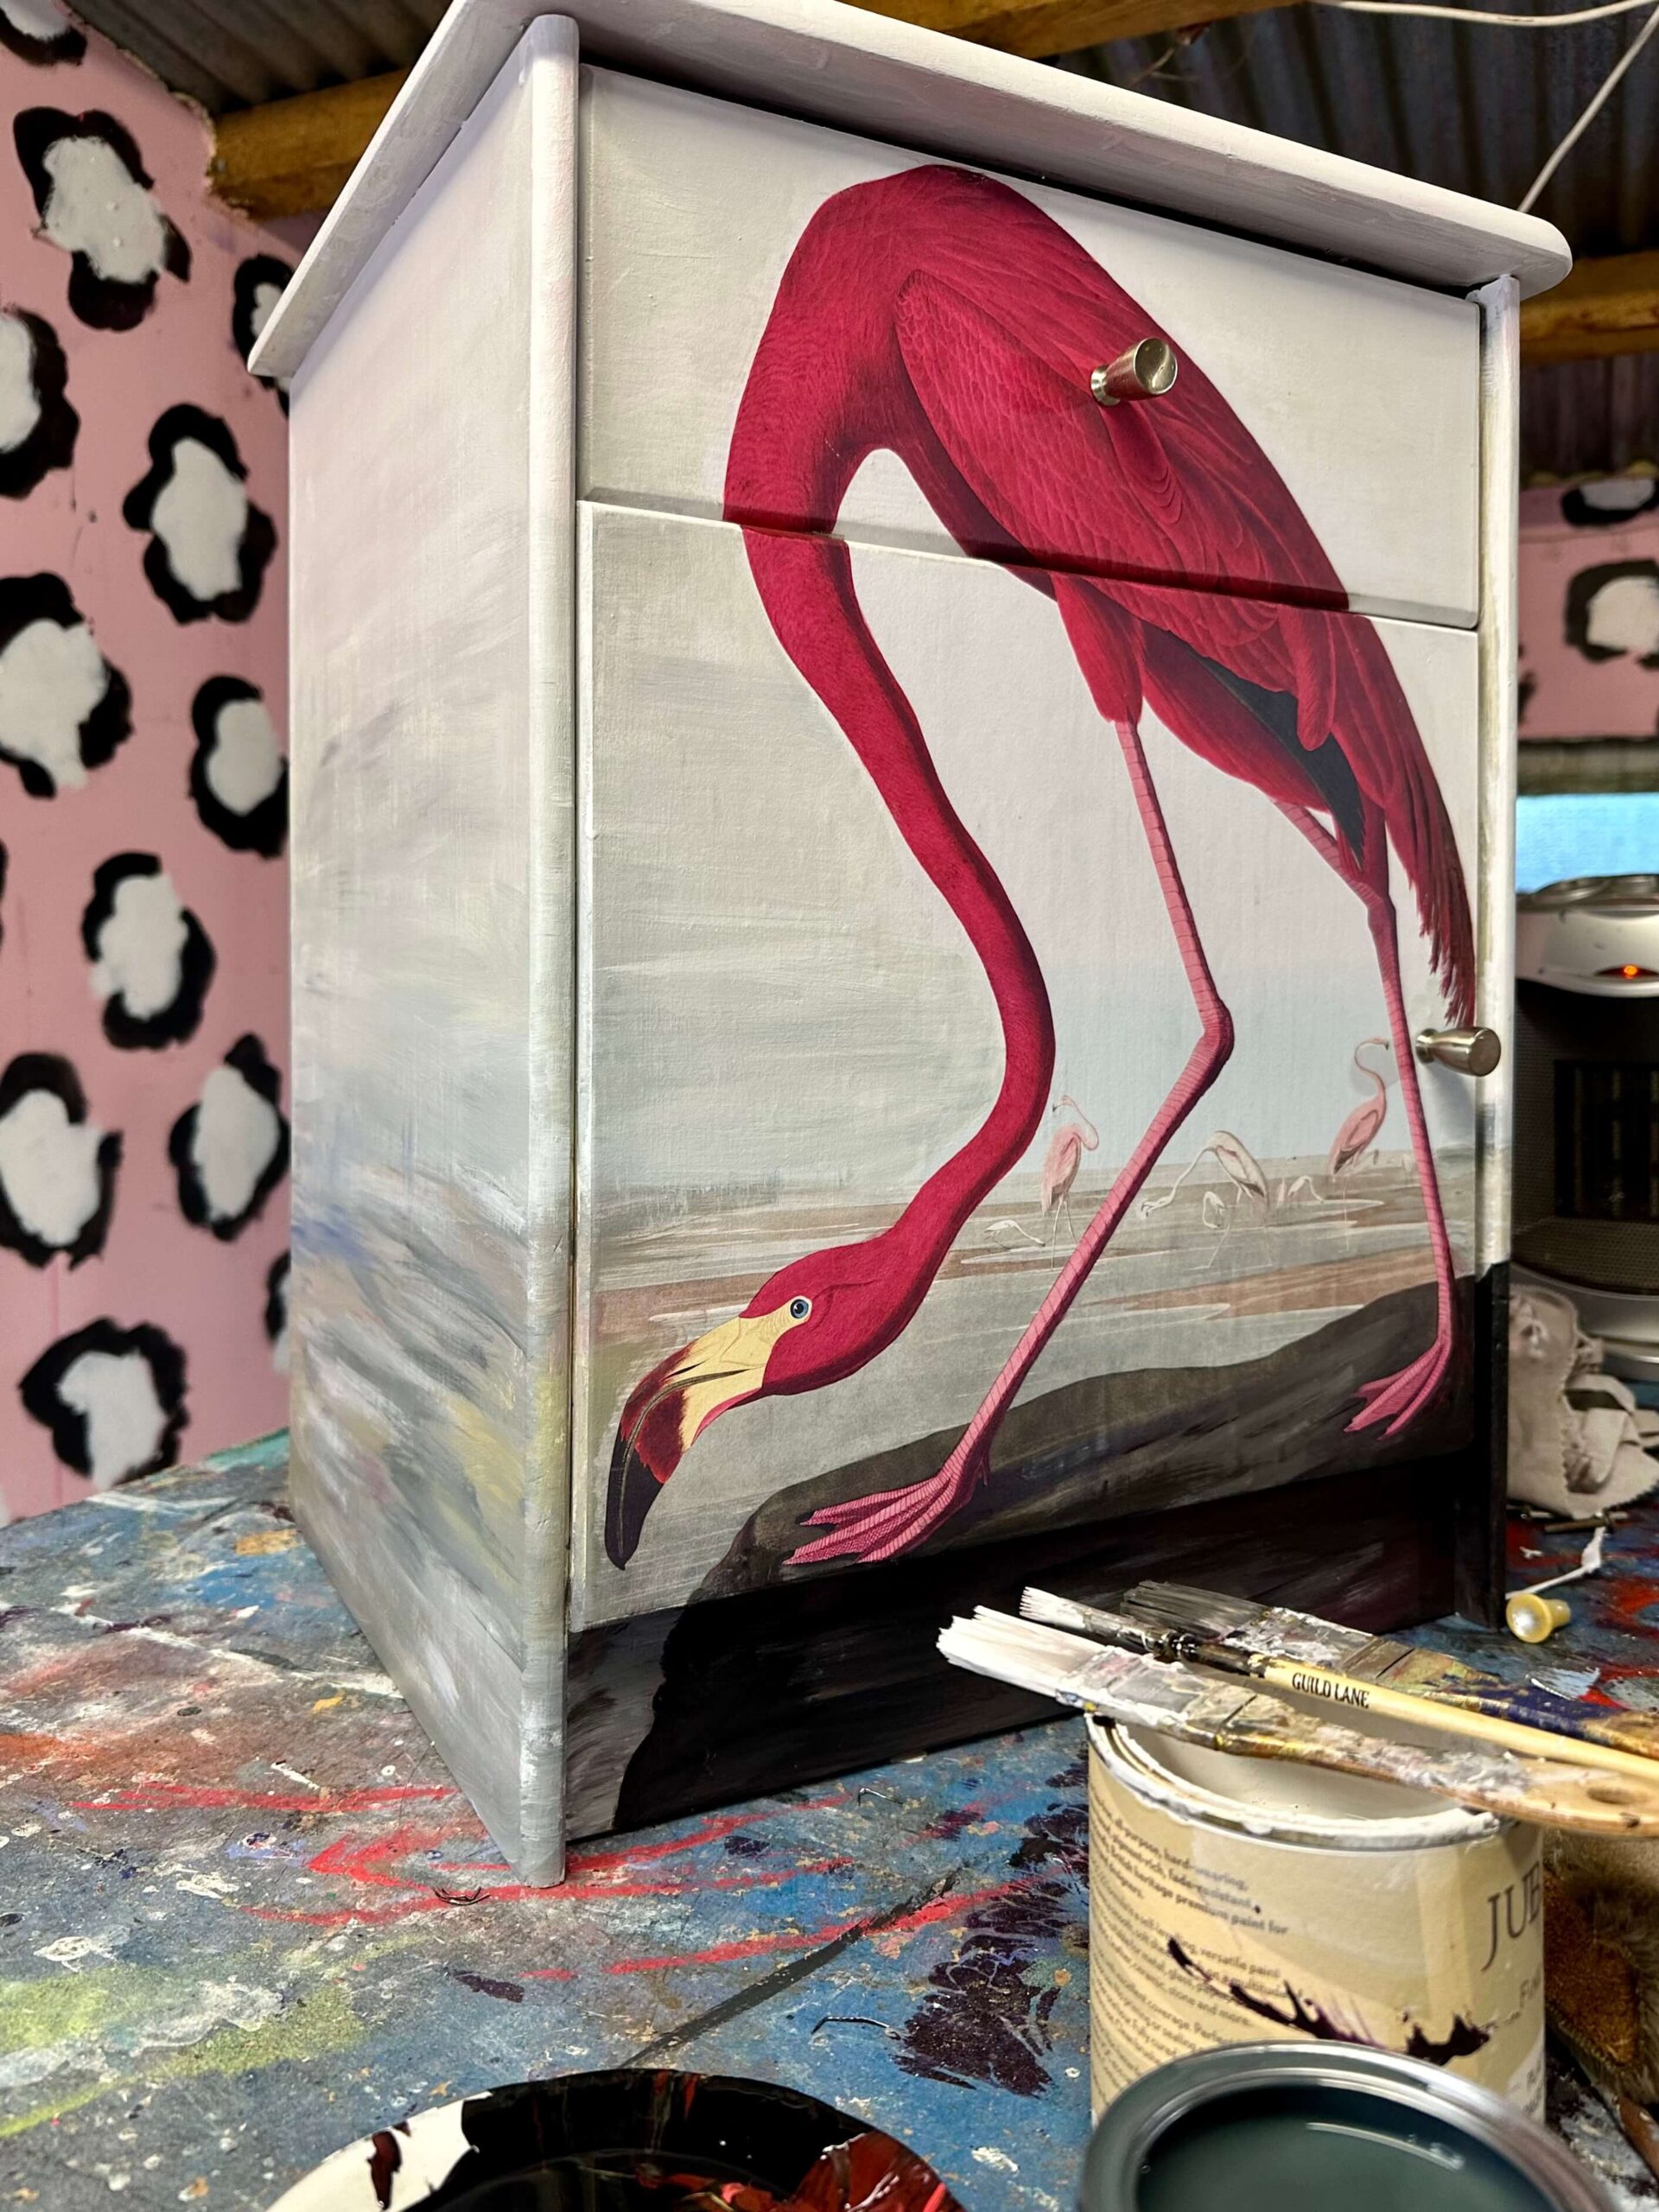
Image I © Marcie K

Image G © Marcie K

Image H © Marcie K

Image I © Marcie K
Before you go...
...fancy automatic entry to all future competitions?
Simply register online today for FREE and you will get:
Automatic entry to all current and future competitions.
Access to Reclaim Inspiration - an online visual pinboard for saving all your home and style inspiration.
A regular newsletter of inspiration, ideas and advice.

Save all your articles in one place
Become a Reclaim Member to save all your home and style inspiration. Simply login or register online today for FREE and you will get:
Automatic entry to all current and future competitions.
Access to Reclaim Inspiration - an online visual pinboard for saving all your home and style inspiration.
A regular newsletter of inspiration, ideas and advice.
