Make a decoupaged William Morris-style cupboard
Author: Marcie K
© Marcie K
Marcie K shows how to upcycle a plain pine cupboard into a pretty cottagecore feature
Over the years, I’ve become more adventurous with using wrapping paper to update furniture, and have managed to perfect the art of making it smooth on large pieces using my special technique. Unlike wallpaper, wrap tends to bubble and tear, but if you’re quick and well-prepared, I can talk you through how to do it. Although this technique is a little harder than working with torn pieces of wrapping paper, it’s worth the effort and practice, especially as the result is so good.
The best part is that designer wrapping paper costs a fraction of the price of a roll of wallpaper. I found the William Morris paper I’ve used here for just £2.99 for a three-metre roll at Homesense – you can also find a beautiful selection of Morris papers and other gorgeous designs at Paper Tree Nook. Any leftover pieces can be used to wrap gifts or decoupage small drawers, so nothing will go to waste.
I’ve chosen a cottagecore look with this Arts & Crafts pattern in muted colours, but you could go bold and maximalist with exotic creatures, opt for marble-effect for contemporary cool, or have fun with dinosaur designs for a child’s bedroom.

Step 1
Sand the cupboard to get a smooth finish, then paint the whole piece. I used a pale green paint called Limerick from B&Q which complements my wrapping paper. For the areas you plan to cover with paper, just add one coat. Allow to dry.
Step 2
Run your fingers over the areas your paper will cover and if there are any bumps then lightly sand these away. Cut out pieces of your paper to roughly fit the cupboard area, paying attention to any details you might have in a pattern that you want centralised.
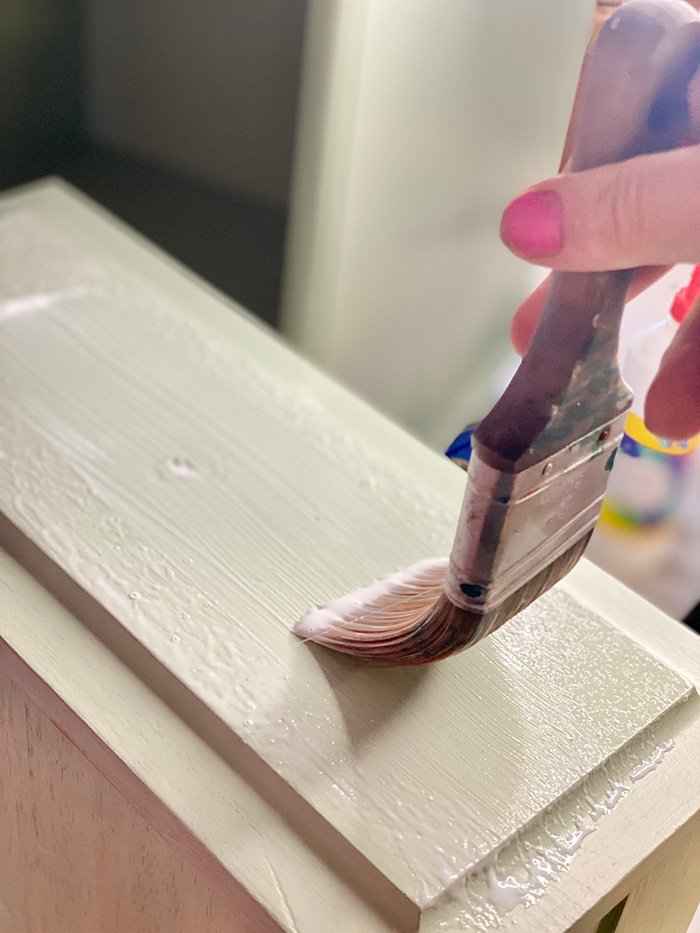
Image A
Step 3
Use a roller to apply a coat of PVA glue, then take a smooth brush to spread and lift off any excess (Image A). I find doing it this way helps to even out the glue. Leave the glue for a few minutes, just enough to go from being wet to tacky.
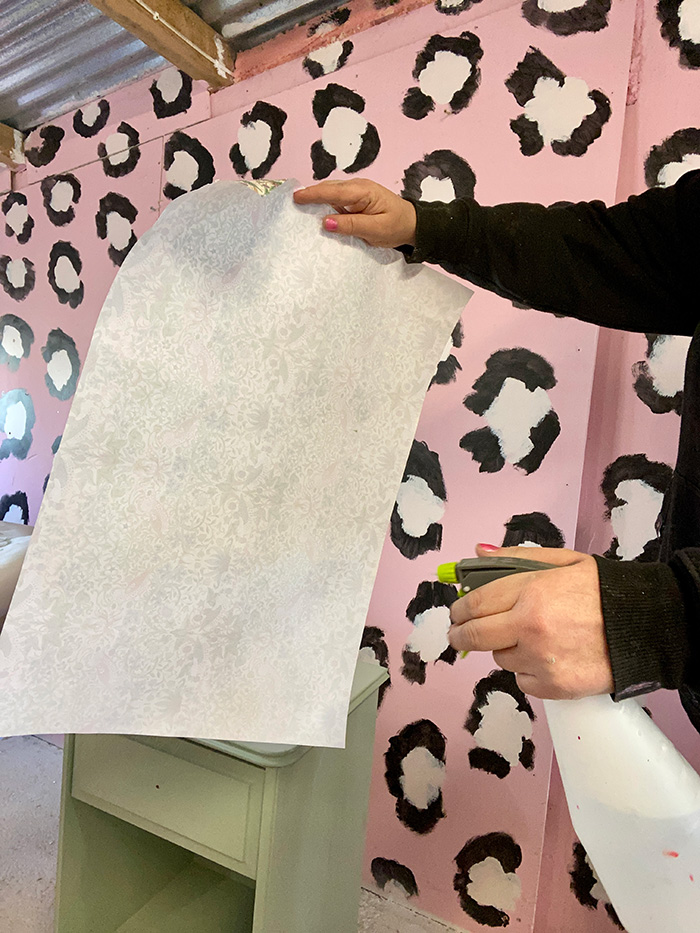
Image B
Step 4
With a spray bottle set to ‘mist’, cover the back surface of the paper with water (Image B). You don’t have to oversaturate, but just enough that you start to feel the paper curl. Waft it around to shake off any excess.
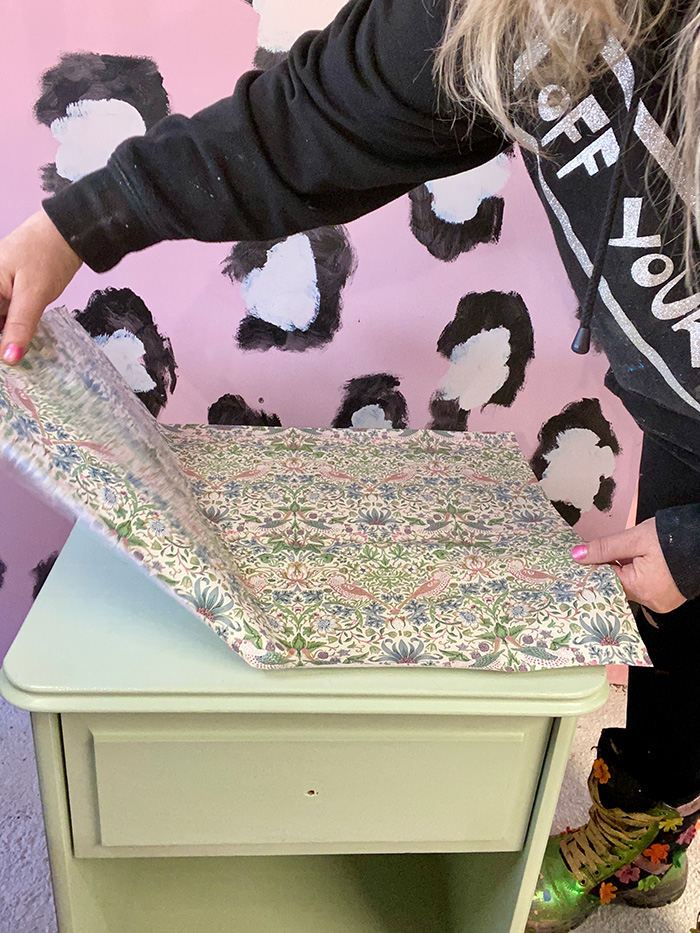
Image C
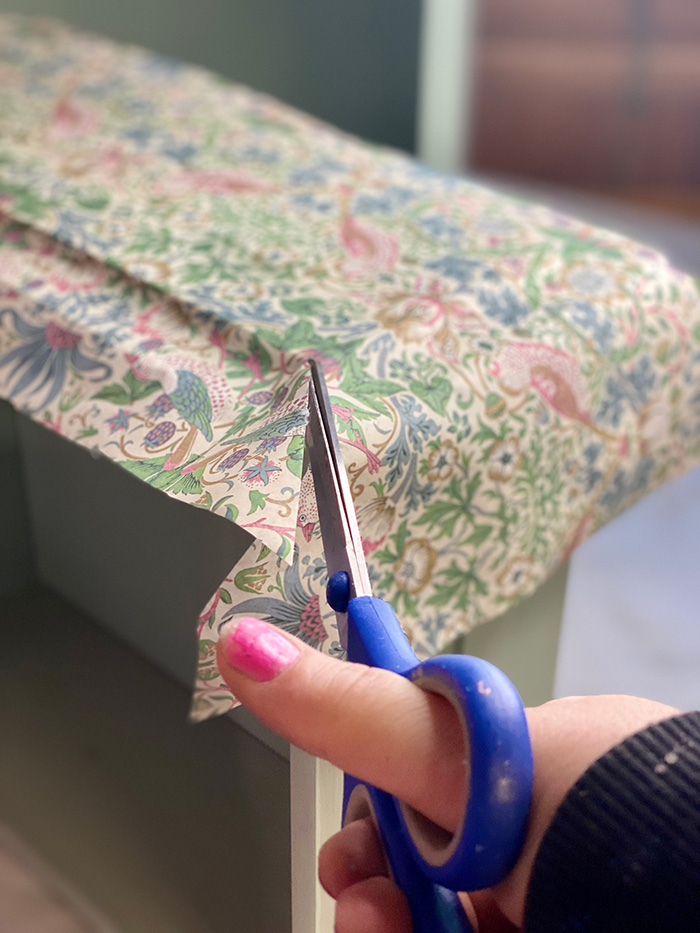
Image D
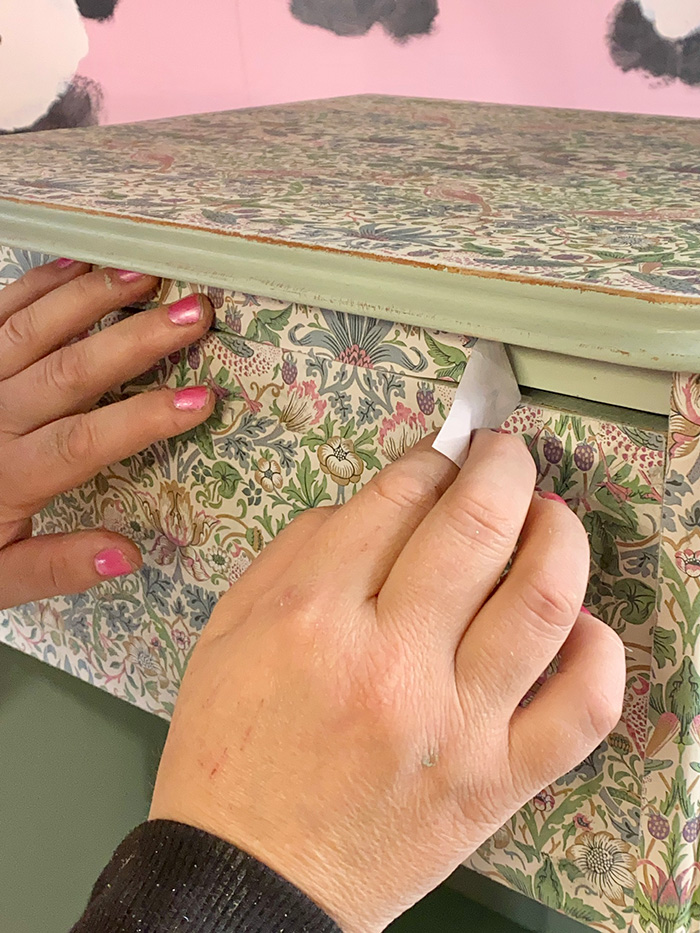
Image E

Image C

Image D

Image E
Step 5
Gently lay your paper down on top of the glued area, easing it from one side to the other (Image C). At this point you do have time to move things around, so adjust the paper to line up any patterns. Using a brayer – a small rubber roller – or a homemade smoother (which is simply soft fabric stapled around a sanding block), ease any bubbles out, trying not to overwork it. If you need to ease paper around a corner or lip like on the drawer front, just make some diagonal cuts at the corners and smooth into position (Image D). Use a credit card to gently get into the corners and edges, and finish any fiddly areas (Image E). Leave the paper to dry.
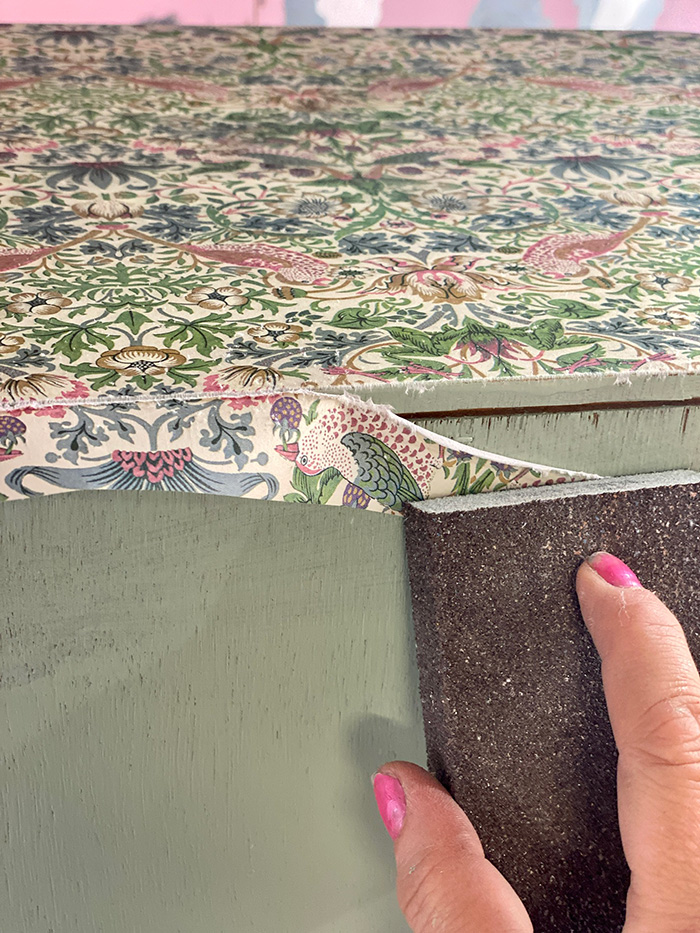
Image F
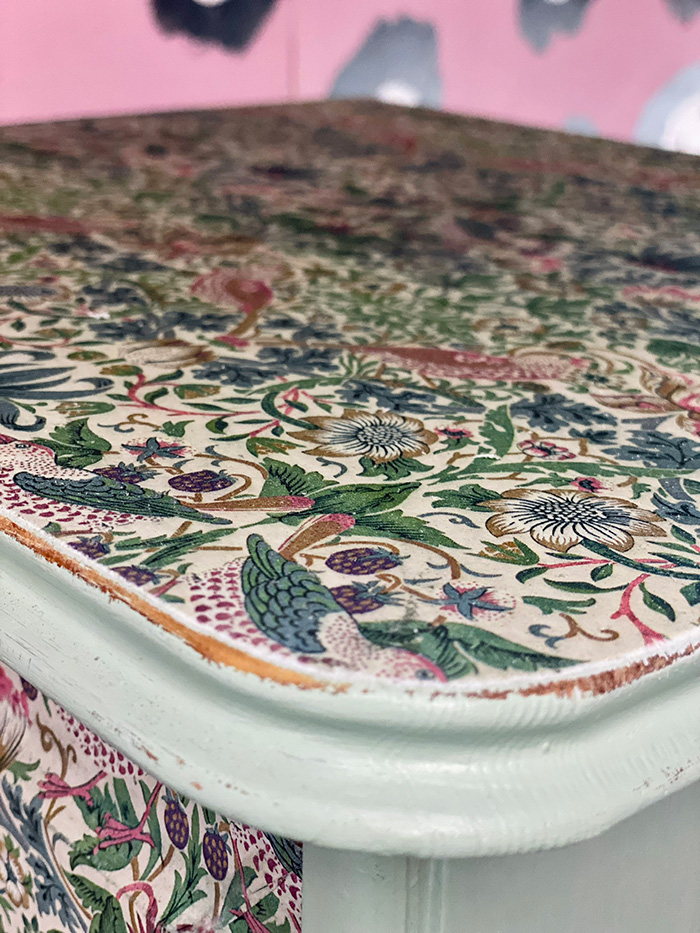
Image G
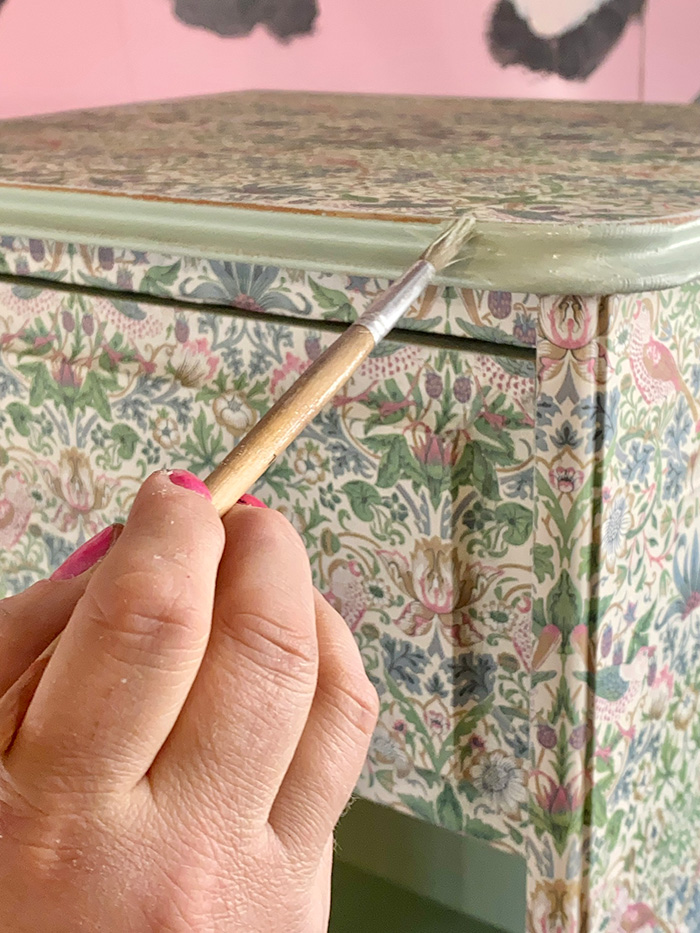
Image H

Image F

Image G

Image H
Step 6
Once the paper is dry, you can trim off any excess (if you start cutting while wet you may tear bits away). Use a sanding block to smooth away the edges (Images F and G). For tricky areas that you can’t get into with a block, use a razor or craft knife. Neaten up the sanded edges with paint and allow to dry (Image H).
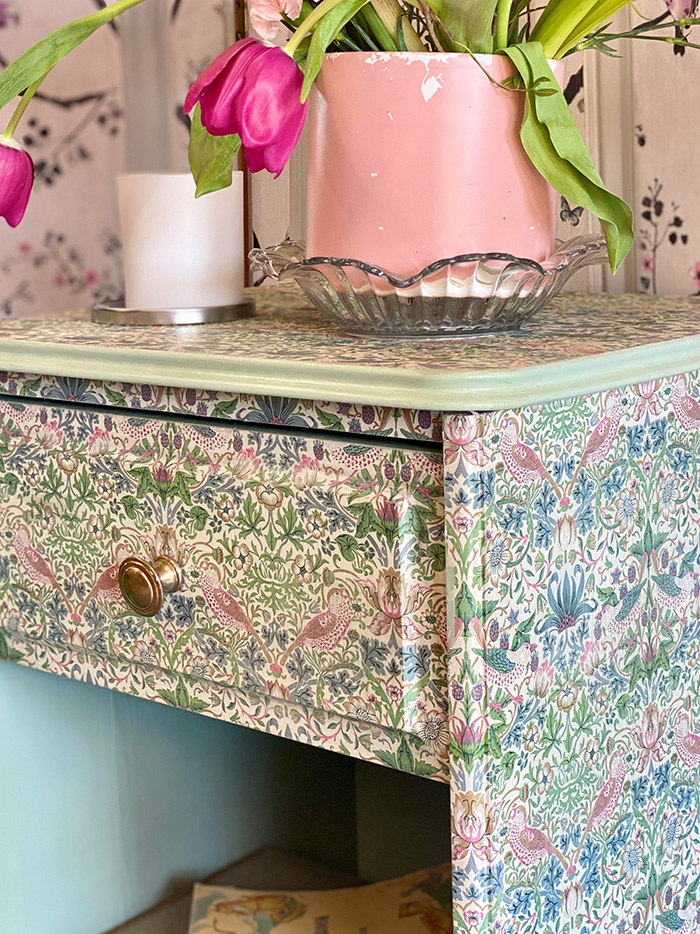
Step 7
Using a clear varnish and a soft brush (I used Polyvine clear gloss), give the surface at least three coats for a good protective finish. Don’t overwork the varnish – just brush it on and leave, rather than brushing in all directions, as it could start to fade the paper.
Before you go...
...fancy automatic entry to all future competitions?
Simply register online today for FREE and you will get:
Automatic entry to all current and future competitions.
Access to Reclaim Inspiration - an online visual pinboard for saving all your home and style inspiration.
A regular newsletter of inspiration, ideas and advice.

Save all your articles in one place
Become a Reclaim Member to save all your home and style inspiration. Simply login or register online today for FREE and you will get:
Automatic entry to all current and future competitions.
Access to Reclaim Inspiration - an online visual pinboard for saving all your home and style inspiration.
A regular newsletter of inspiration, ideas and advice.


